The Moment/Bad Wolf is a hard character to explain, which is a hallmark of many characters in Doctor Who, but essentially she/it is the most dangerous weapon in the universe… so dangerous that it developed a conscience, and uses it to dissuade any potential for being unleashed. So the (in this case female) projection takes on the form of someone important to the potential user and shows them information to change their minds. For the Doctor, this was Rose’s persona, even though that Doctor hadn’t met Rose yet in the true chronology of the timeline.


This page contains a detailed step by step (from a year’s recall) of both the box and the costume. Mostly just text, as progress shots turn out to be my nemesis.
Box:
If you want to read about or see version 1, check it out here! I’ll talk about both here, though the pictures in this post are all v2.

I designed each of the six sides of the cube in Adobe Illustrator based on screen shots, sometimes multiples. The only side I had to guess a bit for was the side that has sixteen different Gallifreyan words. The screenshots I’ve found don’t include the entire side, so I had to make up a couple of them. About half.
If you’re interested in getting my files for these, shoot me an email (jess@jessicasmithcreates.com) with some information about your build, your love of the character, whatever it takes to prove to me that you’re not spam or going to somehow profit from my designs. I’m not planning on posting them willy nilly on here, or on any other website, as I spent weeks working on these, from the initial design to the fixes for v2, etc, and I’d like to get to know the people who use them. Sound fair? Cool.
Okay, back to the box.
I used those Illustrator files to laser cut the sides of the box out of a sanded plywood that’s just shy of 1/4″ thick. This plywood is lighter than the one I used for the first version, which makes a big difference. I spent a lot of time optimizing my files for the laser cutters I had access to, so I could use up as much of the board as possible, so a lot of the “moving pieces” were hand nested into place.
All of the laser cut pieces (except the 4 by 4 side which was left alone) were painted first with cheap acrylic paints, either black or white to add some additional depth, then were given second and third coats of Jacquard’s Lumiere paints to make them metallic. On one or two sides I aged it with some acrylic paints to give it more depth, but I couldn’t bring myself to weather everything. It was too precious.
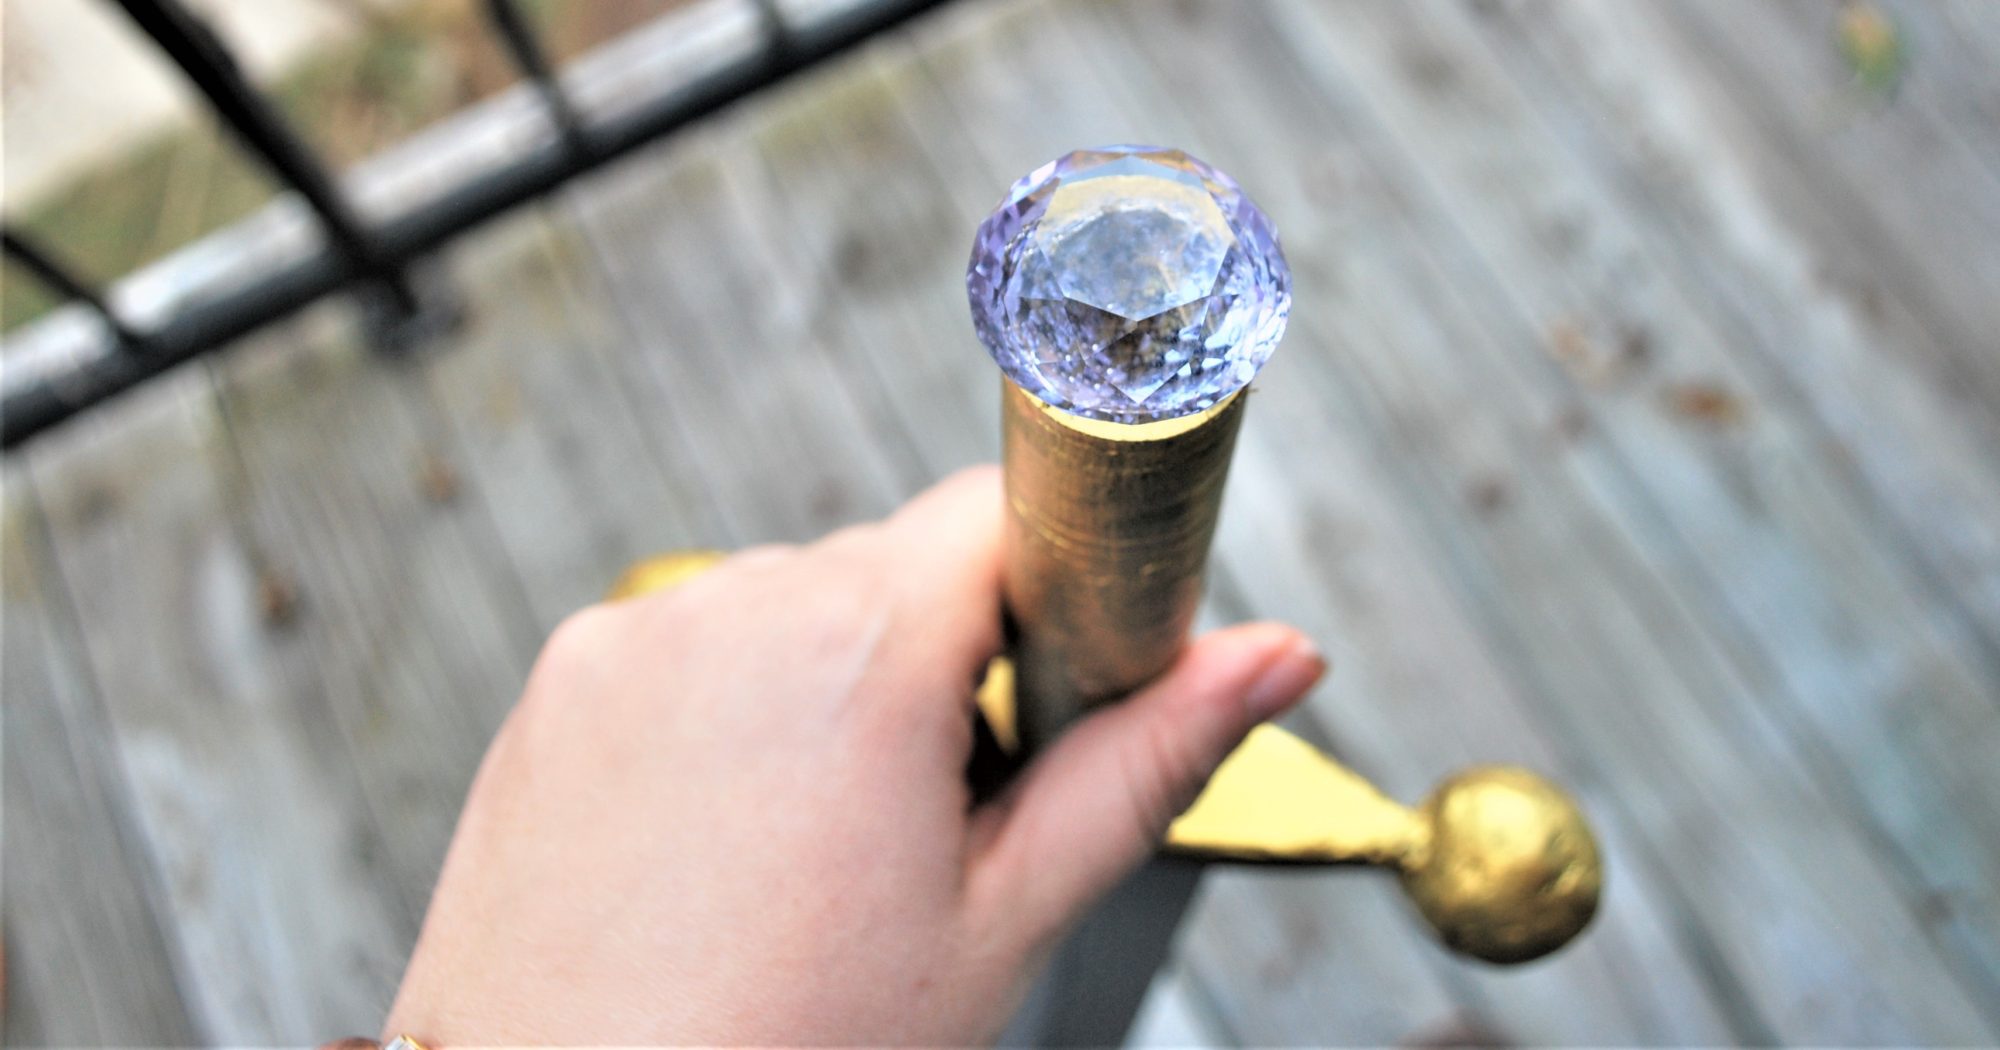
In v1, one of sides opened in the corner with hinges and moving a gear attached to a magnet out of the way, but this wasn’t feasible when I shrunk the box to a more appropriate size. So the side that’s gold with gold gears is now somewhat attached with magnets. There are four ceramic magnets on the underside of the piece that attaches to the gears themselves, and four matching magnets on the box face as well, so that the gear piece falls inward to allow access to the inside of the box. At DragonCon 2017, I used the box as a “purse” and fit wallet, keys, phone, a change of shirt, and my ballroom dance heels inside. In 2018 I decided to bring along a bag as well, so I only kept wallet and keys in there, which did mean they got knocked around more, but it was lighter!
To allow for the pieces to move on v2, I bought nuts and bolts and spray paint so they’d be sparkly and copper, and I laser cut holes large enough to use the various bolts. Occasionally I do have to tighten the nuts on the inside of the box so the outside doesn’t fall out, but that’s a small price for working gears. On v1, everything was glued down, so nothing moved.
For both versions, the frame is constructed from scrap 2 by 4’s that I split down the length, then cut down to size. For v1 I used a woodburning kit to burn in circles that were vaguely Gallifreyan. In v2 each piece was laser cut in the “round” so that the Gallifreyan designs kind of wrap around each piece. I then stained each with an oil based wood stain.
Then the box gets assembled all at the same time, from the bottom up. Each laser cut side matched up, such that it creates a notch for the solid wooden frame to sit inside. I used some super long clamps for this, as I found out on v2 that I had miscalculated and cut a few lengths too short, after I laser cut and stained them and it was too late to turn back. At first they were only held together by wood glue (we didn’t have long enough screws at the time), but when v2 broke on me during DragonCon 2017 I fixed it with tears and Gorilla Glue. Now I can sit on it (carefully) without worrying about it breaking apart.
At this point I sprayed on a coat or two of spray paint topcoat/sealant, to prevent paint or stain from transferring off.
Finally I modeled the corner pieces in Tinkercad, a free online 3D modeling tool, and printed them out on some campus Ultimaker 3 printers. The filament is Colorfabb_XT, which paints well, and also holds up to moderate stress, which helps with my over-willingness to sit on the box at all times. I then spray painted them with a primer and then some silver spray paint. If I had to do it again, I’d sand them after the primer and then prime them again, to get rid of some of the ridge lines from printing. Then they got glued on with E6000, which was what I had on hand.
And then they were done! I did learn after 2017 that the stain would get sticky with me holding it all the time, despite the clear coat, so I sprayed it down some more. Sometimes I think about weathering it further, but I like the look of it somewhat “new.”
Costume:
I made the undershirt out of some white rayon that I had obtained (and then forgotten to use) and tea-dyed it for a more tan color. It’s the Onyx Top by Paprika Patterns, altered to be tunic length (I’d estimate an extra 4 inches). I found some lace in my stash and attached it to the front of the shirt almost free-hand, using a coverstitch machine that had recently appeared at my work. Then the open sleeves are a fabric that looks like cotton fishing net that I cut rectangles of and attached to my short sleeves, then made cuffs out of some tan rib knit.
The skirt is based on the Syrah knit maxi skirt pattern, but I only sewed up the sides halfway so I can tie it to the side. I sewed pockets based on the Hudson lounge pants pattern, but left off the “binding” to reduce bulk. This does make the pockets slightly less useful, but it’s still nice to have them. The fabric is this lovely rayon spandex that is as soft as a dream, but really thin. Apparently this colorway isn’t made any more, but it’s this type of fabric, and it’s some of the $5 a yard stuff… I’m considering buying some in various colors for the softest t-shirts ever.
The vest is loosely based off of my Peggy Carter hack of the Archer Shirt pattern by Grainline Studios, though I honestly don’t remember more than that. It’s got a somewhat faced front, and I left the edges raw for that post-apocalyptic look, though I’m not sure whether it reads that way. For fabric I used this rayon stretch twill that is definitely too lightweight and probably too light in color for what I wanted, but it’s comfy! The pockets are mostly useless, which is unfortunate, but are (not intentionally) perfectly sized for a DSLR lens cap!
I cut and constructed all of these costume pieces in a day, one very long and tedious day of uninterrupted work, since I was also in the midst of moving last August and really needing a break from it. So I made everything, which did lead to some tiny mistakes, but that’s okay… You can’t see them, can you? (Lie to me if you can see it… I don’t wanna know).
The additional costume pieces are tights, bracelets, and boots. Last year I wore a pair of black opaque tights that I had set aside when I found a couple rips, but this year I bought a pair of the cheapest sheer tights (read: uncomfortable) and they ripped naturally throughout the day.
The bracelets changed between 2017 and 2018. In 2017 I tooled up some bracelets, but never made a real closure, so I used sewing thread to lace them up day 1, but I was too lazy in 2018, so I mostly wore bought bracelets. The constant thing was my watch, which I got a fair amount of compliments on, especially the paint job (shown in this post), since I used the same paints as on the box. I still think the watch is awesome, and I just wish it kept time better…
The boots I wear are an old pair of Steve Madden Troopa boots that are unwearable in real life due to holes between the sole and the uppers, so I painted them with fabric paint and then wore them around before the con last year which ended up with them “patina”-ing into an interesting pattern.
In 2018 I got a big red glass crystal so I could ask people if they wanted a big red button. Just a nifty easter egg!
And that’s that!
If you’ve got any questions about the build or interest in knowing more, email me at jess@jessicasmithcreates.com!