I’m not laughing at you, I’m laughing with the horse.

So I’m continuing work on my Farnsworth as I’m waiting for my new serger to decide it wants to sew.

If I have the option of not handsewing, I’ll avoid it.

With very few exceptions.

So I got the wires all glued in, though I’m not sure how permanent the super glue will end up being.

We’ll see!

farnsworth - left

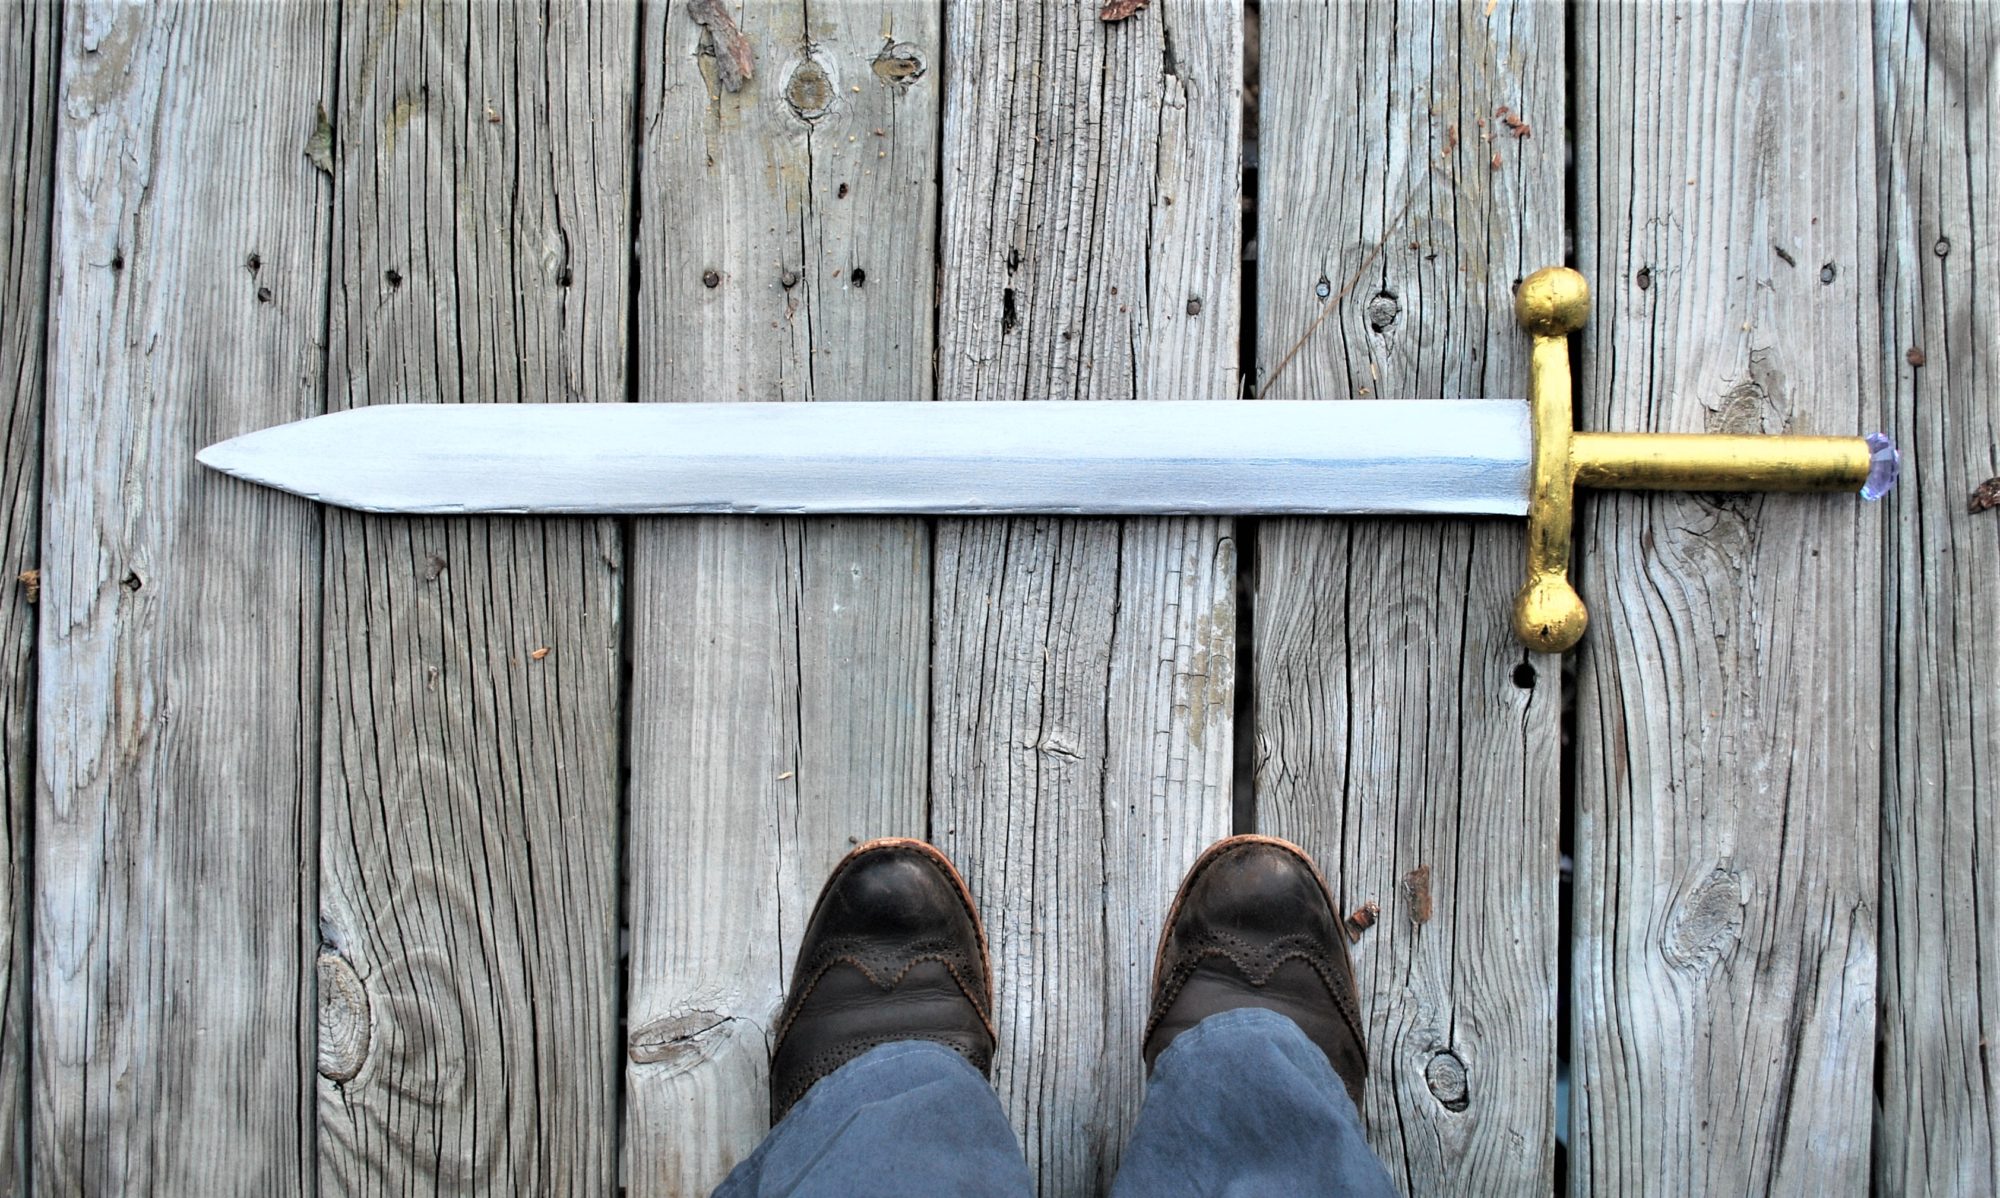
I received my gold paint pen, and almost immediately got to work on some detail work.

farnsworth - full

The handwriting inside is a little too off center for my liking, but it will do for this project. If I ever redo the Farnsworth, I’ll be a little more exact and a bit more careful.

farnsworth - mic

Feel free to ignore my artsy photography choice above. I’m working on it.

Also I took apart a broken microphone, and will be using the microphone wire mesh for the same basic purpose on my version.

I just need to figure out how to cut it.

Perhaps I need some wire cutters.

Edited: As of right now this project is finished. Follow it from its inception, to further planning, to sanding and painting, to the wirework, to (this) the gold detailing, to the gluing of all the components together.

Whooshes and Swooshes

It’s been a month or two since I updated you on my TARDIS necklace.

It’s not quite my fault. Moving out of a dorm in another country to head home, then leaving nearly immediately to go to an internship practically just as far away. Things get away from you. I’m just happy I managed to remember to pack beading supplies for this leg of my travels.

desk

But, I remembered to pack white thread this time, so I won’t be using clear beads and black thread. It was definitely on my list of things to not forget, in my whirl of packing and unpacking.

plans

I’ve started again, this time with clear beads and white thread, and I’ve covered one faux pearl already. The faux pearls are how I am keeping the shape of the time rotor. I happen to have both silver and gold pearls on hand, but because the costume is mostly gold/warm toned, I’m sticking with the gold ones.

But the title of the post is whooshes and swooshes. We’ve gotten the whoosh, the sound that the TARDIS’s time rotor makes.

Now for the swoosh.

firstI’m working on part of my Belle necklace, a kind of beading muslin, much like the first time rotor necklace I made.

I already had some 15/0 seed beads on hand, which was my part of the original plan (in my head at least).

I began to work on the pattern I had created, but I realize now in hind sight that perhaps I should have started the planning on paper designed for peyote stitch designs. Because my hand drawings are not even or turning out very swoosh shaped…

pacmanI almost feel like I’m making a Pacman block.

I’m planning on printing out a sheet or two of peyote stitch paper, using this handy print out.

I’ll be working on these for the next few days, at least until I receive the thread for my serger! Then I’ll get to work on some of my other costuming and other sewing plans!

Creative Process

Today I’m here to tell you all about my beadweaving process.

Welcome to my business notebook. notebookMy business notebook makes up for its lack of, well, business figures with lovely sketches of necklaces. Necklaces that I plan to make in the future.

Like this one! It’s a rough sketch of the necklace I’ll be working with for this post.

initial pic

So this necklace will have a focal of a square metal worked flower thing. See, my grandmothers gifted me with some old earrings, mostly clip-on ones, but because I have little ears, most of these were too big for me, and the ones that weren’t clips won’t work for me because I’ve never pierced my ears.

earringsMy favorite ones are the sparkly diamond ones, but I’m saving those for some very special necklaces. The ones shaped like drops are probably going to be involved in my TARDIS costume.

Here are the beads I brought with me on my study abroad trip. There are definitely enough to make two necklaces, and I brought along a second pendant for that reason! The rectangular bead next to the square focal will be for the other necklace, and a number of the beads will be more involved with that one.

beadsHere’s the plan. I’ll show you pictures of the in progress. My process is more visual than anything else.

half Here it is about halfway through. This is still a testing phase, making sure all my plans actually look good in reality, instead of just in my head.

storedThe problem with having a small workplace is that I can only do one project at a time, in the space. In the middle of the necklace making, I had to use the desk for something else, so here is all of the beads and the in-progress necklace packaged up in a small bag!

fullAnd here is the finalized necklace. Its a beautiful piece and drapes quite nicely.

When I return home to my other beads and necklaces, I’ll be putting the necklace up for sale! I’ll post the link when I get it up for sale!

What light from yonder umbilicus breaks?

I’ve made a bit of progress on the Farnsworth, and the painting is all done. That’s always a big plus.

But today I want to show you what progress I’ve made on something else.

supplies

This summer I don’t have access to my normal sewing supplies, as my summer employment required a flight. My sewing machine would not terribly like my suitcase. And its a bit too heavy. And I’ve got too much fabric to fit into one suitcase, let alone bring clothing to wear along with it.

This also means that I’m not planning on doing any subtle cosplay, as the major components of my wardrobe aren’t with me. And its much too hot here to wear jeans.

But none of this has stopped me from working on my plans.

It just happened to… slow them.

I bought this sewing kit from Amazon, and its a  nice little starter kit. If you are new to sewing, and want something to work with for simple handsewing, this may be a good deal for you, but mostly I needed the scissors and the pins. I’ve had experience with enough unsharpened scissors and cutting fabric for me to need to invest in another fabric pair, even if the kit overall was cheap.

But anyway, back to the point of this post. I have begun work on my white vest for my Claudia costume.

1

I was going to try to find an online pattern, and while waiting for my Amazon package I did some extensive searching, but I came up with very few patterns that were close enough to help. I decided instead to make a pattern based on my measurements.

mini

This is what I came up with.

pattern

I knew it would be a bit wonky, because I’ve rarely created a pattern that was wearable the first time, so I decided to make a muslin. I took an old sheet, traced my pattern, and gave some extra fabric space in the areas I suspected needed to be enlarged.

I unfortunately forgot to take a picture of this step. I was too excited and started sewing immediately. Hand-sewing.

On the plus side, my stitches are becoming more even?

aside1

Here’s what the muslin looks like when I’m wearing it. For being a first drafted pattern and handsewn by a machine lover, I think its a pretty good effort! I’m not quite sure if I want to do anything about the shoulders. The muslin makes the shoulder seam lift up a bit, and I think that might look okay with the final fabric. I’m going to increase the width of the fabric in the front, because I want to have a fairly wide inside seam there, so there is a nice appearance when the collar is folded over.

afront1The front will match, I promise, it just was being too picky for pictures.

I found this awesome fabric a few years ago for my quilting stash, but I haven’t quite figured out how to use it yet. Granted, I’ve been without my sewing machine for all but two months of the year since then.

The fabric is a neon yellow-ish Gatorade color, with a floral pattern in black. Kind of a combination of this fabric, if this one was the background yellow. And without the stripes.

Claudia would love this fabric.

I’ve decided to line my vest in said fabric.

I’ve loved the idea of lining demure jackets and coats in crazy fabric, and this is my first opportunity to try.

I’ve got a heavy lead on a bid for a serger machine on ebay, and so I’m holding off until I know the outcome of that before I cut the fabric and move on, but if I am to handsew it, I’ll be using this technique to build a sturdy garment.

So that’s what I’ve got and where I’m going. Now that I’ve decided on my lining, the project won’t be fully finished until August, when I get back to my fabric stash.

Next step? Seam rip the muslin.

Loving the Fugue

I’d certainly not want to clean out the Warehouse’s neutralizer annex.

My first coat of paint is complete!

farnsworth - dsc09354


Yesterday I had completed the coat on the outside of the tin, and today I painted the inside.

farnsworth - wire

Here’s the wire that I had bought to imitate the squiggle pattern on the left side of the Farnsworth.

u17162wh1303x040066r103link

Did you know there are 13 of those squiggles? I thought it was clever.

farnsworth - cutting-implements

I did my best to straighten the wire out, and then I clipped a piece off. I don’t have my wire cutters on hand at the moment, so I grabbed my scissors and tried my best. Then that didn’t work out, so I brought out a trusty craft knife (which I was super careful with, by the way). Still needing something stronger, I used my nail clippers, which did the trick with some bending at the connection point.

I managed to get the plastic coating off of the wire with the craft knife, and started bending. I ended up using a glasses case for some leverage.

farnsworth - bending

I’m only using seven squiggles because my wire is thicker than I had thought, and this many provides the right aesthetic appeal.

farnsworth - finished-squiggle

If the paint was dry enough, I would have arranged them on the tin for you, but unfortunately its still a bit wet.

I still haven’t quite decided how I’m going to imitate the tube from side to side and the rubber washer like thing, but I will be working on that.

Edited: As of right now this project is finished. Follow it from its inception, to further planning, to sanding and painting, to (this) the wirework, to the gold detailing, to the gluing of all the components together.

Elbow Grease

It’s hard work to sandpaper the finish off an tin.

Satisfying, but it requires a fair amount of elbow grease.

farnsworth - dsc09339


I took a trip to the hardware store yesterday to pick up some supplies.

I started using the sandpaper on the tin, starting on the bottom, which cleaned up fairly well.farnsworth - dsc09333


The sides of the tin were much harder, with the curves and the lid hinges.

farnsworth - dsc09330

I gave up mid-way on the sides and started on the top.

farnsworth - dsc09336

Once I was finished with the entire outside, I scored the inside a bit with sandpaper.

fansworth - dsc09337

If you haven’t gotten altoids in a while, you may not know that the top of the tin is actually raised, both with the banner, and the word Altoids. I want to have a Farnsworth, not a Farnsworth masquerading as an Altoids tin.

I tried lightly pounding the tin with a mallet to lower the raised part. Key word being tried. I think I flattened it a bit, but I decided to stop when it wasn’t working out very well.

farnsworth -


Then I started the painting.

I looked at Claudia’s Farnsworth a little more in a few different episodes and realized that the casing is entirely black, inside and out,  so I had bought some Rust-oleum paint and started working! I’ve got the first coat on the outside, and tomorrow will be working on the inside. Maybe two coats, and it’ll be good to go!

Then comes the inside work, which will be the fun part!

Edited: As of right now this project is finished. Follow it from its inception, to further planning, to (this) sanding and painting, to the wirework, to the gold detailing, to the gluing of all the components together.

Busy Bee

So you know when you’re buying stuff on Amazon and you just need like twenty cents to get your Free Super Saver Shipping?

That was me today. So I bought one of these. And I don’t know what it is. Or how I’ll use it.

But I will find a way to!

farnsworth - DSC09302

I bought an altoids tin, and am working on eating the candy up, so I can use the tin.

We’ll see how long that takes!

u17162wh1303x040066r103link

Do you see that tiny looking lens in the center of the Farnsworth? I’m assuming that is the camera lens, otherwise I would have to wonder how the image is projected to the other person’s Farnsworth.

I’m hoping to use a scrapbook bubbles for that lens, on top of of a mirror-like paper piece. This will then attach to the black plastic I’m hoping to use for the black top layer of the right side of the device.

By scrapbook bubble, I mean one of those little lenses that you can put over pictures to make that part of the picture a little bit magnified.

Well, I’m sorry to report that I haven’t worked on the sweater. But I will. It’ll be happening. I hope.

But I’m happy to report that I’ve finished the altoids, and I’m ready to start working on my Farnsworth!

Edited: As of right now this project is finished. Follow it from its inception, to (this) further planning, to sanding and painting, to the wirework, to the gold detailing, to the gluing of all the components together.

A’collaring we go!

So it’s been a while since I’ve given you an update on my crocheted sweater. It’s moving along, but I took a break during exams and the past week.

vest
Two weeks and a half a week of extra study time was loads of time to procrastinate. I’m an equal opportunity procrastinator, to be honest. Actually studying and crocheting the sweater.

collar
So here’s what I’ve got so far! I’ve finished the vest part of the sweater, and I sewed up the shoulder seams after blocking. It fits well enough around the arms, so I moved on to creating the collar.

pattern

I’ve completed 21 whole blocks out of 36, and I’ll then have 10 triangles to make.

I’m hoping to add at least two blocks a day for a while. Then it’ll just be waist ribbing, and arm and collar edging, and then the sweater will be done! Still a lot, but progress is important nevertheless!

Oh Farnsworth, my Farnsworth

So I want to make a miniature Farnsworth for my Claudia costume, because I’ve always adored them. They’re fantastically intricate and such a cool idea, and Claudia’s is the coolest.

7726033784_0490847b0f_zlink

Artie gave Claudia Farnsworth’s Farnsworth. The creator’s personal creation!

It has such lovely black smooth finishes and gold/copper details, with what looks like a combination lock cover as a dial, and the top of a stage microphone for… the microphone.

u17162wh1303x040066r103link

My Farnsworth will not be full sized, as I don’t have the funds for a larger scale endeavor, and I’ll probably make it out of an altoid’s tin, or something like one. So a much smaller scale, but still pretty fun.

steampunk-altoids-2

There is this wonderful tutorial from TLC about de-finishing an altoids tin to create a steampunk tin.

I’ll be painting the left side black, while leaving the right side as is, with a black piece of cardstock or a stiffer plastic sheet for the center divider line.

farnsworthcinsidelink

I’ve had some luck with making glue “lenses” in the past, though never on this scale. Normally it’s just a bit of Elmer’s glue that has accidentally dropped on a table or something while I’ve been crafting, and it comes up as one nice circle. An alternative could be finding an eyeglass lens, or perhaps the lens from a kid’s telescope or kaleidoscope.

I’ll be getting some copper wire to recreate the pattern on the left, perhaps with a black rubber pipe fitting. I’m not quite sure what to use for the tube right now, but if I take a trip to the hardware store, I’m sure I’ll find something.

For the inner workings of the Farnsworth, I’m planning on raiding the hardware store for wires, washers, dowels, etc. I’m hoping to get hold of a real used watch battery, but I’m planning on faking the other batteries with dowels and little blocks of wood.

Claudia_Farnsworth_Tshirt_CUlink

I’m planning on getting either a metallic Sharpie, or some other sort of metallic marker to write and draw out the lovely details of the Farnsworth.

So that’s my Farnsworth plan. I’m hoping to start work on it soon, even if it is just in patches. I’ll keep you updated!

Edited: As of right now this project is finished. Follow it from (this) its inception, to further planning, to sanding and painting, to the wirework, to the gold detailing, to the gluing of all the components together.

She just wanted to be free.

I first watched the film Penelope on a big flat screen television in a little vacation home after my parents and brother had gone to bed. They didn’t want to watch an obviously childish chick flick about a girl who had a pig nose.

I still think they missed out.

penelope_movie_image_christina_ricc

link (ETA – this link is now broken)

Penelope is a lovely movie, and it has a great message.

penelopepic2

link (ETA – this link is now broken)

But she has the coolest style! Its equal parts quirky and colorful!

blue

The best thing she owns, it seems, next to the incredibly beautiful wedding dress, is her scarf that she uses to hide her nose while she’s out on the run. I found two websites that had wonderful recreations of the scarf, which I’m planning on making at some point. Probably in the distant future.

IMG_1407

link

Here’s one of them…

DSC02812link

And here’s the other, and she was lovely enough to provide a pattern!

penelope costumelink

I also really love this gal’s Penelope cosplay. I think she looks awesome!

1

When I cosplay her, it will likely be a much subtler cosplay. Like tricking out my coat, when and if the buttons go, and using the blue dress with green and black striped shirt route. That kind of subtle.