Craft Room Tour

overview

For this current apartment, I wanted to have a craft space. A dedicated room where I could corral all of craft stuff, and pack it away if I needed my apartment to look nice for company. I was able to turn the “master bedroom” of the apartment into this haven. It has two wonderful windows that catch both early morning and midday sun, so I’ve got a sunny space to work in up until about 4pm these days. Because of this sun, it was hard for me to get good pictures, so this post will be full of ones that look like a grainy filter was used…

ironing side.jpg

To the right of the first picture is the bathroom and closet, but in front of that is my ironing station (and the junk corner… Please don’t look at the corner.). In the totes between the ironing board and the table I’ve got my bead collection and my coloring page collection.

photography.jpg


This is the table that I do most of my photography on, since it’s got a faux stone finish to it. It was part of my room as a teenager (from IKEA), and is actually a piece of countertop with legs screwed in, so it’s also super duper heavy. Sometimes I also use it for staging parts of a project, or for drafting or cutting… Multi tasker!

The filing cabinet below used to be one of the typical beige versions, but I spray painted it turquoise one summer. It was also my first time spray painting, so I’m pretty sure it was sitting in direct sunlight and windy… Some of my patterns are stored in here, as well as a number of my illustrations and quotes that I’ve written out prettily in the past.

stash and sketch.jpg

This is my fabric stash bookshelf, with my yarnstash on top! So all of my fabric that is in full pieces is in this unit. The top section is all lining fabric, and the organization breaks down from there. The second section contains denim, but also lace, and also undyed rayon linen. The third section has some knits and some wovens, but mostly smaller pieces… Etc. I try my best to sew my stash when I make myself new garments, and all plans are from my stash, but sometimes I just go off script.

My yarn stash is in a bin above the shelves, and it’s packed full, and there’s some extra balls in the basket I made above it, and then small leftover bits are in the bag peeking out the side.

Then on the table to the left is my newly organized drawing station. In that segment is all my paint, pencils, markers, and paper, as well as my small cutting mat and black “sketchbook.”

Above that table is the thread holder that I made a few years ago, which also holds my collection of cutting implements, and my hem clips.

comp and scraps

In this corner, we’ve got the rest of the table that my sketching stuff lives on. The monitor used to be my TV, but I rarely used it as that, so I get a lot more use from it this way. It’s hiding my desktop tower behind it, and is propped up on old text books because it doesn’t move orientation well, so I moved it manually.

Those totes in the corner are my fabric scraps. Hear me out. I know two totes is a lot, but only one of them is full, and I needed to divide them into stretch and stable for potential future projects! Which I’ll be figuring out shortly…

On top of those totes are bins that contain ribbon, lace, and then small sewing tools.


sewing and stuff.jpg

And we’ve reached the other side of the room. We’ve got my sewing table, with my trusty New Home, and my vintage suitcase that is holding works in progress that are in time out. And a box on top… I’m not sure what that actually held.

Then the second bookcase in the room. On top is a loom and my swift, both of which were made on the laser cutter at my work. Keeping with that theme, all of the “magazine” boxes you can see were also laser cut, with my artwork on the front. This is where all the supplies and tools for my hobbies that haven’t been mentioned yet are kept. On the top we’ve got woodworking, metallic paint, and generic craft supplies. The second shelf contains fabric dyeing supplies, clay, zippers, and boning. The third shelf has tins of notions, like elastic and buttons, and then embroidery supplies in the boxes. The fourth shelf has little drawers with small sewing supplies, and then the boxes hold sewing notions, and then leather working supplies. On the bottom shelf are my big bag of leather offcuts, with my new sewing ham and sleeve roll on top! Then the two weird-ish wood things are my “toolchests” made from 1x4s that I got from the slats under the bottom of my old bed… I’m not necessarily proud of the design of these, so you don’t get a closeup, but one holds spraypaints, and the other holds adhesives.

Most of the time you’ll find me in the computer/sewing station corner, wrapped up in blankets for the winter… Actually, that’s where I’m at right now. With two blankets.

Moving on.

It’s about a 60-40 split for the art on the walls, with 60% being art prints I’ve purchased from artists in the past couple years, and 40% being pieces I’ve made!

Now that I’ve written this up, I want to tell you that I cleaned before taking these photos…

If you laughed at that (or are my mother… Hi Mom!) I know it looks chaotic in places, and I’ve got a lot of stuff, but I do thrive in my minor chaos!

So that’s my crafting haven! Do you have a favorite spot in your crafty space? Or is you crafty space only a single spot? Let me know in the comments below!
Mustard Knit Wrap Sweater

front

I’ve been wanting a “ballet sweater” for awhile… I’m not a ballet dancer, nor do babydoll styles seem to flatter me (meaning they don’t tend to make me feel great about my appearance), but I love the idea of a wrap sweater.

The idea was on my back burner for a long while.

2017 January saw me in Seattle for a conference, and I picked up two skeins of this lovely Royal Alpaca from Aslan Trends in a mustard gold color on sale. It’s supposed to be worsted, but it felt like a bit more than that as I knitted it up.

sleeve

I scoured Ravelry and discovered that none of the patterns fit my specifications (I guess I’m super picky?). So I knitted up a small swatch to get an approximate gauge, and then calculated out some general plans, then kind of threw them out the window and did it as I wanted. I know that I made the edging on purpose, and I made the i-cord edging first or concurrently to the making, and I went with kimono sleeves since they’re easy, and basically knit pretty much until I ran out of yarn.

back

The yarn did shed on me so much (and everyone was so nice to not point out that it was shedding all over my black shirts…), and it still does to a (marginally) lesser degree, which I’ve seen from my google searches happens a lot.

front2

What I do know is that this sweater is warm! For a very open weave it is very cozy, so it’s going to make an excellent sweater in cool weather, which **fingers crossed** its going to stay now. I was getting cross with the 85*F October days.
open
This is my “why are my downstairs neighbors so loud” face…

Backpack with some Awesome Whales!

Once upon a time, a girl traveled to Seattle for a work conference, and made the bad decision to enter a fabric store. Specifically this one.

You see, she had decided a year or two before that instead of knick knacks to memorialize a trip, she’d choose fabric or yarn.

Let us note, dear reader, the word “or” in that sentence. It is not the word “and.”

So what is this girl to do, but buy both fabric and yarn. Not on the same day, of course, as she has some amount of restraint, but both were purchased during that fateful January trip.

The whales you see before you are the direct result of walking into the fabric store without a hint of a plan. But aren’t they adorable, dear reader?

The whales festered in that fall hole of a place commonly referred to as “stash” for three months, set which point the girl realized that she had too much variety in her daily life to keep everything in her daily purse, and she very much hated carrying anything bigger. She used her backpack from high school a few times, but missed having easy pockets and containers for those items that are not quite junk solely because they’re regularly necessary.

So she designed her perfect backpack. When she began looking through her stash to find the perfect material for her perfect backpack, she saw the whales, and rescued them from the dank hole of stash.

But alas, this material was too flimsy for such purposes! How would she move forward?

Then she made the decision to make bags for her bike, and not knowing the quantity required, she accidentally ordered extra, which turned out to be exactly what she needed!
(Seriously, she has maybe 6 tiny scrap pieces now.)

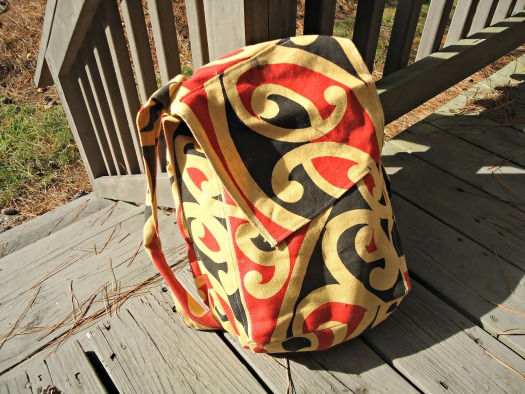
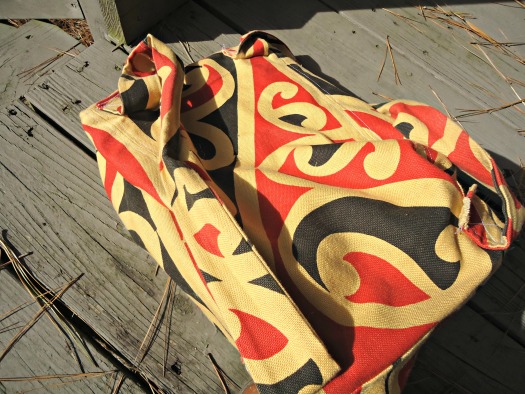
So she constructed this perfect backpack with a lower zipper pocket for sundries, pocket sized for her laptop help keep the structure nice and sturdy, and a section that nicely fits sketchbooks and journals and lunches and maybe even dinners. Dependent on the amount stuff packed in there.

She was so happy that she managed to construct the monster that she didn’t add real closures the first day, and made a simple not quite drawstring closure later.

A couple weeks and a rainstorm later reminded her that further closures would be ideal, so she dug into her button stash until she came out with two sets of three matching buttons that matched brilliantly. So she attached some thin elastic and the buttons and they’ve held fantastically so far.

Right before taking pictures for this post she changed the cord on the “drawstring” so one can actually leverage the thing closed.

And she sewed on that handle… And seconds later pictures were taken.

Tada!

She still has over a yard left, which had been sent back the stash until the next perfect project arises!

That’s enough third person for now…

Bike Bags

Last September I bought myself a bike. I live in a college town rife with bike lanes, and I can park at one place of work, so biking onto campus makes a lot of sense.

But I am not an efficient cyclist, and my back gets really sweaty before leaving my neighborhood if I’m wearing a backpack. So after doing some research on how and what attaches to the back of normal bikes. I determined that a rack was essential, but that i couldn’t afford any reasonable bags after the cost of bike and rack.

After much internet searching, I decided to use some scrap fabric and cardboard and just make some. They were… Useful. Not fantastic, but they certainly worked. They were a basic bag shape without a lid, one for each side of the bike, and connected by a couple inches of fabric over the top the rack. I had turned the top edges under to prolong its life, but forgot to put in buttonholes to thread bungee cables through, so it was slightly torn, which only got worse over time. To stiffen the cotton fabric so it didn’t get caught my wheels, I used some cardboard, effectively making these super bad in the rain.

But I used this version for probably 6 months. Somewhat because I was too lazy to do it again, and somewhat because I didn’t have the right fabric.

In April I finally gave up looking for cute fabrics and settled on some black water resistant utility fabric.

This time I altered the bag pattern a little so that the bag bottom slanted upwards, and I added flaps to help cover the contents. I also added pockets to the back so I can add stiffener like a sheet of acrylic. I’m still working fitting that acrylic into the pockets, but i think it’ll fit if i shave off an inch.

I’m finding the bags a little difficult squeeze things in, but they’re secure, water resistant, and easy to retrieve things from when reach my destination.

Out of the same fabric, I made a cover for bike seat, and does its job even its not pretty. I’m learning not leave it on when I ride bike, though, as it often is more slippery than the actual seat, but it has helped when I had wore a skirt from a rather slippery fabric.

Alright then. That’s all I’ve got to say on this subject right now. Reasonably effective, highly useful, probably will get remade if I end up in a bike friendly town post-degree!

Quiver – Part 2

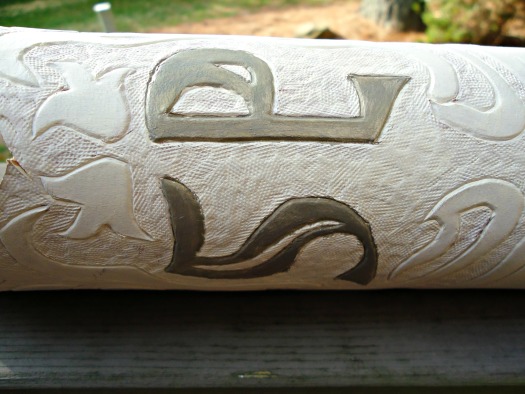
My unfinished quiver sat around for over a month between the first part and todays, but it was mostly because I was trying to determine the best way to sew it up.

I thought I could maybe butt up the two sides so they would form a solid point… My leather was just a bit too floppy for this.

I thought maybe I could fold under and sew it up like a seam. My leather had just too much structure.

And then it became the lace versus waxed thread debate. And where would I even attach the belt?

So I waffled.

initial

But I knew that my TARDIS belt was going to be made of leather, and I have a policy for leather goods and myself, that I am not allowed to cut into leather if I’m still working on a different piece. So I had to finish the quiver.

stitching

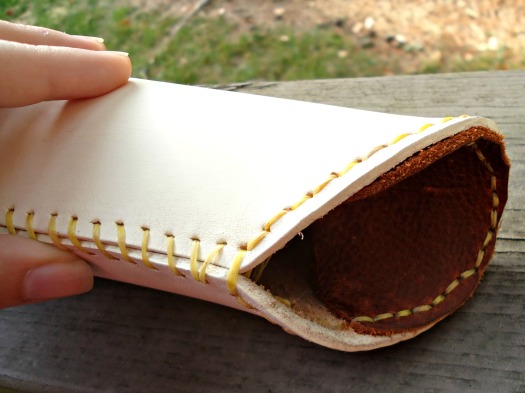
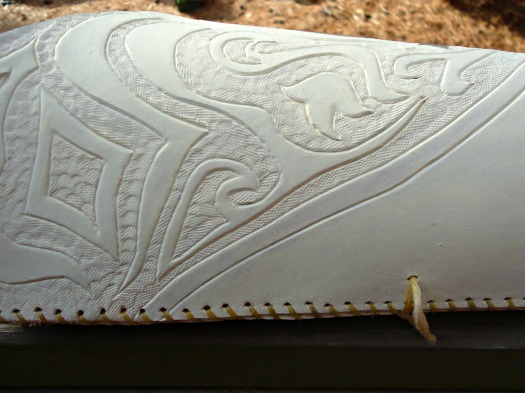
Using my trusty awl, I punched holes every 1/4 inch both up the seam line and around the bottom, since I knew I’d be attaching a cap to the bottom.

Waxed thread was my “weapon of choice” in the end. I used a whip stitch, I guess, to sew up the seam, which seemed to hold it very stably.

inside

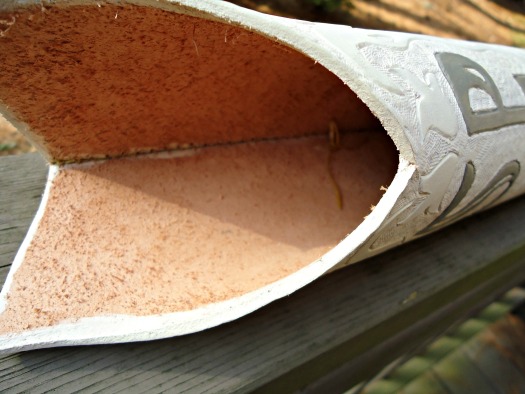
I had intentions of attaching the belt by running it through the quiver itself, but that didn’t pan out. For one, I only had as long as a partially used cow belly, which was not as long as I was expecting. Threading it through like that also made it really blocky and uncomfortable. Comfort is key in the costume game, especially since I’d already be wearing a corset, which is enough comfort-restraint.

top

So I ended up running a few loops of waxed threads to serve as attachments for the belt. It works well for now, but I’ll probably need to adjust it in the future.

Then I actually needed to make the belt.

belt

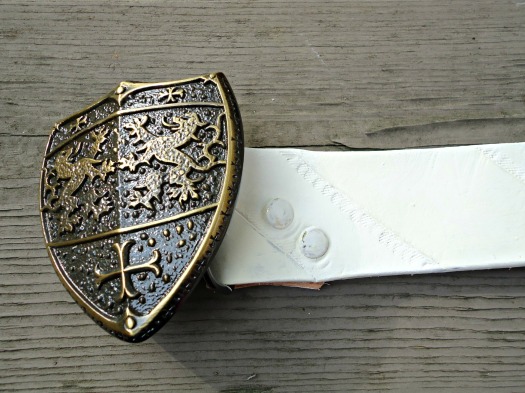
I wanted it to be something I could potentially wear, since I love the buckle so much. Isn’t it just the cutest shield ever? But I also knew the belt had to be long in order to cross my body like a messenger bag. So I made it as long as I could, and punched holes in various places, so I could wear it at my natural waist, or through jeans, or through the quiver. I cut a simple design using my swivel knife, just diagonal lines, and I tooled a few sections for some visual interest. It doesn’t show through the paint though, so I ended up painting a very subtle alteration between cream and ivory, based on my ability to mix paints well, which ended up with a more ivory batch right at the end of the painting cycle.

So that’s it for my quiver! Isn’t it purdy?

Knapsack

At the beginning of the semester I ran into this problem…

whole

My trusty backpack that I’ve used since 8th grade was just a bit too big for what I needed to bring into grad school each day. You see, I have an office, or rather a cubicle in a shared office with three others. I’ve personalized it and everything. Most of my prop type things have migrated there. So I don’t have to carry around an entire world, since I’ve got plenty of space to stash stuff.

And my “laptop” bag was too small. I made it specifically to carry my old laptop, which was a smidgeon bigger than my current one, and one or two notebooks. I have managed to stuff up to 6 slim notebooks and the laptop, but I was constantly worried about it breaking. I am planning to use it as a “round campus” bag, though.

But I really needed an in-between bag.

So I made one to fit my laptop!

I cut the back to the approximate dimensions of my laptop, adding about an inch to the width, and a few to the height, which I later cut down to size. The width of the laptop segment was maybe 2 inches? I measured the depth of my laptop to be 1 inch, and I wanted some extra clearance room, since this was non-stretch upholstery weight fabric. I forgot, though, that my laptop has some curvy sides, which also ends up adding clearance room.

inside

The other bit of side is trapezoidal, made from an eyeballed width of fabric at the proper height, triangled, and sewn up. The front panel was just a longer version of the back. I added a top flap, which rarely seems to sit properly, but I like it. The straps were made up of scraps, and are actually comfy for being un-interfaced and un-padded.

It’s  unlined, but that’s more because I was lazy, and for the most part the seams are unfinished. All the pieces went through my serger, except the top flap, but the seams themselves aren’t backed up.

But it fits everything I need, is comfy, rather stylish at the moment, was free to me, since I was donated the fabric, and I know how to fix or remake, if the need arises.

back

Backpack crisis averted!

Hybrid

Do you remember when I made a wristband out of this nice minty aqua yarn? I still love that thing. I told you that I had plans for the rest of the ball, but if I remember correctly I told you my plans were top secret… or something like that.

frontcolor

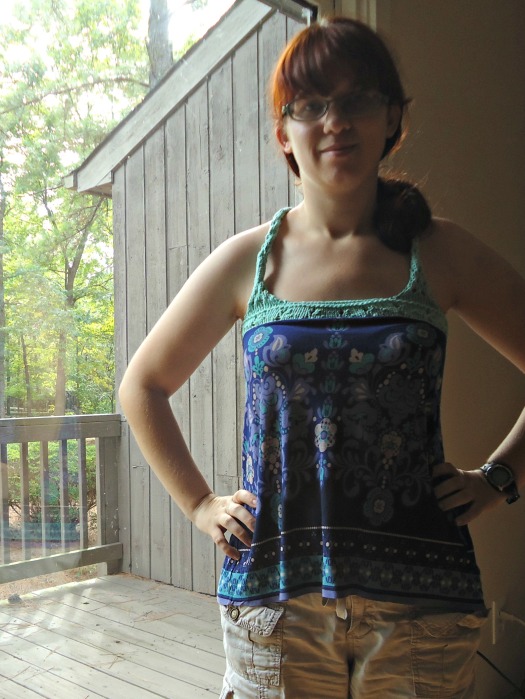
Ta da! I present my knit and sewn hybrid!

I had most of the knit part finished before I posted about the wristband, but I was really more interested in figuring out how to attach it to the part of the knit fabric I had previously cut off a dress.

topofdress

The story of the dress: I got this dress in Germany on a visit with my aunt, who I rarely get to see. It was love at first sight with this dress. It was also about seven years ago. The dress didn’t fit well by today, and I would always have a serious case of panty lines. And who wants that. So I cut the skirt off to make this shirt, which is well cropped at just hitting the waistband of my jeans, so better with high waisted bottoms, and I had this leftover fabric. I had been planning to make it into a color blocked shirt with a yoke.

But then I saw how close this yarn was in color. Match made in heaven.

backlight

I used my wristband as a pseudo swatch and just cast on a bunch of stitches. Throughout the entire make I waffled on construction details and sizing and how much yarn I would need. mostly the latter, as I had a finite amount to work with. Because of this I used stockinette stitch with a small openwork pattern, mostly for the yarn conservation reasons. I was banking on the idea that the sewn part would flatten the stockinette stitch roll. It mostly works.

frontdark

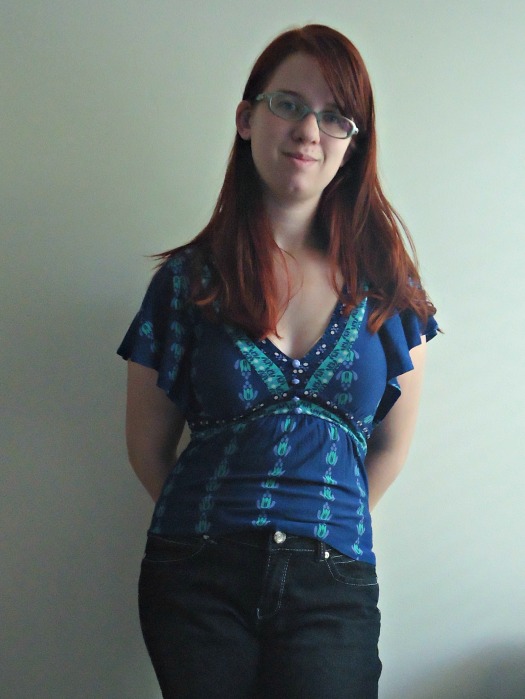
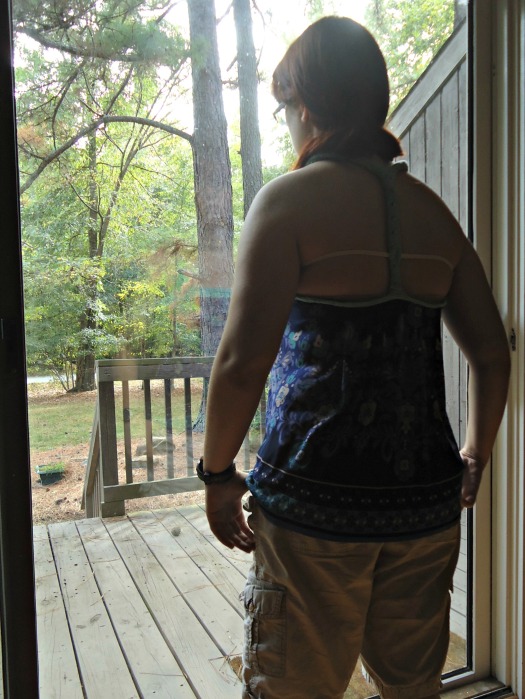
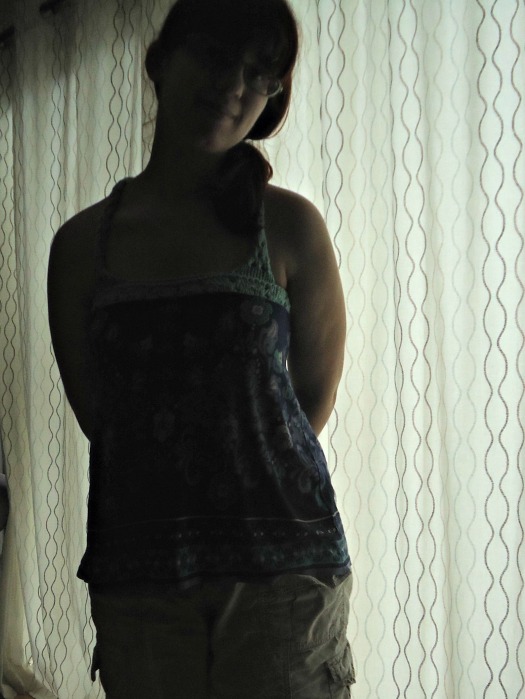
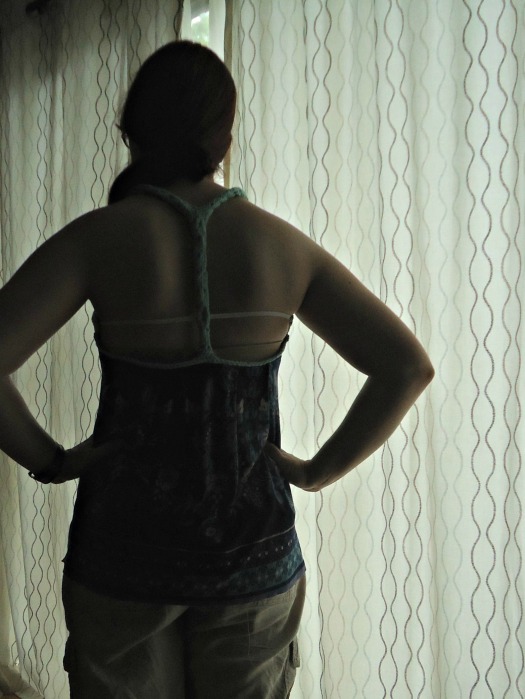
I measured how far apart the straps would need to be, then I realized I just how little yarn I had. Racerback it would be then! Once I got to a reasonable back length, I bound off and used the remaining yarn to cast on for i-cord. And that’s how I finished the ball. Originally I used a bit of some peaches and cream top add some length to the i-cord and more “seamlessly” connect the segments. I wore it for a day, but by the end of the day the back had stretched out way too much… Waaaaay too much.

braback

So I procrastinated for a month. And now I’ve finished it. Took out the peaches and cream and used a different attachment method for the i-cord which helped to shorten it. And I used elastic to keep the top corners of the yoke tight. And it fits nicely and is cute, and because the seasons are changing probably won’t get much wear this year, but next year! Except now that I’m looking at photos the back falls below my bra strap… Any suggestions? I might need to get more creative with elastic.

Lesson of the post – I-cord is super duper stretchy.

Insanity

** Full disclosure: This insane night was in reality in June… I’m just slow on the picture front**

You know how the night before something big, say prom or job interviews or the first day of school or the last day of school (please stop me now), you immediately rethink the status of your closet? Please tell me I’m not alone here…

front

I’ve noticed that since I’ve moved towards the equator within the northern hemisphere I’ve been wearing skirts more. Perhaps its the fact that I’m dying from the heat, although I’m quite a weakling when it comes to heat shtuff. Perhaps its that I’m not at home, and that when I leave the house it’s pretty much just for actual reasons, like food shopping and getting a new drivers license and and being an adult is difficult. Needless to say, for all I’m a jeans and t-shirt girl, jeans are just not wearable in heat. Skirts are, though shorts come in as the close second.

So now I’m rambling. But what I am trying to do here is stall a bit. Because tonight I’m endeavoring to document my insanity and give you all the play by play of tonights “entertainment.” I am planning to make three skirts tonight, in the hopes that one will satisfy me tomorrow.

fronty

7:30 – The planning… and 8:00 – The time I realistically started this blog post.

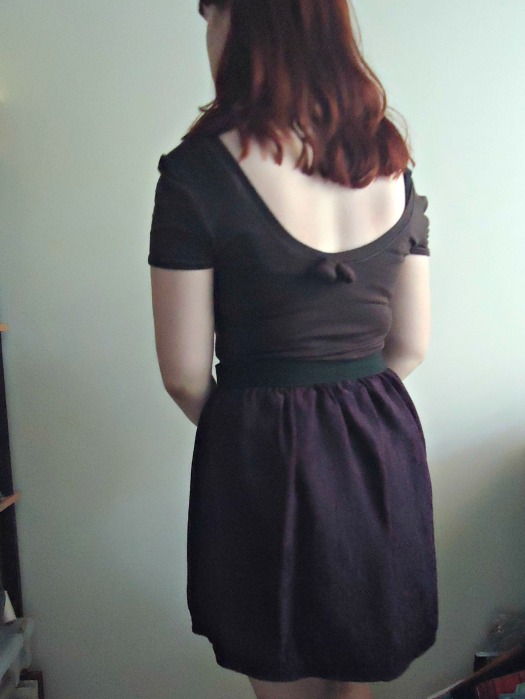
I’ve had the deep purple fabric the longest out of all of these, but in reality it’s been just over a year. I got it while abroad in a remnants bin of the only fabric store that I visited there. It’s really only a half meter, so I’ve been debating what to do, since I wanted to make a blouse. There isn’t really enough for a blouse though, so swishy skirt it is! This is going to be my *fingers crossed* easy one. I’m thinking simple  gathered skirt with a black waistband… Now I need to find a zipper.

The black interlock in the middle is meant for an A-line skirt… Or that’s what I’ve been telling myself. It’s going to have a waistband, since I realize that I pretty much only wear things with waistband (sorry culottes).

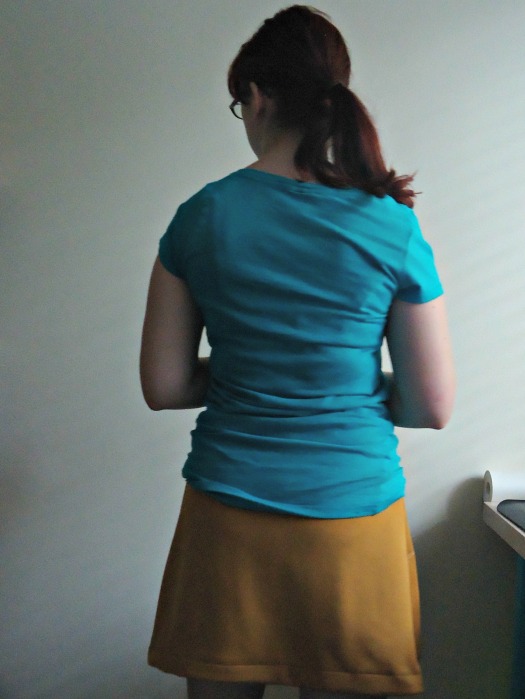
The gold, which happens to be the same gold as I used for my Belle dress, would also be for an A-line skirt. Maybe I should start with this one.

teaser

8:20 – The setting up of supplies

Now’s the time to get out the iron and the ironing board, the scissors and the rotary cutter, and realizing that I haven’t eaten dinner. It’s been a long day, and I shall now pause to reconsider my life as I make mac and cheese… or maybe some leftovers. Leftovers sounds easier.

8:45 – Back on track: ironing

That purple fabric… grr. I hate ironing non-quilting cotton items. I think I suffer a bit from i-learned-to-sew with-the-most-maneagable-fabric-itis. Put I shall press on! Hee hee… I’ll shut up now.

9:00 – Cutting out

For the purple skirt I’ll be gathering all of the fabric in, but I still need a waistband! Need to cut that. Also, cutting out the gold A-line… need to do some measuring there I guess!

10:00 – Sewing of the gold skirt

The internet is distracting. All I wanted to do was find out the basics of knit A-line skirt construction, but no, the internet was much too exciting… Perhaps an episode of Criminal Minds involving twins contributed. It’s hard to keep storylines straight when the same actor plays a set of twins…

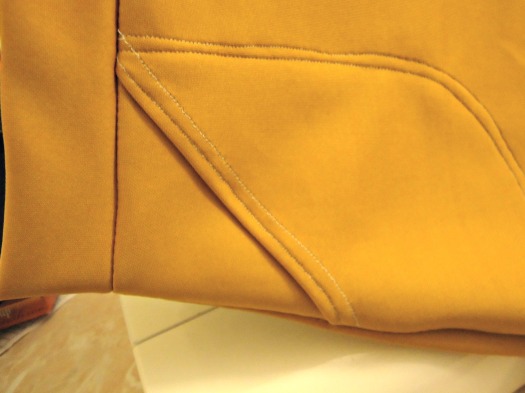
But I did find a post from ikat bag which discusses precisely what I was interested in! And it shows pockets! I’ve definitely told you of my love for pockets, right?

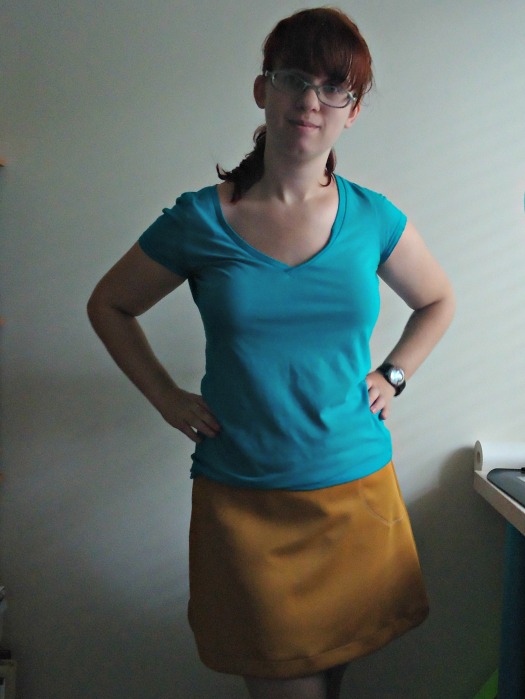
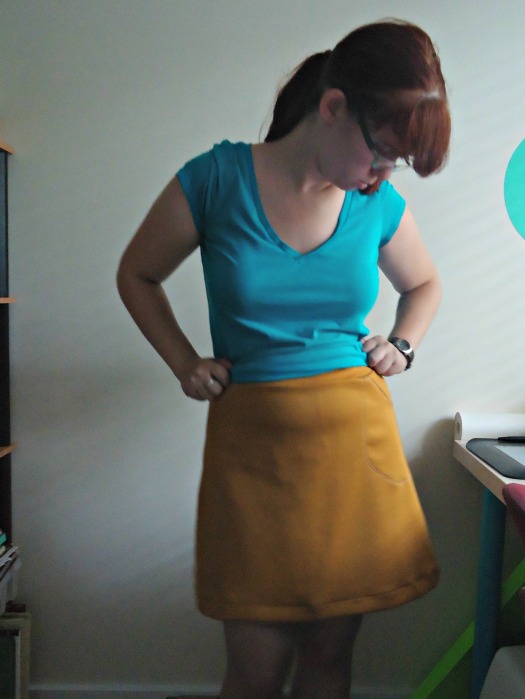
frontyel

11:15 – Sewing of the purple skirt

The gold skirt took a while, and its not hemmed, and honestly the waistband needs to be shortened and reattached, but all in all, not bad. I very much dislike unpicking, so I’ll fix it in the morning. It’s easier then.

The purple fabric is off kilter, though. I don’t think it was the end of the bolt, as both sides are very weirdly off grain. And its fraying a lot…

11:55 – Finally got one side of the purple fabric cut straight, and without further ado I am going to start the waistband process! I figure I’ll worry about the other side (aka hem) when I’ve finished the entire skirt.

backy

12:15 – I managed to sew the one side of the waistband down, and ironed the folded bit in place. I’ll start sewing soon, but have I mentioned that the purple fabric when hot smells like warm almonds?

12:45 – Finished the waistband and put in the zipper… Time for bed.

I hemmed it in the morning, and was all ready for the interview.

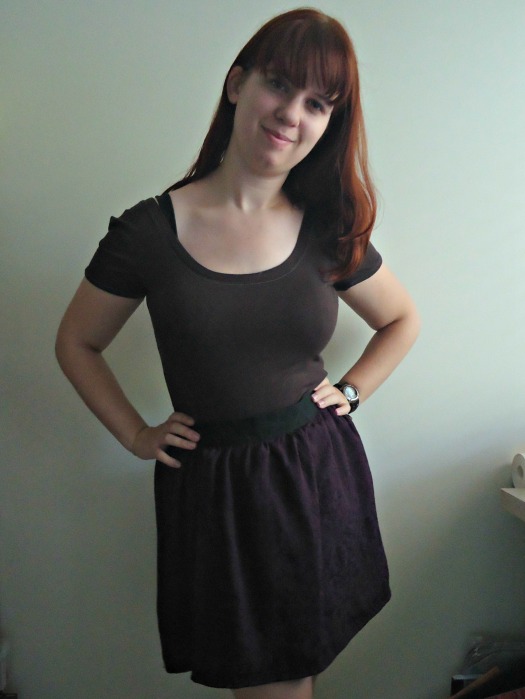
back prple

Never did get around to the third skirt, but it was since made into my black dress

I have learned that while A-line knit skirts are comfy, there is a greater risk of panty-lines, and it’s not good for sprawling when you want to take a nap… not that I have experience with that or anything…

But never fear, I’ve gotten pictures of the two finished skirts now. So, that was one crazy night!

Swingy Circle Skirt

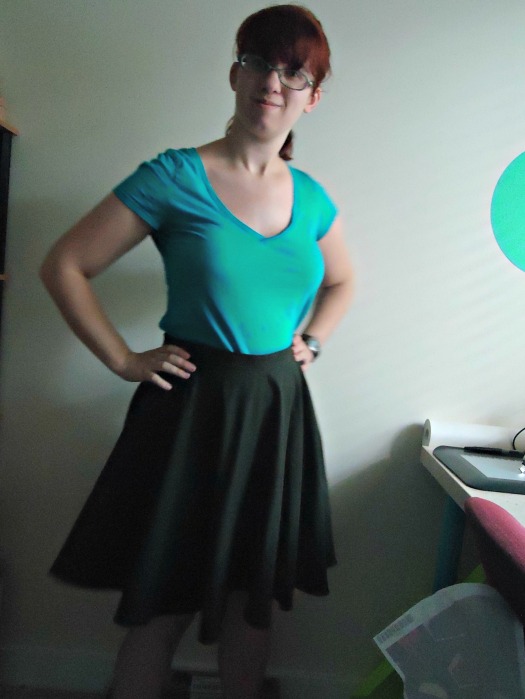
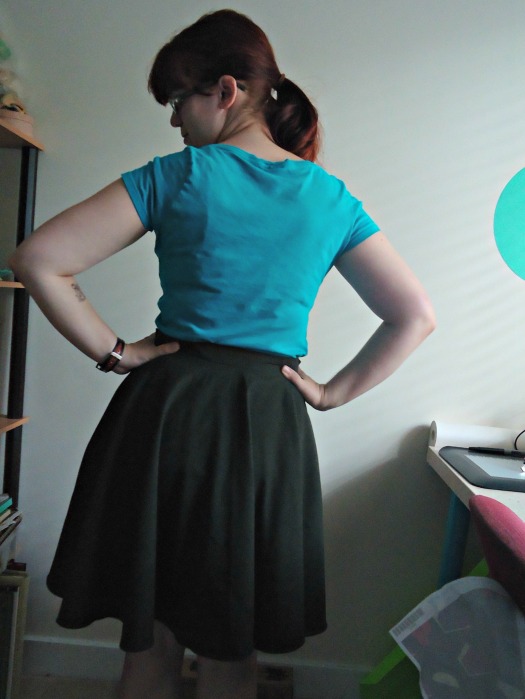
My friends, this is my first full circle skirt. A lovely grey suiting (maybe wool?) circle skirt!

front

Up until now, I’ve been worried that I would move too quickly or be in a blast of wind, and then my underwear would show.

This kind of malfunction is quite common in my life… Remember my culottes? I’m going to need to make another pair, because I wore these today, and… um… I’m pretty sure my fellow busriders who were lucky enough to get a seat could see somewhere quite private. And keep in mind I’m short. At very nearly 5’3″, no one except toddlers should be able to see up my skirt. I blame my lack of pre-washing (due to my inability at the time of make, and my obliviousness. There were signs. But it is an opportunity to make a better pair.

full

This post isn’t about culottes though. It’s about a wonderful circle skirt.

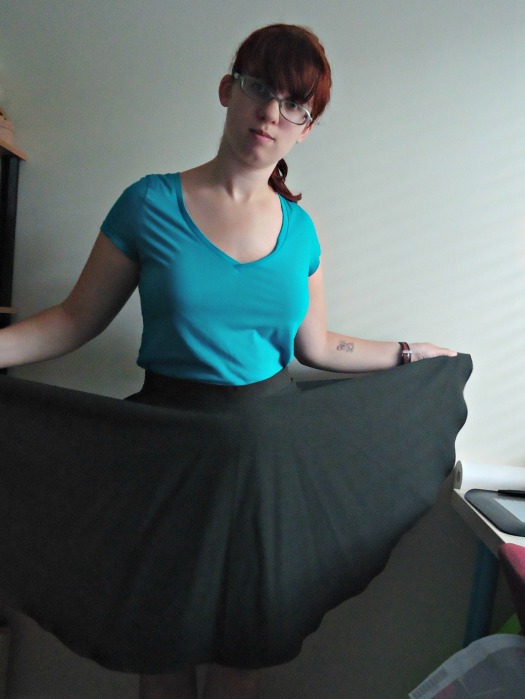
The fabric for this is medium weight. Definitely autumn or winterwear, not summer. And possibly wool. I’m just too chicken to try to burn test it. Comfy wool, not super itchy, if it is in fact wool.

spin

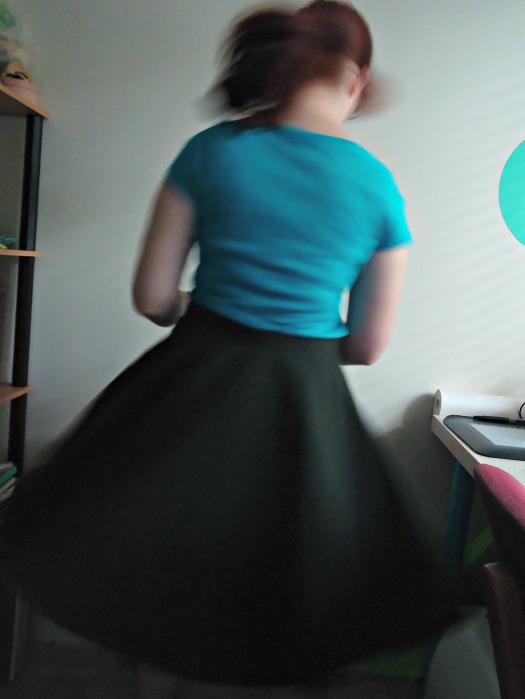
Weight is the key factor for me here, the weight of the fabric keeps this from being indecent. Look at this spinning picture. If we get over the fact that my bangs are creating a hilariously funny blur, I’ll tell you that this is me spinning pretty quickly. East coast swing dance quickly, though not quite jive or quickstep. There is no reason for me to spin quicker. And it’s still got some nice conical-ness to it! I did manage to spin quick enough for indecency, but not on camera and it took too much effort. Never happening again!

back

What else can I say?

It’s got a pocket? Big surprise there. I’m currently courting the title Princess of Pockets.

I interfaced the waistband for the first time? That was nice. Very necessary with the weight of the skirt too.

closing

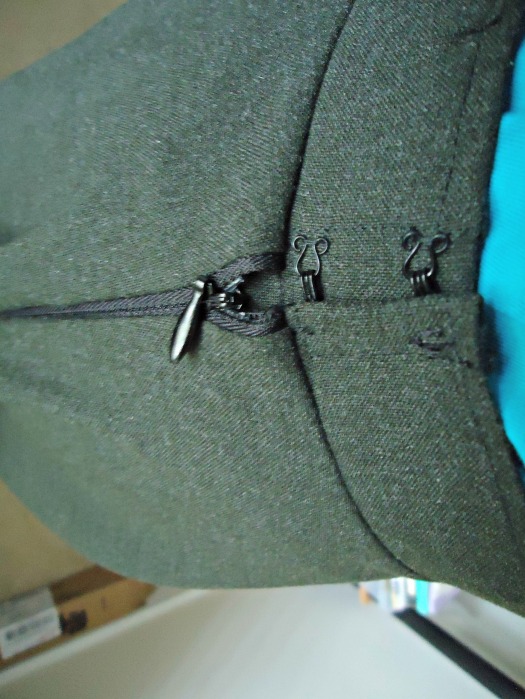
I’m very proud of my closure? The invisible zip isn’t very invisible, but for a first-try, I think it’s alright. And if I don’t care, no one else should. And the hooks and eyes. Perfection for me. Granted, I had to use black thread on a grey skirt, so its a bit visible, but four years in the costume shop have taught me my way around hooks and eyes!

That’s all for now, but you’ll be seeing it again tomorrow for a new potential series installation!

Burgundy Bliss?

I should not be in charge of titles. They rarely work out well… ie see the title for this post.

front

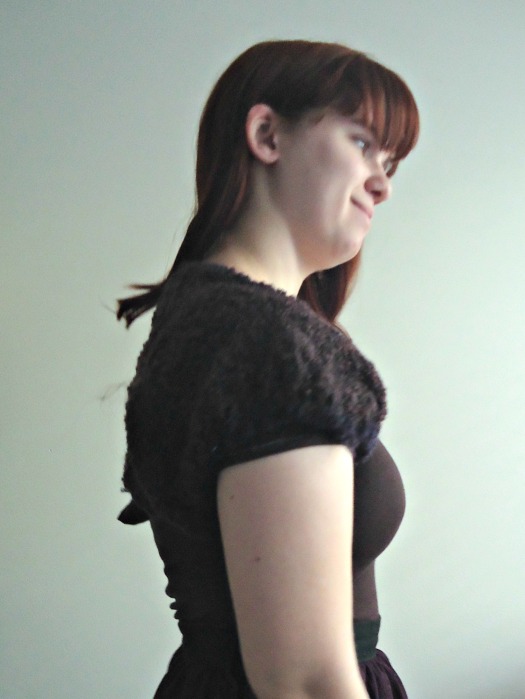
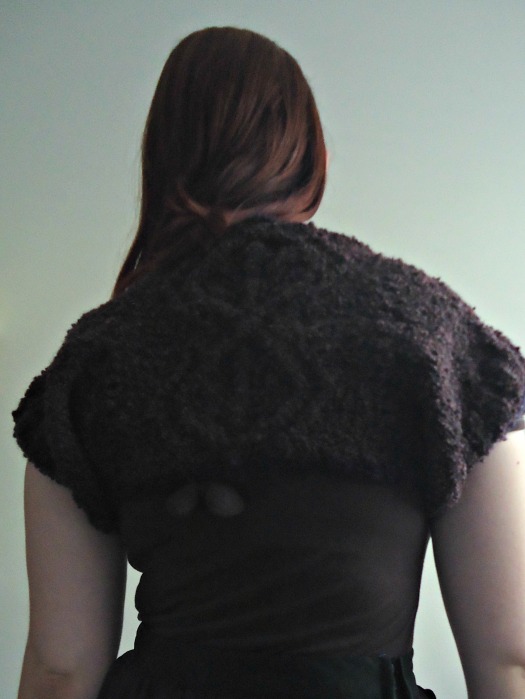
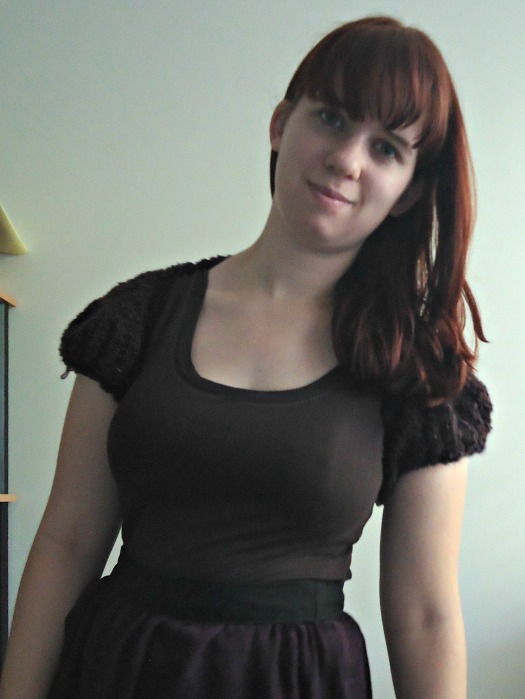
Anyways, I finally finished one of my knitted shrug plans though it is not in any way the shrug it was intended to be.

Remember last year how I said I was going to make a Cardilero?

anniversary

That didn’t happen.

Did I tell you last spring that I frogged it?

I cast on early on in the summer, and honestly that one didn’t make it far either.

But then I got a library card. And visited the knitting section. And found this book. It intrigued me, as I very much dislike seaming and finishing knits.

The cable was actually from a shrug pattern, Serenity Shrug… but how often do I actually follow patterns?

Especially knitted ones.

So I took the lovely cable and followed nearly the entire instructions for the back… Maybe mixing up which size I was making. That happens a bunch. And then I got close to the sleeves.

Now I was making this in the heat of July. Yes I was indoors, and yes I had air conditioning, but anytime its super exhausting outside, you can feel it inside too, right? So why was I making a fall-weight shrug thing in July?

side

Don’t expect an answer for that.

I don’t know why I couldn’t understand what the pattern was asking me, but it just wasn’t working for me, so I decided to take out some circular needles and zip away on my own.

The cap sleeves were accomplished by short rows, though they looked terrible the first time around. I had to frog pretty much all the short rows of my first attempt, mainly because then (and realistically now) I had difficulties understanding how short rows were meant to work, and I was also attempting to correct the imbalance of the back of the arcscye being too far back on my shoulders. The second time around I ignored it. I’m never going to see it!

The second attempt was also created with the intention of almost creating an as-you-go-sleevehead.

After completing the cap sleeves on both sides, I decided that I probably would wear it even less if I continued to fiddle and make the sleeves longer. So I stopped and edged the sleeves and main body opening with my fuzzy German souvenir yarn and called it a day.

back

If it looks a little puffy from the back, well… I don’t have to look at it! And its warm, which resolves many looks related issues. It also doesn’t help that my tripod is short, even for me, so the views are all from below, adding natural puffyness (and the fact that my tiny bow on the back of my Nettie got in the way).

And there you have it!

P.S. In the pictures it does seem to blend well with my chocolate Nettie, don’t you think?