Jasika Blazer

When the Jasika Blazer was announced, it almost felt like the release was timed for me, because I was just starting to get some good job nibbles in motion, so I purchased the pattern, gathered some of the materials and stalled. Not for too long, but I definitely waited until about halfway through the big CCP Blazer of Glory sewalong before I started to catch up.

I’ve made two of these blazers since then, but this post will be about the first one (I’m still in recovery mode for blazer number 2).

button

All of the materials were stashed for this first blazer, but that also means that a lot of different fabrics went into it. Six in fact. Six fabrics.

1 – Navy blue twill that makes up the bulk of the jacket. I think it’s polyester, and it’s pretty heavy.

2 – Green cotton, possibly flannel for the side panels

3 – Green velvet, which later became crushed for the collar and lapels

4 – Navy blue brushed twill for the bottom sleeves… Because of an interfacing error the original twill pieces became unusable. So I cut more out of the only navy blue twill I had left!

5 – Light blue lining with painted blobs, otherwise known as the only lining fabric in my currently limited selection I could get the back pieces out of.

6 – Turquoise/green lining, because it almost kind of matches. Not really. But kind of.


20190327_114027

But before I cut into the fabric I made a muslin. For the muslin, I cut out size 12, with the C cup FBA pattern piece for the front, I think. Size 12 was good, but in ultimate hindsight (one muslin and two makes in) I think I’m probably halfway between the normal pattern and the FBA pattern, and should consider dealing with that next time… If I need a next time.

When I tried on the muslin, though,  I realized that I needed to take in the side seams a little, since I’m a petite person and the side seams were doing nothing for me. I also removed about two inches of length from the body and sleeves, and could probably stand to remove more. And finally, I did a swayback adjustment, which ultimately was successful on the outer, but less on the lining. Now that I’ve stepped back, that segment of the lining caused problems solely because of improper adjusting of the lining piece. But the altered muslin did look pretty good!

In making the garment, I did want to do it all from stash, so I did cheat a little and used a double layer of lightweight fusible in place of the hair canvas… Looking back, I don’t know how much of a difference it is. It is definitely stiffer than my hair canvas shoulders on v2, but not super stiff.

handstitching


I ended up doing a lot of hand sewing in this garment because of sheer determination and lack of willingness to see stuff on the right side of the jacket. Like with the lapel easing… You are very unlikely to see the underside of the lapel, but I decided to hand sew the required ribbon in anyway because what happens if my machine spits out a threadball… Then I’d have to unpick it and hand sew it anyway, right?

(In hindsight, I still think this is fair, but also it was a bit fussy.)

smudge.png

Then I found out that the marker I had used to mark most of the front was waterbased, and that steaming would smudge it. Silly Jess. I only have white chalk at the moment, because most of what I sew is dark or colors, but the interfacing I had for the fronts was a light grey, so I needed to mark it with something darker. Luckily for me the actual jacket front pieces were navy, so the red smudges would never show through, but it was a good lesson to learn.

welt.png
Let’s not talk about pocket 2…

Sewing the welt pockets was fun, to a degree. I’m not a precision sewist, so I wasn’t sure how it’d go, but I just jumped in and went for it.

For the record, I’ve done double welt buttonholes before, so I felt pretty confident going into it. Thank you coat that I’ve rarely worn because NC is too warm for it!

And then after the welt pocket, it was basically smooth sailing! I have pictures for before and after the collar/lapel insertion, and then the finished garment! I definitely remember completing the lining in one sitting, in maybe 4 hours tops (from cutting to assembling to break to sewing in with very careful detail to the instructions).

guts

I made my own shoulder pads and sleeveheads out of cotton batting from my quilting stash (hip hip hooray for stash!),  and because I have what I consider very sloping shoulders, I made them extra big. I don’t think it looks like 80’s shoulders big, so I’m not worrying about it, but just to bring it up: very sloping shoulders may need to adjust somehow…

backlining


frontlining

And yeah, I think that’s it. It was a worthy garment to make, and really boosted my skillset. Plus… very soft velvet lapels/collar.

Sadly it’s too warm for NC, which started believing it was summer in mid April, so I’ll have to give this blazer a second opinion in fall.
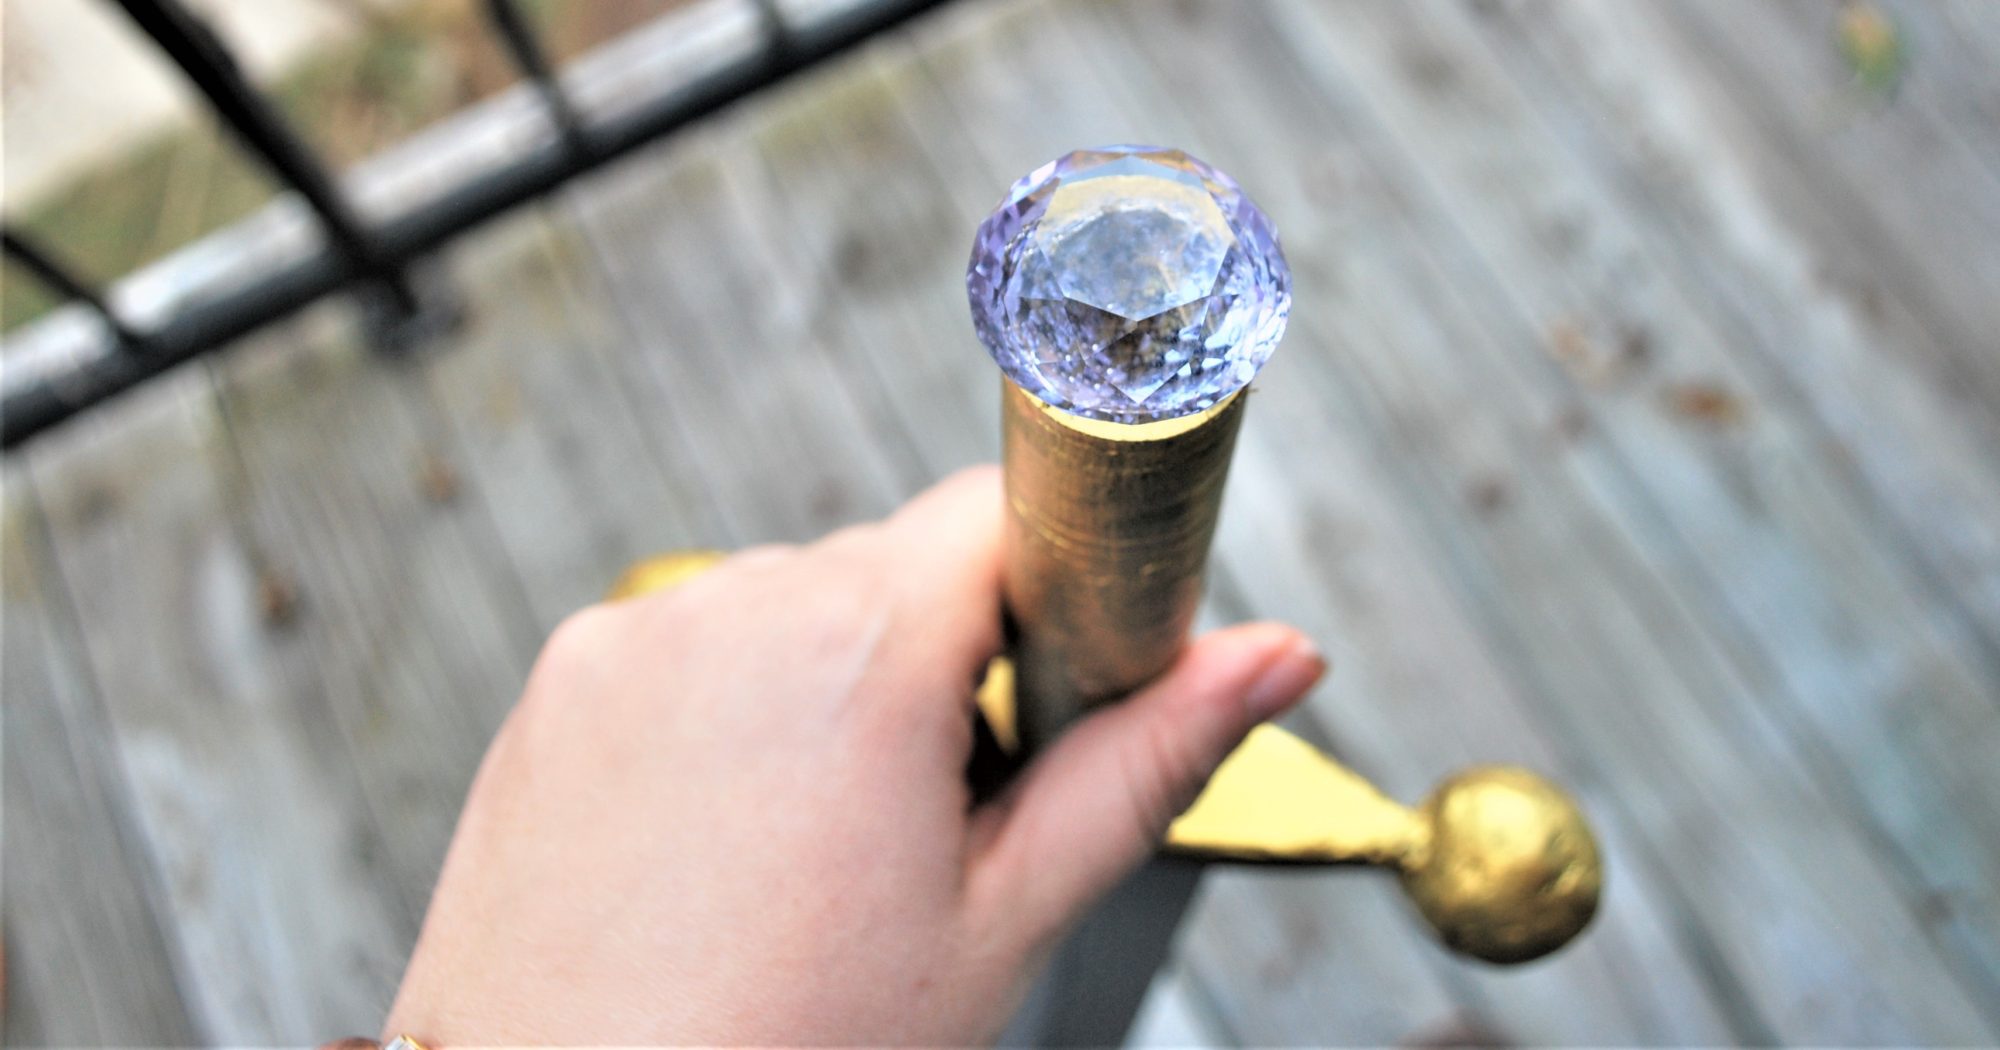
sleevesin

Aqua Butterflies

So this story begins in my favorite “second hand” store, the Scrap Exchange in Durham NC. (Second hand is in quotes because most of the materials are new, just pre-owned).

shawlout.png
Okay guys, this is too far away to see detail…

I introduced my parents to the space a couple visits back, and now it’s always on the agenda when they come down (Hi Mom and Dad!), and they visited back in January. So naturally we visited the store.

tooclose.png
Too close, you can see the focus issue…

Checking out the yarn bins, I hit gold in the greens bin with this Malabrigo sock yarn for $5. It had never been caked, and it still had the original $18 price tag. I snapped it up, and I got super excited.

back
I guess it’ll do. Dear Reader, please do not try to zoom in!

I should mention that the ‘rents were visiting to help me move. So when I was unpacking I obviously wasn’t originally interested in finding my swift and winder, but still somehow I managed to cake it up within the first two weeks or so of moving, and then looked for a shawl pattern to match it with.

spread

On Ravelry I found the beautiful Dancing Butterflies shawl, by Carfield Ma, and it felt like a match.The pattern is well written, and working it up was great! I did have to alter it near the border since I only had the one skein available. I played multiple games of yarn chicken  before finally finishing it maybe 10 rows before expected.

Then came blocking, where I was able to block it to a rather huge size, but it did show me that I was not loose enough binding off, so I got curly edges. Not that it matters, because I now have Butterfly Wings!

folded
I take all my photos with a camera and tripod, and this is one shoot where I should’ve asked a passerby to stand in for focusing… Lessons hopefully learned!

I love this shawl, but I’ve found myself only reaching for it when I’m wearing blue or green. Good thing that makes up so much of my wardrobe!

Emerald Flint Trousers

A month or two ago the Sewcialists announced that they were going to put on a mini challenge over a weekend, and that it was just for fun, so no pressure or anything to join up.

front
These are not the right shoes for this length… Oops.

So of course I put a ton of pressure on it.

But in reality, I knew that I didn’t have anything else on my plate that weekend, and that I could probably spend the entire time sewing.

So I did.

The mods announced the challenge on Thursday, so I dutifully took the incredibly entertaining quiz and received the word “Spicy” as inspiration.

minichallengespicy

Because I am not a spicy person, and spicy food disagrees with me, I thought about what would spice up my wardrobe. I remembered a passing thought I had a few  months prior when I was wearing my grey Flints, that it would be awesome if I had some green Flints to change up my wardrobe. And thus, a plan.

I had not yet cut into my lot of rayon-linen blend from Dharma Trading, so I cut off about 2 yards (in hindsight should’ve done a bit more) and prepped to dye the fabric.

back

Got out: 5 gallon bucket, dye, soda ash fixer, canister of salt, desk chair, wooden spoon, fully charged computer with a show playing.

(My roommate must have thought I was nuts, since this was my first time dyeing fabric since I moved in.)

And I sat and stirred for what felt like hours. And was probably an hour and a half.

Then comes the requisite wash and tumble dry before I could find out what color I actually had was. The suspense was killing me! I used two color catchers on that load, and both came out pretty blue, so I’m glad I used them.

The fabric came out the perfect green. So the next day I ironed (ugh), did some small pattern alterations to fix the weird wrinkles in the back (meh), and cut out the pieces (so wide, so many), and started piecing together the pants. Just like the grey ones, I bias bound every single seam, which did not take up as much time as I thought it would, because by Friday night I was done, excepting hems.

details

The next day I waffled about the length to hem, so I decided to put some trim on the side, and found this cool black crochet trim in my stash that has little bobbles along the edge. I aligned this with the side seam and sewed it down, and then I hemmed the pants. They’re skimming the ground when I’m in my normal shoes, 1 inch off in my dance heels, and I try not to wear anything flatter.

They got the swing dance seal of approval that night, both with others’ compliments, and how fun they were to dance in. So comfy, so swishy. Just so good.

kick

I’ve found that the fabric has terrible recovery, and the waist will bag out massively as time goes on, but I keep a safety pin in the waistband and adjust as needed.

Secret pajamas for the win!

Movie Socks

socks on

I’m definitely an impulse knitter. Unlike sewing where I’ll plan and mostly execute, with knitting I’ll get started on a project and let it simmer for altogether too long until I marathon to the finish.

unfinished.jpg

These socks were started the night I saw Deadpool for the first time, probably a week after it’d been released in theaters (prime knitting in an empty theater time).

The first one has a bump, or rather a pattern miscalculation, near the toe from an unfortunate incident with a movie called “How to Be Single.” I was there for a friend’s birthday, but I couldn’t stand the movie, so I was the weirdo who pulled out spiky sock knitting during a friend’s birthday outing to a chick flick and then cupcakes (RIP Sugarland). These socks are old enough that the cupcake place has since closed.

sockblock

I would tinker with these at various movies, watching TV, passenger in long car trips for a while. Definitely some Star Wars was input. Possibly Spiderman Homecoming.

And at some point I finished the first sock. I should note here that I was basically making this pattern up as I went. I knew I wanted a small twist up the front, and a larger twist up the back leg, so that’s what I aimed to design. With mixed, but overall good success.

sockprogress

I had taken moderately good notes on my self directed pattern, but second sock syndrome hit me hard. When I finally did start working on the second, I had accidentally deleted part of the notes… Whoops.

So the second sock is definitely more sister than twin, but I think that’s okay… Because it’s done!

FINISHEDSOCKS!!!

Over the holidays in 2018 I finished the sock during the super long drive.

socks watercolor.jpg

Victory! Till the next round of procrastination, at least.

And I’m back!

That wasn’t so long, was it? Okay maybe a little.

veins

It was nice to step back, let a bit of life and perspective pass by before getting back into the swing of blog things.

The pictures in this post were taken a couple weeks back at Duke Gardens in Durham NC, and a friend and I just took all the pictures we could of each other, dogs, and flowers. Unfortunately none of my dog photos came out… Practice, right?

I’ve been slowly updating the links along the menu above, so that it better reflects my interests, and also putting up some of the costumes that I finished years ago that haven’t gotten their due page.

Tune in the next couple weeks for one of my longer knitting projects, one of my shortest knitting projects, and some costume related updates!

In the mean time, enjoy the flowers!

Taking a Short Break

A week or two ago I realized that I couldn’t find my camera battery charger… This was right after returning from a nature walk with my camera that was fun, slightly wet, cold, and also used up every little bit of my returning camera battery.

twisty tree2.jpg

I moved a little over a month ago, and there are a couple things that I can’t find, which means they’re likely in my storage unit, which has also confounded me a few times. (I lost an entire tote of kitchen supplies for a half hour because I put it behind something else. And of course that tote had the items I was desperately searching for.)

So when I was missing my camera battery charger, I decided to take a little break from social media. It was delightful, and it freed me up mentally to create some stuff that isn’t photographable. Like a story I’ve been writing off and on for about a year, or the app that I posted about a few weeks ago.

So when I realized last Tuesday (and yesterday for that matter) that I didn’t have a post ready, I decided that it was time to take a small break here too. Can we call it blogger’s block?

I’m still making stuff. This week I finished knitting a shawl, and I’m making a miniature version of a prop. But things like clothing are not supremely necessary for me to make right now. I’ve got plenty of clothes that fit at the moment, and though I could probably use another pair of jeans/trousers, I don’t need any, so I’m not feeling desperate to make anything.

My goals for the next couple months in the making field are to take it slow, and experiment a bit. I’d like to make a blazer for interviews, a pair of trousers in a nice green linen. Maybe a 30s or 40s dress? I’m planning on making a couple sculptures, perhaps to make a mold out of for a costume project. Oh yeah, and maybe a costume or two.

I’ve been posting weekly for about five months, and I think that I need a bit of a recharge. So when will I be back? Could be next week, could be next month…

Regardless of when I’ll next post again, I want to thank you for being around! I’ve been writing for my blog for six years now, according to WordPress’s notification on Sunday, and I’ve been at this site for a bit over six months now, and I’m happy to have you all here!

twisty tree

See you back in a bit!

Guess who made an app?

Quick post today…

Over the weekend, I rediscovered the MIT App Inventor, and ended up with an app!

Now, I want to note that I have about three years of programming experience, but the App Inventor is a block programming system, so if you know how what if-statements are, then you can program… I mostly got bogged down when I was writing scripts about things like semicolons and colons… So many semicolons.

But back to the app. I made my perfect row counter for things like knitting and crochet. I’ve tried so many such apps, and they’re either too complicated for my needs, or they have annoying ads, etc.

rowcounter

So I’ve made one that fits my needs perfectly! It’s called “Row Counter” because I am incredibly creative.

Screenshot_2019-02-19-09-07-19

It holds data on four or less projects, as a motivator to not have too many WIPs, and it’s a minimalistic design, simple buttons words, and a blank canvas to work with!

Screenshot_2019-02-19-09-04-28

It’s only available for Android phones, because that’s what I own and love, so sorry Apple users!

Screenshot_2019-02-19-09-08-12

I’d appreciate it if you give it a look see, and see if it’s right for you as well!

It’s free, so there’s no pressure either way… If it works for you that’s awesome!

See you next week for (perhaps) a yarn post, unless something even cooler comes up!

What did I make for the holidays?

At long last (meaning about a month and a half delay), I’m here to show you what I made for Christmas gifts!

pens in a spiral

I got the opportunity to work on a wood lathe in the fall, so then I decided to make pens for my family and friends!

(Let’s have a moment of silence for the approximately 25 pen blanks I broke to make these six pens.)

(And we’re done.)

coop

I made two portraits of my neph-dog for his ‘rents, but I think I only got a picture of one, my watercolor version. The other one was out of pencil and colored pencil.

lighthouse

For my dad, a lighthouse enthusiast, I also etched the Cape Lookout lighthouse onto the  side of a cedar block!

blockprints

And for my mom I also made a set of block printed tea towels, with my very own block printed doodle design!

pens in a line

Let’s have another look at those pens… Since I’m so very proud of them!

Happy Valentines Day!

Semi-Beginner’s Guide to Fabric Design

You know the idea of a side hustle? I’ve had (and have) many of them, and one of the ones that most intrigued me for a long time is designing fabric.

multi

I love doodling, and always thought it would be awesome to have those doodles on fabric. So when I moved to North Carolina in 2014 for school, I found out that there was a way I could actually put my designs on fabric (aka Spoonflower!)!

I had been designing things for my Redbubble shop at the time for a year, but fabric was a game changer (in my head, at least).

Quickly I realized that fabric repeats are challenging. So for most of the designs I posted and tested early on I went the easy way and made a small design and let Spoonflower’s design “software” handle the repeats. Which was great!

This has not been a lucrative endeavor for me, but my Stargate inspired designs have gotten a lot of love (thanks to the geeks and geek-loving family members for supporting them) so I had some Spoondollars saved up and I wanted to upload some more of my designs, specifically my mandalas, while also expanding to maybe other things!

ocean

So I did some research and learned some techniques for making repeats both physically and digitally. You can see the fruits of that labor in the pictures throughout this post, and I can’t believe how adorable this ocean creature print I made is… I don’t care that I’m bragging. It’s so cute, right?

The paid thing I found was this series from Creative Bug… Kinda like Audible, you get to “keep” one workshop a month (or something like that), so I still have access to these (darn you autopay!), but I found it soothing and fun to watch. Basically 3 or 4 designers give a peek into how they make their fabric designs, how you can make it on paper, and how you can make/translate the designs to digital means in Photoshop, though the idea should be pretty much the same for Gimp, if that’s more your speed.

I also know there’s some courses on Skillshare, but I haven’t given them a try yet.

If you want to stay entirely in the physical world, Megan Nielsen had a great set of posts out a couple months ago about a screen printing class she took, which you can see here!

Spoonflower has a handy tutorial for doing repeats by hand, which was specifically what I followed for the artwork above, of cutting up your sketch and taping back together to distribute your pattern. And here’s a post of repeat resources Spoonflower put together!

Then I scanned it, edited all the animals, and then used a tutorial for Photoshop to get the repeats to work… but I’ve now checked every bookmark on my browsers and I can’t find it… (edit: it’s now linked!). There are many options if you google repeating patterns in photoshop, so I’m sure you’d find a great one!

seedpod

I’ve now gotten the proofs, and I’m ready to sell more of my original designs! I’ve made a bunch of my mandalas available for sale in different scales, with the same technique of letting Spoonflower make my repeat for me. I did find that washing dulled the colors, or at least made the black background of some designs more of a very dark grey, but overall it’s still great to see my designs on fabric in person!

undertheseaspoonflower

What’s your favorite kind of design to see on fabrics?

How I Make Digital Mandalas from a Sketch

Welcome back for what has become week 3 of my mandala tour!

Today I’m going to show you how I make mandalas from sketch to finished digital product. I do want to note, though, that this isn’t a great process for digitizing a fully drawn mandala, like the one I showed you last week. That’s more of a finesse and fuss problem, which I haven’t mastered yet.

I’ll be using Adobe Illustrator primarily, which is a vector based software that allows for layers. Similar softwares are CorelDraw and Inkscape, the latter of which is free! I haven’t used it before, but its an option. I’ll point out where you could use something like Photoshop to carefully complete the steps.

So let’s get started!

guides

First you’re going to want to draw some guides at recognizable angles, or at least angles you can remember, so bring out the protractor!

sketch

Next, in pen, draw in a design of your choice! It’s hard for me to visualize what a design is going to look like when extrapolated to a mandala, so I just doodle and hope that it won’t look too weird or wacky. Then either take a  picture of it from directly above, or scan it in!

I did briefly bring it into Adobe Photoshop for editing, mostly just upping the contrast and cropping…

Then open up a new document in Adobe Illustrator, and place the image into that document.

4

Lock the picture in place, and draw in a vertical or horizontal line, and then copy it, and rotate the second line to your angle. (Mine was 30*, in case you were wondering…) Make them obvious in some way, whether that’s thicker, or a different color, or both!

5

Then start drawing in shapes and lines!

(If I was working in a raster software like Photoshop, I’d draw/paint in the designs on a new layer, trying to keep inside of the lines I just created, then clean it up with an eraser and skip to the flip and rotate step. )

6

Make a copy of the guidelines that you made earlier, and stack them on top of the originals, then use the Shaper Tool (it looks like a circle with a pencil in the front) to “erase” parts of the shapes you made earlier. The guides will naturally cut the shapes at the proper angles for flipping and rotating!

You can definitely go back and forth between the previous and this step until your design is set! I think I went back and forth at least twice to get it to the above state.

7

Now you can turn off or delete your reference image, and I like to change the color to black for visuals… Lime green is pretty annoying to look at after some staring, right?

You should also be able to turn off any other guides too.

Now, select all the parts of your design, and group them together, then make a copy. Reflect this copy over the axis of your angle. In my case, I originally reflected the copy over the angle 120*.

Adjust the two groups so they meet up, or make changes to the paths until they do. Then reflect the combo over the next axis, and repeat.

10

By adjusting, I mean, drawing in new circles, if the parts don’t properly match up, or extending vectors so they meet, etc. Mine didn’t match up exactly, so I had to do a bit of cleaning up, and that is totally fine! If you drew in the details in Photoshop, you can paint over until the pieces match up.

11

And when you’ve gotten back to the beginning, you’re done! You have made a digital mandala!

(Unless you want to color it in… If so, continue on!)

12

For coloring, I used the Live Paint menu in Illustrator, and messed around with colors until I liked it. You could also do this in a raster software!

13

And here’s my finished mandala!

Export it as a picture and you’re set!

If you like the mandala from this post, check it out on Redbubble!