Birthday Dress

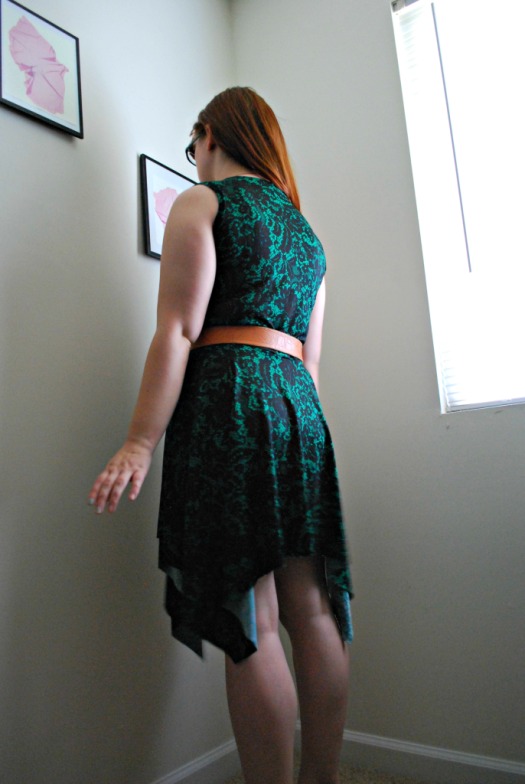
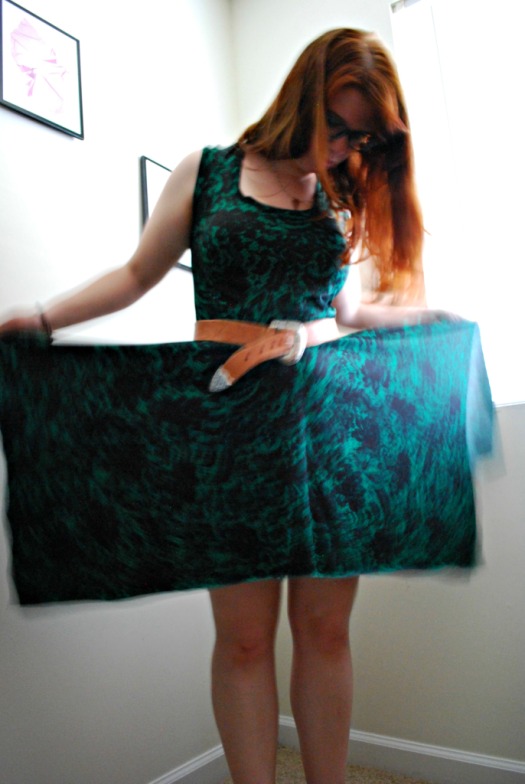
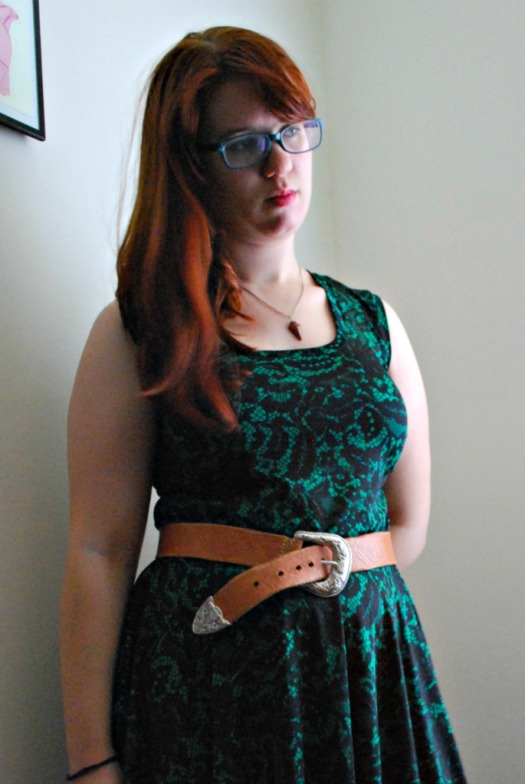
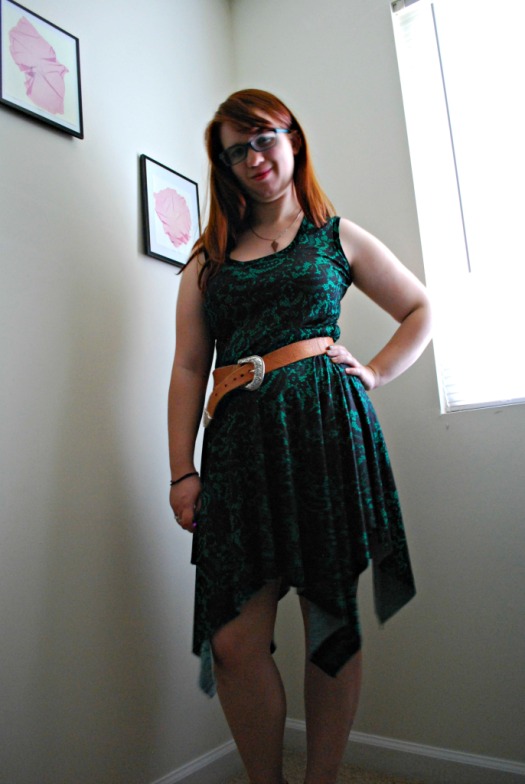
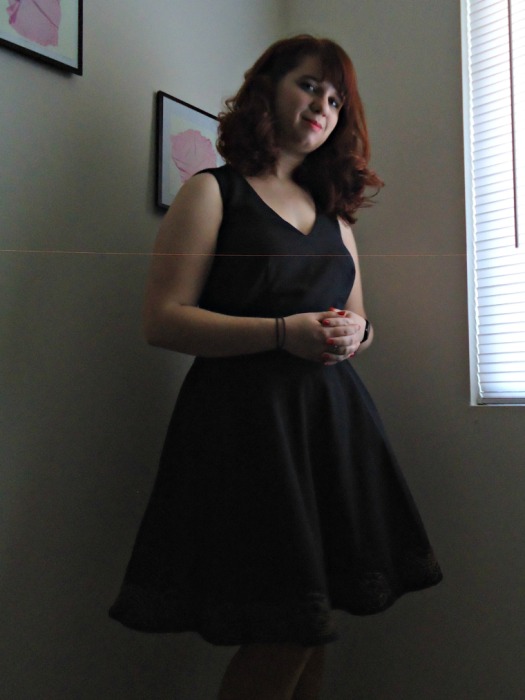
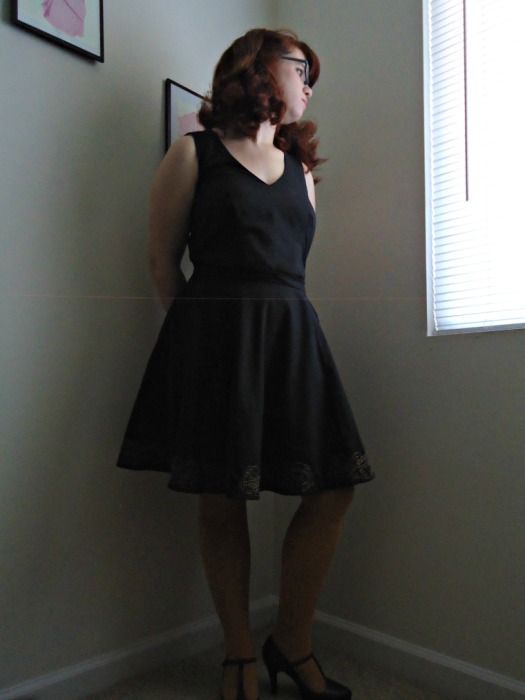
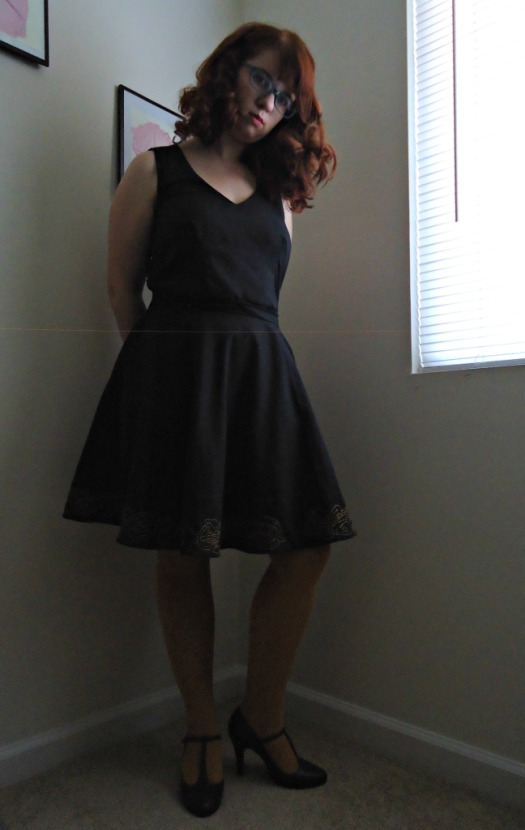
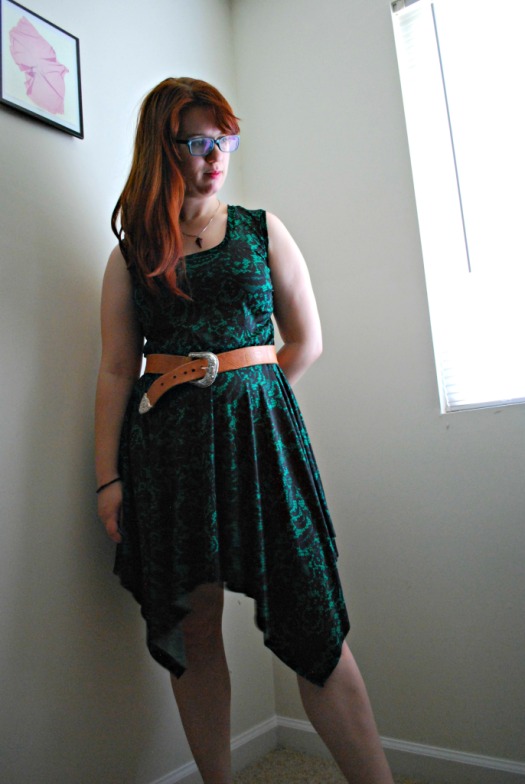
It’s been over a month since I made this dress, and yet I’ve only worn it once or twice. But it’s special, cause it’s my birthday dress.

style

The week before my birthday I was finishing up the TARDIS sewing, so I didn’t get a chance to make the dress. The day before my birthday I got back from a ballroom engagement and didn’t have the energy or willpower to start. I think I got as far as retrieving the fabric before I gave up and collapsed on my couch.

This green lace printed polyester jersey had been in my stash forĀ  a couple months, after I picked it up because the print was so cool despite the polyester-ness. I knew I wanted something sleeveless (so my armpit sweat wouldn’t be cooped up {is that too much info? Sorry}), and I’ve been wanting a handkerchief hem dress for a while now.

back

So on my birthday morning I pulled myself out of bed and cut out a square for the skirt, and then used the Nettie shirt pattern I’ve manipulated to make a front and back. I remembered to cut out the arm and neckbands at this point, instead of having to go back and get them later.

I managed to get it sewn up, eat both breakfast and lunch, and get to campus for my class with caffeine in hand. And with time to make more caffeine for class, which is always a plus.

wide

Wearing it that day, though, showed me that I had miscalculated the length I’d need in the bodice, and it just got longer as the day went on. It was too short to be dropwaist, and too long to wear without some sort of waist definition, so I have been wearing it with my life belt.

closer

About a week ago, I added some elastic to the waist seam, which helps with the droop, but it’s still loose at the waist. Maybe I should take it in some more.

Anyway, the armbands instead of sleeves are definitely comfortable, and it looks nice sleeveless. I’m probably going to be making more this summer! And I have a nice amount of fabric left, so I’m thinking a short sleeve Nettie hack. I’m going to cut that out now, I think!
sass

Green Julia Cardi

This post has been long in the making…

I got the Julia Cardigan pattern from Mouse House Creations way back in late 2014, I think? Back when the Perfect Pattern Parcel was still around.

I made it up for the first time in December or early January. And I’m still not sure how I like it.

The fabric is only 2 way stretch, so the lower arms are a smidge tight, and they’re drafted small as well. There also wasn’t enough of the fabric to get two bands out, so I made due with one, and I don’t think it works well with mine.

And my swayback game is strong, and this really shows it. I also tacked down the back neckline for security and flexibility’s sake.

But I reach for it weekly, so I guess I must like it?

I’m thinking of cutting another neckband of a black or other complementary color to assist in the movement of the neckline, but I also have been planning a lot of things. Like jeans and corsets and house cleaning. We’ll have to see how much procrastination I do in the next week before my last final ever!

TARDIS Blouse

The final new piece of my TARDIS puzzle, the blouse, was a rush job.

full

I’m talking the day before I left on a trip that I’d be also using for my first photoshoot of the costume, when I realized that the shirt I had planned on using looks crappy with the jacket. And I can’t really change the jacket, since it’s lined and I love it.

hung

It also occurred to me that because I’m not necessarily stuck in a summer con that I can wear long sleeves. So I did, and I think it helps balance out some of the elements.

I used the pattern I made for my Peggy costume, which is quickly becoming my favorite close fitting button up pattern (also known as my only close fitting button up pattern).

back

The back needed to be redrafted so it was a single piece with no gathering, and I removed some of the curve that is meant to help with swayback, since this would be worn over a corset and was short enough not to really effect it.

The front was redrafted for a shawl collar, which would start its separation above I also decided that long diagonal darts would be neat for a change to the front. I wasn’t feeling the tucks this time, and they would be completely hidden by the outer corset anyway.

The fabric that I showed in this post three years ago that I thought I’d use for a bustle was originally going to be used for this shirt. I got all the way through making it, and was ready to cut the facings when I decided to try it on. And the fabric next to the side seam tore about three inches. Worst feeling ever.

Granted, the fabric was old and holey, and I think it’s silk, so I should have expected some mishaps. I ended up going to dinner with a friend, and once I got back I assessed my options. I looked at the pile of fabrics that I earmarked for this project, and I found this very neat, and very stiff home decor fabric. It would work for the body of the shirt, and I could use the same fabric from the apron for the sleeves. I was able to reuse the broken silk version for the facings, so that is could still be involved.

fabric

The body fabric doesn’t press very well, which may have to do with the fact that it essentially feels like lightweight bendable plastic, so the seams and the darts aren’t flat, but most of that is hidden by the outer corset.

collar

There is a slight stain on the gold fabric I used for facing, but that also means I have an excuse to use my Eleventh Doctor’s sonic screwdriver pin. I felt it was fitting.

Now that I’ve worn it once, it’s not quite as fitted as I’d like, so I’m considering taking in the side seams, and maybe adding another dart, a smaller one, to help with some accidental saggy boob look, from being too loose at the bust with a tight corset underneath.

But regardless the shirt does it’s job, and once I bind the inside seams to keep fraying at bay, it’ll serve its purpose for as long as I need it to.

front

That wraps it up for the new construction. I’ve got some more posts, like updates on older pieces, and I don’t think I ever showed you the TV purse, and also hair and makeup… But I might save that for next week! See you later!
Bustle and Apron

In case you’ve missed the last few posts, I’m giving notes on my most recent costume, and anthropomorphic version of the inside of the 11th Doctor’s first TARDIS. I’ve posted about the bum pad, the petticoat, and the console skirt.

When I picked up the gold taffeta that starred in the skirt, I also picked up this dark gold taffeta. Originally it was planned to be a part of the skirt, so it would have been aqua: bright gold: dark gold: bright gold: aqua, etc. But I thought that might be a bit too busy, and it definitely would have complicated the “I made the skirt way too big” conundrum. Then when it came to the bustle, I decided it would be the best option.

otherside

Three years ago, when I started this concept, I had gotten this decaying silk (I’m pretty sure) gold fabric from a costume store in Cardiff. I thought it would be fitting, since we had just been to the Doctor Who Experience, and having something in the costume from Cardiff would make it even more special. That fabric would have been much too light for the bustle, I know now, so it will make an appearance later.

sidefront

The taffeta has enough body all on its own to hold up to bustling. I gathered it to the back of a waistband and attached it. Granted, I probably should’ve waited until I had the apron sorted as well, but I was not thinking clearly on day 4 of a marathon costume journey.

closeup

Then I decided to work on the apron, since that would determine how long down the sides the bustle could go. The apron is entirely made up of curtain fabric that I got from a grab bag. And I’ve got plenty more if I need it. Because this stuff will shrink down to nothing, so I got to stuff the bag really full. It has two layers, or technically three. The outer orange-y iridescent layer, the lattice layer, and then the orange layer on the inside again (though this one is folded from the first layer. Come to think of it, the lattice one might be a double layer as well. I wanted the apron to be soft, but hefty enough to allow for the nice folded texture.

front

I learned from this video that I should pleat upwards, which I used for both the apron and the bustle. I can attest that it really does give so much body to the garments that makes them so much better! And I got the idea to combine the apron and the bustle on the same waistband from this tutorial.

I fiddled around for awhile until I got the apron the way I like it, and then I pinned it to a ribbon hanging off the waistband on either side.

The bustle was equally as fiddly. I pleated the sides, and then I just fiddled until it looked less like a mushroom and more like a poufy cream puff. I attached these to more ribbons hanging down the back with some tacks.

side

The waistband closes on one side with a whole row of hooks and eyes. I’m planning on adding some buttons to add to the design, but buttonholes would never work with all this fabric, so the hook and eyes are there to stay. The other side has the bustle and the apron sewn together, for ease of putting the contraption on.

So that’s it for the skirts! We’re nearing the end of our journey. Next week I’ll tell you about the blouse I cobbled together, and perhaps either the TV purse, or the accessories. Or maybe just the blouse. It’ll depend on how busy I get, and whether I remember to prepare… I do have a field trip this weekend, so we’ll see how much I remember to do!

TARDIS Console Skirt

Now we’ve made it to the real meat of the costume. Last week, or rather two weeks go now that I’ve checked, you saw the petticoat, and the bum pad before that. This week we’re onto the skirts.

This gold polyester taffeta has been sitting in my stash for two years now. And this week I learned that even if I sneeze in its general direction, it will collect water stains. Also, its super easy to accidentally melt.

TARDIS skirt side

But back to the costume. In order to model it off of the console, I wanted 6 sections of gold divided by sections of light aqua.

TARDISconsolelink

Super scientifically I measured the base of the skirt (on the ground…with my flat tape) and divided it into six sections. Now, this ended up being too big, but we’ll get to that. I then decided I wanted the aqua sections to be about 3 inches wide, and divvied up the fabric.

TARDIS skirt back

When I saw how woodgie the aqua fabric was, I knew that I needed to not only back it with something, but back it with something solid, so I used the same taffeta for that as well. I cut the aqua 5 inches wide, and then gathered it every 10 inches or so, and basted it to the taffeta. I was using half inch seam allowances throughout, mostly so it would be easy to calculate the exact widths. I then realized that the skirt could use some extra texture, so I made wide pleats up three of the six panels, and centered one of them in the back.

TARDIS skirt front

Once the entire skirt was sewn up, it was a panel too wide, but I was determined to keep all six, so I left the back pleated one (which I had accidentally melted the bottom of anyway), and cut off 4 inches of each other panel.

It still ended up a bit wide, but it was easily handled by pleating, and the apron and bustle covered up most of the top of the skirt anyway!

TARDIS skirt zipped

I attached a waistband made out of the same taffeta (sense a theme?), and used a zipper to close it. It’s not a long zipper, so it’s still a smidge difficult to get on, but it works nicely. And it’s covered by the bustle anyways. If I knew it would be seen, I’d think of using a different closure, but it’s fine for this one!

Now, by this point I had spent nearly two days working on this skirt, when it was only supposed to take me one, and I hadn’t even touched the pleats on the bottom yet. I took a break to drape the apron and bustle and make the shirt. But it’s probably better that I did.

TARDIS skirt pleats

The break gave me time to buy some poster board, which I used to make a pleating board. It took nearly three hours to pleat enough to go all the way around the skirt. And I only almost melted the taffeta once.

There is always time to add extra trim, which is what I’ll be doing for the next month or so, since my daily life will be too busy to facilitate the extracurriculars. So tedious hand sewing could keep me on track! But that’s the skirt as it stood for the pictures that I’ve taken of the whole costume.

I’ll be back on Thursday to show you the bustle. Till then!

Tales of a Bright Blue Petticoat

On Tuesday I told you about my new bum pad, Fluffybutt, for my TARDIS costume.

Because this wasn’t a lobstertail, with some built in petticoat tendencies, I knew that I’d need to change my plans and make an actual petticoat. I didn’t want to go out and buy fabric, partially because of my fabric ban and partially because I didn’t want to lose steam. So I picked up this turquoise poly-crepe that I originally intended for curtains, and used that! It was a bit over 2 yards if I remember correctly.

left

I first started by “draping” the fabric over my dress form, lining up the selvedge with the hem, and pleating over the bum pad. I tried to follow this tutorial, but I didn’t quite have enough fabric, so it was modified quite a bit. I made as many ruffles as I had fabric for, and tried to overlap them, but it didn’t always quite make it.

front

The back piece, with the ruffles, I did cut down to a trapezoid shape. The front was pinned to my dressform, and I may have forgotten to cut it down. I had already pleated it so it would fit, and I was using ties as a closure instead of a zipper or buttons, so it didn’t really matter if it fit perfectly there.

right

The main piece of advice that I utilized from the tutorial was not sewing up the entire seam of the petticoat, which would theoretically allow me to step with a wider gait. It would work if my skirt also didn’t impede on that problem. I’m pleased with the result, though. It hangs nicely, is lightweight and strangely comfortable. And it provides a nice swish…

back

And the most important part – the overskirt hangs wonderfully! More on that next week.

Fluffybutt

Welcome to the reboot of TARDIS Tuesday! And Thursday, at least until all the pieces have been blogged!

I might have mentioned that I am insane and planning to make a ballgown, but that means that I need to clean out some of my lingering costume projects to make mental, and actual room for said insanity.

So it was off to the TARDIS races. Especially because a weekend with my study abroad musketeers was fast approaching, which would be the best time to get some pictures of this.

For nearly three years I was procrastinating on choosing a type of bustle for the skirts of the TARDIS, but I was waffling. I wanted to make a fishtail bustle. but I also thought a bum pad would be nice. I wanted Natural Form, and also the big poufy bustle look.

But for time’s sake, I went with a bum pad.

right

I measured my back waist, subtracted an inch, and then drew a half circle that looked large enough, which also had a radius a bit shorter than half the back waist, since I didn’t really want a full half circle.

The fabric reminds me of couch cushion fabric that my family had when I was growing up, but realistically it’s an upholstery weight loosely woven floral. It’s probably cotton, and it presses rather well.

The ruffles were all the same length of fabric, and were just gathered to the different necessary widths. I used the rest of the width of the fabric to get the ruffles, after cutting out the two semicircles.

pattern

I sewed on the hemmed ruffles, and then sewed up the circumference, but left the top open. I used a bright blue grosgrain ribbon for a waistband, so I sewed the top of the bum pad to the ribbon before stuffing it.

There’s been a pound of stuffing in my belongings for over 4 years now. Every time I use it I feel like I’m putting a dent into it, but it’s always there patiently waiting. By now, I still have 2/3 left… And this is the second thing resembling a pillow.

When trying it on with the stuffing, I made sure that it stuck out parallel to the floor, knowing that it would flatten a bit with the weight of skirts. Then I whipstitched the opening of the pad closed.

left

The pad sits nicely on top of my butt, which unfortunately does not given me extra padding when sitting, but is a lovely way to increase my butt-profile.

Also, as an explanation for the title… My neighbor has many cats, most of which are outside cats, since we have tiny apartments, and there’s only so many cats you can keep indoors. One has taken a liking to sitting on my windowsill. He (or she… I have no clue) is a long haired black cat with a white belly. And he’ll sit on my windowsill for hours. So I affectionately call him Fluffybutt. And I named my bum pad after him. That makes sense, right?

Stay tuned for the petticoat post on Thursday!

Touch the Sky

no glasses

So here’s what my Merida pieces look like together!

EpilogueDress6

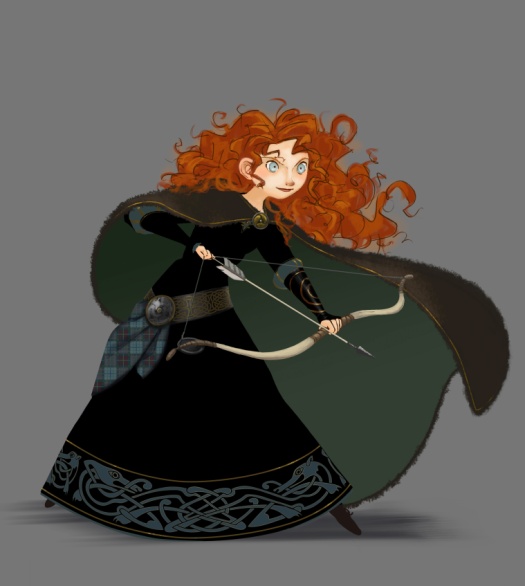
To recap, I made a set of outfit pieces to subtly reference this outfit Merida wears at the end of Brave.

So I made the skirt first, and spent ages to embroider it.

Then I made the top, which I probably won’t wear much alone, but they do look nice together!

sideThey’re connected using a bunch of hook and eyes, so that the skirt doesn’t ride down and reveal the green lace peplum.

I got all gussied up and pincurled my hair, which ended up a little wilder than I expected. Perfect for a dressed up Merida!

front

Have a happy Thursday!

Peggy Carter

So I finally got some pictures of Halloween costume in its completely finished state… I’m only 5 months late, so that’s not bad, right?

And photodump:

ponyfront hat jacket hat shirt jacketpony shoes

The jacket is from Amazon (though they don’t have it in brown at the moment), the hat was a vintage find on eBay, and the shoes are from Modcloth (they also seem to no longer be available. Oops!)… They’re actually the shoes I use for swing dancing and are super comfy. For the first two hours at least!

Hope you like it! And happy Monday to all!

Do you like my party skirt?

front

Every time I think about this skirt, I think about the song My Party Dress from the musical Henry and Mudge (which I’ve never seen but I think I’d love, because of the song). I think this is the first version I ever heard, and I still love it, no matter how many versions I hear. I think I like the song because I always feel a bit out of place in fancy clothing.

I’ve grown to like wearing skirts and dresses (secret pajamas anyone?), but most of mine are solid (1,2,3,4), made of cheap jersey (1,2) , or are rather simple in design/execution (1,2). The majority are twirly, but rarely are they fancy. I don’t do flashy, you might say.

nback

So when I was trying to get out of my sewing funk in the latter half of my winter break, I surprised myself and reached for this polyester brocade. I bought this from Joann’s two years ago in order to make my Belle cape, but at the time I was not well versed in making circle skirts, or the like, so I ordered too much fabric.

Because it wasn’t particularly wide, it made a small capelet rather than anything like a full cape, but that left plenty of room for this skirt!

pocket

It started as a rectangular tube, and then I pleated it to fit a simple black waistband. There’s also two gigantic pockets and a center back zipper. I did have to use a lot of heat to get the pleats to span the width of the skirt, and I was very worried that I was going to burn the fabric, which would have ruined the whole effect!

I knew from experience that this stuff frays like crazy, so I had my FrayCheck at the ready, and used it every time I cut. But I also figured that a lining would be to my advantage to cut down on additional fraying. I had this brown cotton lawn, I think it is, and I’ve never figured out what to use it for. But it makes a great lining. A little staticy, but it’ll be okay. With the weight of the brocade, it won’t ever stick for long!

side spin

The zipper did puzzle me for a bit, and I had to put it in and take it out a few times. I guess my original seam wasn’t deep enough, so I had to take it in a smidge.

But the skirt had its first outing before that! I wore it the same day that I originally made it, when I went to a social ballroom dance, and it passed the twirling test at least! There was the issue when I was leading a friend in a swing dance, and her hand got caught in one of the pockets as we were passing each other, but that was a fluke.

side gaze

Then I let it fester in the alterations pile until now. I’ve since fixed the zipper, and if I ever need a fancy flashy skirt, I have it!

So… do you like my party dress? Or rather, skirt?