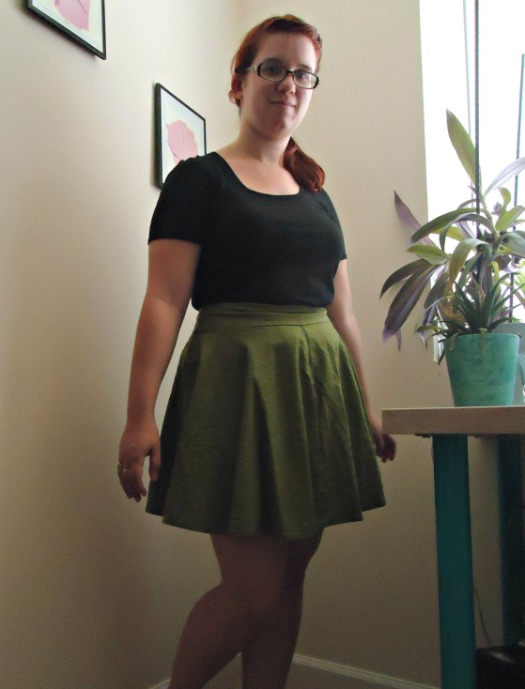
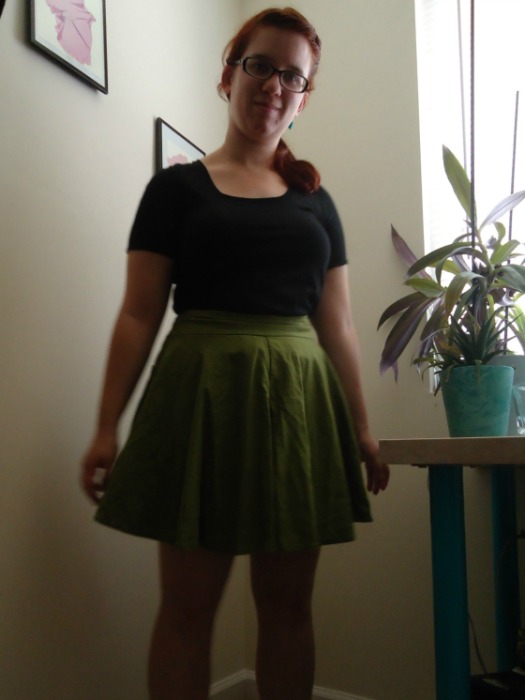
Ripples

Having an almost all handmade wardrobe is not necessarily a dream of mine, but I’ve always thought it would be neat. And that dream is no longer across the Pacific Ocean (in terms of dream distance), or the Atlantic for that matter. More like the Indian. Big enough to count as an ocean, but small enough that it’s realistically attainable.

Because I’ve told you before that I live in jeans. And I mean that literally. There have been (far too many) days where I wear jeans all day, and then I’m too lazy to change into pajamas, so I sleep in them… And then I change into a different pair the next day, so I don’t feel guilty about wearing the same pair two days in a row.

And I’ve now thrown a pebble into that Indian Ocean sized barrier… creating ripples.

few wears past wash

(Get it? Okay I’m done now…)

So these are Ginger Jeans, made with some good quality denim that I got from my LFS. (New interjection… Do us fabric people call local fabric stores LFS? Because I caught onto LocalYarnStore pretty quickly when I started buying real yarn, but I feel like LFS doesn’t have the same ring).

Because of this, I’ve now got a comfortable, (mostly) well made, and fairly well fitting pair of secret pajamas. That cost me about 50 dollars, which makes them the most expensive jeans I’ve ever paid for. Thrift stores and yard sales have been my sources for jeans forever, including the month before I made these when I was supposed to be making these and not doing it. I think that I’m currently wearing my only pair of good quality denim RTW jeans, which were thrift store finds, but that’s 15ish years of poor quality stretching out terrible denim. (Oh yes, I bet I never told you that when I was little I refused to wear jeans. I was a different person then.) Do you want to know how I know these RTW’s are good quality? Well I bought these after trying them on, and they were snug at that point. So I assumed that they would stretch out, like every other pair I own, so I was counting on it. And look where that got me.

right after wash

In the hierarchy of my closet, I now only have taper/skinny jeans. My one bootcut-y flare pair kicked the bucket after 10 long years, and they were also my “fat” jeans, as in the ones that stretched out the most to accommodate any fluctuations in weight. Also, the one pair of low rise jeans I have constantly plague me in awkward belly hanging out feelings, so I knew that low rise was not for me. But at the same time, I had already made a pair of the high rise and it was too high, so I tried view A this time, and just increased the rise using Heather’s tutorial here. I also made a size bigger than I had for my terra cotta pair, and I’m kinda regretting it now. I suspect some of my problems with my first pair was more related to the lack of stretch in the fabric rather than the size.

few wears past wash

I raised the waist of view A by an inch. I like the height, but I can’t help but wonder if I’d prefer lowering view b. My topstitching is done in a nice ocean blue, and I had some fun with the back pocket. I’m thinking I may need a swayback adjustment. And don’t get me started on the knees.

few wears past wash

Perhaps there isn’t as much stretch out as I thought… Looking at the photos, I’m wondering if the rise is a bit too long. Otherwise, though, this is a lovely pair of jeans that I’ll love until the seams break!
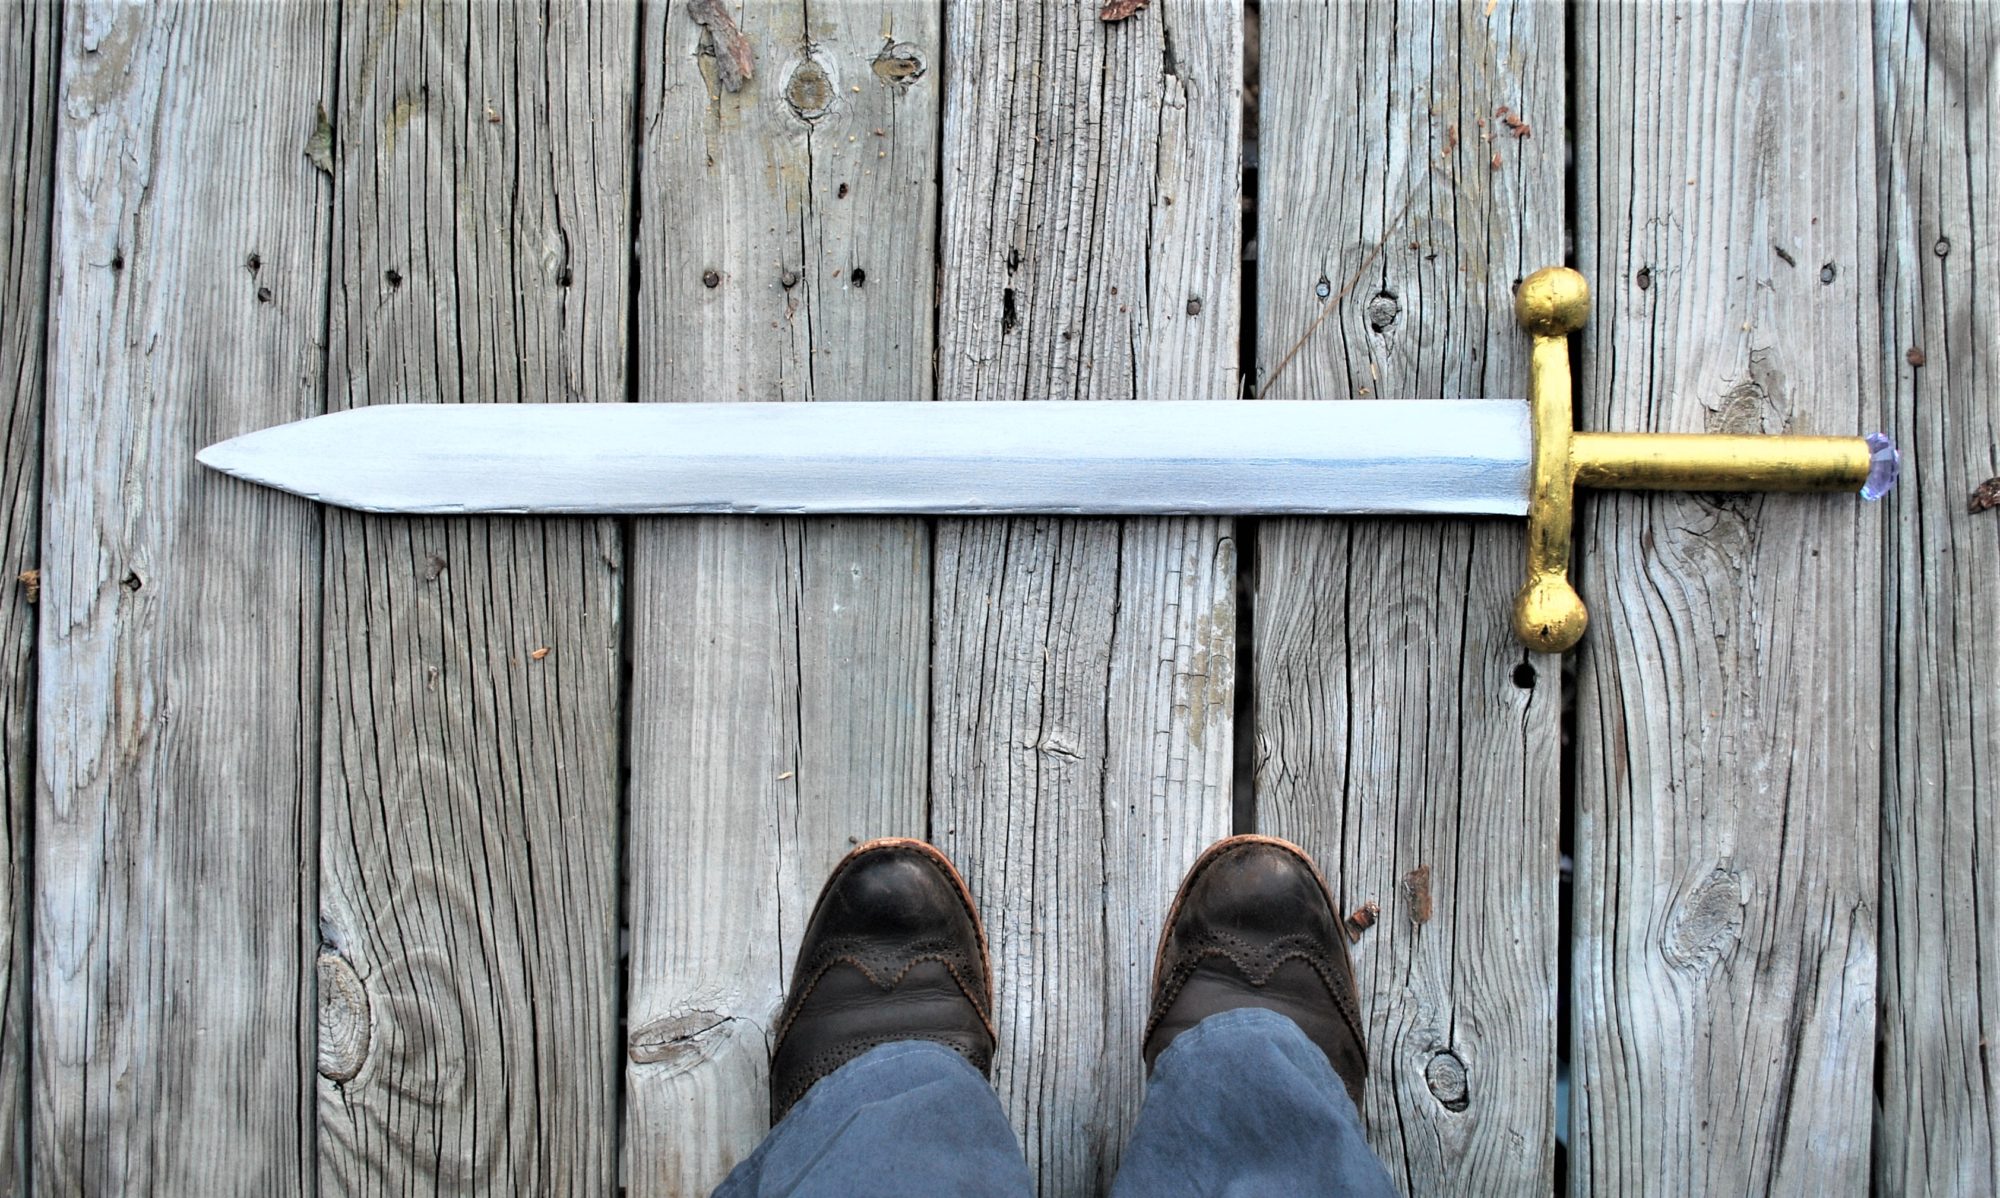
My name is Agent

peggyskirtPeggy Carter is the master of well tailored shirts. Most of them are soft and drapey, and a few are structured. I’m excited to see whatever the next season brings, but from the first there were many good shirt examples, and mine is a combination.

This shirt post is long overdue. After all, I first wore this shirt in an unfinished capacity on Halloween… But then didn’t get around to actually finishing it until December. And it’s very wordy…

peggy-sideI started drafting in late September, and it went through a number of muslins (at least 4) and an incredible amount of drafting variations (meters and meters of Ikea drawing paper), some of which got scrapped before a muslin was even cut.

peggyfrontThe many alterations that I made for this shirt included a full bust adjustment, rotating and then eliminating darts, removing the back darts, adding a yoke, raising the armscye, moving the shoulder point up, doing a full back adjustment, and then taking some of that out, making a swayback adjustment, removing it, and then adding it back in, adding room to the bicep, adding room to the sleeve cap. Etc.

I had bought this lightweight linen at the same time I bought the linen for my Merida outfit, so I knew that it wouldn’t be super drapey, but not 100% structured either.

peggyback

This is also the time to infodump my many sources for patterning and fitting this shirt. This was the website I used to draft the initial block that I drafted the shirt from. I used this article to help explain and draft my one piece front/collar and facing. I’m fairly certain I tried this forward shoulder stuff too… This placket tutorial is awesome! And this explanation of sleeves and drafting remains my favorite reference, and one that I re-read often.

sleeve upper back

front lower back

The front darts were replaced by three tucks, which do a good job of dealing with the dart-replacement, but make hemming the shirt a bit miserable. I eliminated the darts in the back, and tried to use a center back seam to solve swayback issues… It only worked a smidge, and the execution needs to be improved on my next version.

peggy-raised-armsLook look look! I can raise my arms! The armscye is super close to the base of my arm, which I’ve learned is the key to a shirt that doesn’t pull out of a tucked-in state, and since I knew that I would be tucking the shirt into the 40s style trousers, this was very important to me. Because of the size and shape of the armscye, though, this shirt is oddly uncomfortable to take on and off. The sleeves are ginormous at the top, but because the circumference of the base of the sleeve is about the same as my bicep at its fullest fat level, the sleeve base pulls a little as I put it on. The sleeves are ginormous mostly because slimmer set sleeves were creating extreme draglines, so I overcompensated and made a super large sleeve cap instead, since I was running out of time. I’m hoping to slim them down slightly for the next version.
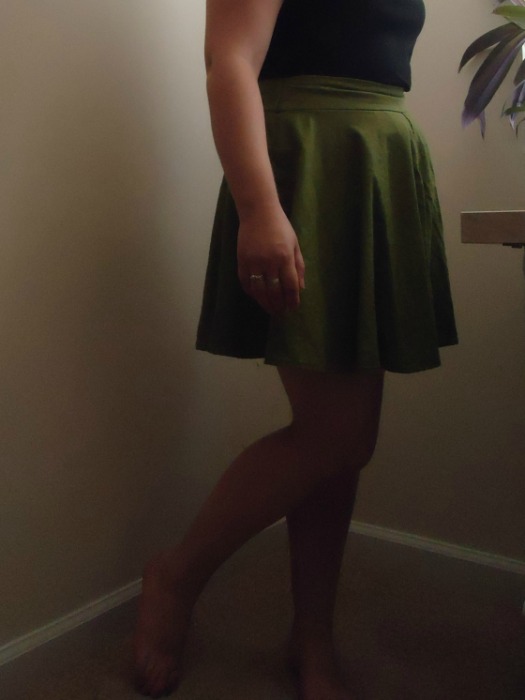
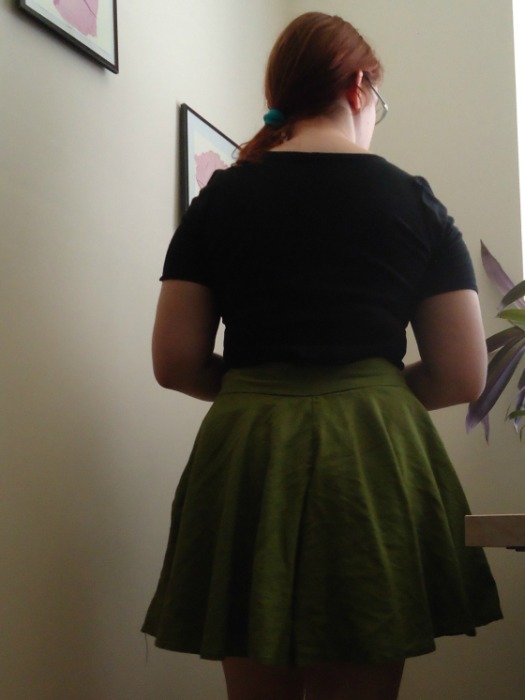
peggy - back-skirtThis was supposed to be my Halloween costume, if you remember. And a version of it was in fact done for Halloween… One that wasn’t hemmed, no cuffs, no placket, a very ill-fitting back, and I sewed the top three buttons on when I was in the car on the way to the party… Also, I was sick-ish.

So most of the finishing was done post-Halloween. It’s currently a bit too chilly to wear the costume out of doors, but I anticipate that once spring comes, I’ll have more opportunities to photograph and show you the full costume! Maybe with a second version, that’s a bit neater and more crisp.

peggy-front-skirt

In fact, I can’t actually wear this version as is… The cuffs don’t overlap, and for these pictures I’ve managed to pin them close with these tiny treble clef pins that I got in high school. Unless I take those off, and attach new ones (if I can find any remaining scraps of fabric), then this shirt won’t really leave the house.

I keep talking about this next version… I have the fabric, a white shirting material, and I’m just working up the motivation to cut it out and make it.

First I’ve got to finish this homework assignment due in four hours…

Chase the Wind

I posted two weeks ago about my Merida skirt, which I’m super proud of… all that embroidery…

front full

Today I’m going to tell you about the top that I made to match it. I was never really into two piece sets, because most of the ones I found consisted of shorts and a top. But when I had the idea to make the Merida themed outfit, I knew that I didn’t have a need for a black dress. I wanted to have a more versatile outfit, so a two piece set of a skirt an a top it was!

The peplum craze is still going, and excepting my Belle Mark 2 (where it was “accidental” because it as a dress was too short, so I cut it shorter) I don’t have any in my wardrobe, so I wanted to try one out…

Verdict: I don’t really like it, but I’ll talk about that more later.

side

The top is made of the same heavy black linen (from Joann’s) as the skirt, but its got a green lace layer over the peplum, and is lined with a forest green “posh” lining from Joann’s. The lace is this gorgeous stuff from my stash, and is the same as I used in the Dandelion suiting dress and the Dandelion linen sleeveless top. I actually think that this linen might be the same weight as that sleeveless top

front

I self drafted this top from the same general “block” that I started with for Peggy. The block itself is quite… wrong, but it was a good starting point for the moment. Since it was wrong, I had a few adjustments to make. I had to raise the armscye since it was drastically too low. I also made it sleeveless, so I raised the edge of the shoulder and made the shoulders a little more snug. I had to adjust the front and back darts in order to get it to hang properly. Using a side seam zipper seemed like a good idea at this point, especially since I only had a deep green, not a black one, but I’m not sure that it was the right call.

The muslin I made out of the same linen was pretty terrible, so I had to make changes. Namely change some of the darts, and fix the side seams, which were leaning to the front. The back of this version is now both tight and loose, with a bubble above the darts… I’m not sure if its that the fabric is super finicky, or if its a problem with drafting that I’ll need to fix for next time I make one of these, but I guess time will tell.

front smile

The peplum itself is a 3/4 circle skirt, and is hemmed with black bias binding. It’s got a lot of body, because the linen is so heavyweight. That’s probably why I don’t really care for this peplum. I do like the idea of it, and I like the Belle version, made out of a fairly thin knit so it hangs flat, but I think the body of this version is too much. Especially with looser bottoms like these jeans. I don’t own any pencil skirts, because I feel like I can’t walk in them, but I bet such a skirt would be a great match for this. I’ve mostly worn it with skinny jeans, and I think it balances well.

back side

Looking at the pictures, I can’t tell if the horizontal waist seam is bubbling or whether its an unfortunate trick of the light. Now that I have a full sized ironing board this will probably be easier. My tabletop ironing board was too small for its own good, though I’ll keep it around for small scale things like quilt top seams and the like. I’ve been thinking about adding some embroidery up by the neckline, but I think I’m just going to leave it alone. More versatility. The neckline doesn’t always lie flat, which is something that I will need to improve for future drafting projects, but when its tugged at, it will, so once rigged up to the skirt, or any skirt for that matter, it should help.

Realistically, this top will mostly be used with skirts, since its a plain but structured top above the peplum, but if I ever go on a trip and bring it along, I can see wearing it alone. Only time will tell!

I’ll be back soon with pictures of the two parts together, but before that, I need to actually rig up a way to fasten the two together… Procrastination is my specialty, after all.

Shooting for my own Hand

cute

This skirt is my pride and joy of this quarter of the year (aka post September).

I made the skirt first, in late September, knowing that I would use the other part of the bundle of linen that I bought to make a matching (complimentary?) top. That part I finished, technically in November, but I’ll talk about it in another post.

zback

On the subject of fabric, this is a heavyweight linen from Joann Fabrics, in black. It is heavy enough that I really don’t need a slip or slip-shorts under to keep it from sticking from tights and stuff, and it helps give the skirt some body.

zbody

It’s a 3/4 circle skirt, my favorite kind, and I used a facing for the knee length hem. I didn’t get any pictures of it, though. The other end of the facing was closed using bias tape (pink and pastel green, since that’s what I had on hand), and then carefully sewn to the main skirt.

The waistband is plain, embellished lightly with black thread and lines, also to help the interfacing stay better. And I used a zipper to close it.

pockets

There are two full sized in seam pockets that I adore. They get in the way of the zipper a bit, so I can’t pull the skirt over my hips easily, but it fits fine over my head.

It sat mostly unfinished until mid October when I got this crazy idea to embroider it.

By hand.

You don’t have to tell me how crazy I am. I know how crazy I am.

EpilogueDress6link


I found this gorgeous art that is supposedly concept art. And I loved the knot at the bottom, so I copied it, and stuck it on my skirt!

merida

Six hours minimum to finish each motif. There are eight. So that’s a minimum of 48 hours. Plus the extra time the first four took (about 4 hours), means this embroidery alone took 52 hours…

emb

There is so much extra body to the hem. It’s not pretty on the underside, but eh. I can deal with that.

I may do extra embroidery… But not right now!

Princess-Style Fake Corset Knit Top

side front

This may be my favorite shirt. I may say that a lot, but this time it is more likely to be true…

It’s also a Nettie hack. Or really, I guess its a hack of a hack. It’s a hack that I’m making t-shirts from the bodysuit pattern, and then taking that pattern to make the new hack with the fake corset appearance. Really its just a colorblocking option that is vaguely shaped like a corset

Starring in this shirt is a black drapey knit that I used in a shirt Nettie, and some kind of cream colored tissue knit. To be honest, I forget where I found both of them.

So I took my altered tnt version of my Nettie shirt, shortened it slightly (and perhaps a smidge too much), and then drew in the hack.

pattern

I pulled on a Nettie version, and traced out where the seamline should be. I took this and transferred it to a traced copy of the pattern. I then added seam allowance to the top and the bottom of the new pieces, shown here.

Then I managed to squeeze the lower portion out of the remains of the black drapey knit. It’s amazing what you can do with 1 yard of fabric if you’re super (painfully) thrifty. In this case, I’d like to say I made 2 shirts out of that yard.

And the rest of the fabric was minimal, but luckily I had plenty of that fabric!

I sewed together the top and bottom of the front and back, and then sewed it up like normal!

front

To be honest, I sewed this up the week before Halloween in about 3 hours, and wore it that night to a costumed swing dance.

I like to think of it as a Disneybound level Ariel. Definitely got lots of compliments on it that night. It would also work nicely for an Aurora one as well.

ariel

Subtle cosplay is my jam!

Also, I am definitely out of tune with slang these days (which is ridiculous because I’m still kinda the age to get the slang, I think, maybe…). Do people still say that? Or is it just me?

Regardless, I love this version, and it will probably not be my last!

Iron Man Jeans

Look look look! I made jeans!

Real ones this time, with a useable front fly zipper and everything, unlike the last time… I don’t wear those anymore.

These are the Ginger Jeans from Closet Case Files.

And they’re terra cotta colored.

What else is nearly that color?

Iron Man is.

Okay, I know I’m stretching. Like mad. But Joann’s didn’t have denim in a bright red or bright yellow. So…

Terra cotta it was!

And if I’m being honest, I probably wouldn’t wear bright red pants anyway…

I was using these as a muslin, since I had bought very good quality denim that I was afraid to cut into. And I did learn a few things from the muslin. Including how bad VPL can look…but here’s the more sewing related ones.

Firstly, the high waisted-ness of these is great, except that I’m going to need to reduce the height a bit. Because its over my bellybutton (otherwise known as pivot point level on my body) I can’t bend enough to sit on the floor. What do you think I did a lot of during the first week of wearing? Lots of floor sitting…

This summer, I also gained a lot of bellyfat, so on one hand the tummy-stay front pocket was a lovely help, but that combined with the high waisted bit means that I was not terribly comfortable bending all the way over to pick things off the floor when I was sitting in a chair… And looking at the pictures of the back, I’m not convinced that its fitting right there… I’ll need to look at that further when I fix up the pattern, but  it could just be a back pockets problem.

There were tons and tons of wrinkles at the back of the knees, so I utilized a design feature from my favorite trousers: a curved “dart” of sorts in the back leg that took a few wrinkles away. Not all, and perhaps not many, but enough. I like this, but if my next pair are tighter it might not be required.

I also need to shorten the legs. One thing about being short, I do get to save inches of fabric, which is great. I cut these off the bottom, and I did it in a rush, so I don’t quite remember how much but it was at minimum 4 inches… I may have cut a bit too much, but it’s a muslin, right?

Then I’m debating whether or not to take these in more. All of my non-skinny jeans recently broke (one with a hole and one with a zipper), so I’ve been craving not-super-skinny jean options, but all the wrinkles around the legs make me a bit sad. So do I give in to the style, or do I deal with the wrinkles?

But my favorite thing ever about these jeans is really the back pocket.

(Iron Man theme/song intensifies!) But really, I’m truly proud of these jeans, and I can’t wait to make the adjustments and cut my expensive denim!

Forest Dandelion

full

I made this for Indie Pattern Month back in June, but it’s taken me this long to fall in love, I guess.

dress2

Partly because of the way it hang as a dress, and partly because as much as I try to stay healthy, summer tends to bring out the junk food and bad habits for me, and this dress is not very forgiving in the stomach area. To be honest, my stomach area is my personal self esteem weak point, and I try my best to help myself in that area by making clothes that I feel good in.

So I cut off the bottom of the dress and made it a tank!

I’ve worn it a bunch now, and I love it this way!

side

Details then…

This was really the third iteration. The first was a straight mockup of the smallest size made of  stretchy fabric, specifically the leftovers from my Peanut Butter Cup bodysuit. It wasn’t terrible, but I needed to make some alterations. I added room to the bum region at the center back seam, and I added a bit in the bust area, plus I “reattached” the yoke pieces to the main pieces, so I wouldn’t need a seam there.

The second version was using a fairly stable, with more give than stretch, ponte I think. Definitely feels like polyester, and I love this version. Except the print is definitely not my thing, it being so floral and dark. It makes some awesome pajamas, though. The neckline was too high for my vision of the final dress, so I lowered the neckline, and I cut in a Merida-type notch.

back

Then the final version. This is where it kinda went downhill, sadly. The fabric was a stretchy t-shirt jersey. Pretty soft, but it wasn’t stable or uber stretchy, and it has very little drape. I used the exact same shapes as the red floraly one, but I was getting butt wrinkles, and it wasn’t flattering. I took in the center back a lot, and all the way around the inner panels a few times. Eventually, this caused the bust to start wrinkling, so I added in a dart, which mostly affects the top layer. Finally, I ended up with something that mostly fit, and felt fairly comfortable.

I got pictures for IPM, but then I stopped wearing it. I couldn’t figure out what was bothering me about it, then two weeks ago I realized. I could see my stomach poking out, and that was my issue. So I tried it on, cut a notch in the center, added in an uneven hem, and voila!

front

All better!

Internally, I’ve labeled this my Merida tank, in keeping with my plan for most makes to have closet cosplay potential, and I think it fits nicely. Sometime soon I’ll accessorize appropriately and show you!

Really the first pair of Tanias

Confession time. I’ve been really procrastinating with making up this post. I made these back in May, and I do like them a lot, but actually wearing them to take pictures has been the hold up.

I showed you my second pair of Tanias, since I entered them in the Monthly Stitch contests in June, but I’ve been procrastinating on these ones.

front

Picture taking is getting boring, especially since I don’t have a nice porch anymore. I have a porch, but it faces the inside of my apartment complex, so posing there make me feel super weird.

And there’s no good place inside my apartment as well.

side

But I finally managed the pictures. They’re not fantastic, but here goes!

These are the Tania culottes from Megan Nielsen.

The fabric is a linen mix from Joann Fabrics, and it has a nice body and drape, but before getting washed a few times, they were excessively scratchy at the crotch area.

I think I cut the size large, since that was supposed to be my waist size, and I cut out the XL length. It’s not too short, but its certainly not long.

back

The construction went easily and quickly, and the first time I wore them I noticed two things.

The waistband was too big at the top of it, but fit well at the bottom. And the crotch seam was a bit too low for me. I think its supposed to be low, but with the linen and my lack of thigh gap, my thighs were rubbing against each other and the seam, and they got a bit raw.

So I took in the top of the waistband a little, and sewed the crotch seam another half inch in.

front2

It’s definitely more comfortable now, and it was nice in the heat of summer when I wanted to stay cool, and if I get a fall (it seems like its skipped fall and headed straight to winter here) it’ll be nice to wear with some tights, since the linen is heavy enough to not get too static-y.

So, I’m nowhere near caught up on the backlog I’ve got, but this is a nice start!

Syrah and Netties

At least for midseasons, so Fall and Spring, I have fulfilled my wearable blanket dreams.

Meet Syrah, version 2.

full

This fabric is fuzzy, and yummy, and just barely stripey. It was also free, since my parents gave it to me as a gift. Actually the same gift as the green one, so I got two maxi skirts for nothing as basically a gift. Did I mention its fuzzy?

I just want to pet it.

Forever and always.

I made this Syrah in nearly the same way as my green version.

pocket

I changed up the pockets in theory. I tried to make them flatter, which I did succeed at. They’re a bit too small now though, so I’m not sure it worked well. I can still fit my keys and phone, but my hands don’t fit.

The waistband is also the flat one. I like the ruched one, but I can’t wear a shirt over it, if I’m having a large tummy day (because isn’t food wonderful?). The flat one works much nicer for this purpose. I like wearing shirts tucked in with it, but its nice to have the option.

side

It’s just such a comfy skirt!

Plus, it works really well with my new Nettie shirts!

I’ve had this black thin t-shirt from Forever 21 for years. It never fit very well, but it was necessary for my first job, and I’ve had no reason to get rid of it… except for the holes from acid and a few little stains.

back

But if I was getting rid of it, I needed to replace it. So when I went fabric shopping a few months ago, I tuned into the black jersey fabric. I actually found two, one that was very t-shirt stable and opaque, and one that was super drapey and silky with a hint of sheer. I couldn’t decide which was better, so I bought both, and they’re super comfy.

drape

The pattern is the same as my turquoise one, and construction and everything are the same. By now, I can churn one of these out in just over an hour, if I set my mind to it. I am getting some wrinkles from the underarm, which I’ll try to fix on future Netties, but overall, these were a great choice!

Comfort is key, and all three of these makes are fantastic in that department.

Cause nothing beats a wearable blanket!

Peggy Trousers

Peggy Carter is my hero.

Granted, my favorite Avenger is Iron Man, and I only watched the first Captain America a few times, but I knew during the first watch that Peggy was awesome.

And then they gave her a show. Cause she’s brilliant.

My costume situation is currently… complicated. My Claudia was basically finished, but I wanted to switch out the zipper on the vest for a separable one, and that’s when I saw the massive pit stains. Why must white be so terrible? Belle is essentially finished sewing and stuff-wise, but I’m deciding/working on the hair. I’m keeping my hair shorter, and its just to short to be both curly and Belle-like, so I’m working on a hairpiece to assist. Susan is being painted, and the TARDIS needs a skirt, so I’m currently fully booked on costuming.

full

But I couldn’t resist starting another costume.

I have a problem.

I’m rationalizing it in this case by saying that these are work appropriate, surprisingly comfy, and very fun to swish around in.

Cake Patterns has always been a favorite of mine, even if I haven’t made much from them. I love the designs, even if I don’t want to wear all of them. So when they put out a woven pants pattern, I knew that I had to have it. Plus, they’re wide legged, and I wanted to try that style.

side

I had just cut into some fabric for a Ginger Jeans muslin (the fabric of which was a bad choice because it had no stretch. Trust me, you want some stretch for that.), and after getting some whiskering, I wanted to take a break before cutting into my really expensive denim.

There’s been this brown twill sitting on my shelf for at least half a year. I’m not even sure where I got it, but it was perfect for the Endeavor Trousers. Just a little stretch, and its quite a lovely bottomweight. I realized that it was the perfect color for a Peggy costume, and these wide legged trousers fit into that theme too. So on the 4th of July, I started this Endeavor. Hee hee. Puns.

pants

I made up the pattern with the side zipper, and pretty much followed the pattern exactly. It’s very high waisted, which is a lot on my small frame, but that made it a little easier to fit, since the way the waist laid made the crotch drop just a smidge, and that solved the fitting problems there. I did take off around 3 inches from the side seams, and the pockets are much too deep for me, so I’m going to need to shorten them on future pairs. The side seams might have been because of the stretch, though. And I had to use a normal zipper, so eventually I’ll need to find a heavy duty invisible zipper. It bubbles a bit, which creates these weird bumps, as you can see on the right side below.

backside

I was also getting some creasing at the back yoke, so I ended up making a horizontal dart. My swayback game seems quite strong.

waist

The waistband and pocket lining are the same quilting cotton as my project satchel, and I love it!

heels

The hem requires some sort of heel, though, since I knew I’d want to wear heels for a costume. It doesn’t limit them, but it does limit my comfy footwear. Gave me a chance to wear my original Belle heels! The hem is only held up by Steam a seam, though, and it might not be holding up well, so I could shorten it if I want.

makeup

I also did a makeup test, and it was my first time contouring. Not sure it worked/was worth the effort, but I think it’s a snazzy face. The red lips are definitely fun, at least. I’m working on pin curls, but I will probably want to do one of her ponytail styles anyway. This was not a good hair day, and without pin curls, but it is generally what I’ll probably be doing. The makeup might also work for Belle, though I need to decide if a more costumey contouring could give me more rounded cheeks… Choices…

The week that I decided to do this costume, I found a lovely red fedora on Ebay, and I couldn’t let it go, so with a blouse and a satchel, I could complete this costume. Sure, the red hat would be a little out of place for that outfit, but it would be a valid way to identify as Peggy! Once I get a bit further into the costume, I’ll show you the hat… AKA I forgot to take a picture…

Blouse draping is hard, though, so it might be awhile before the next update on this costume. But is that news for anyone?