Running a Teashop

front

A few months ago I laid out a small sewing plan, and though I’ve worked on all of the projects, I’ve yet to post on most of them. But the time has come!

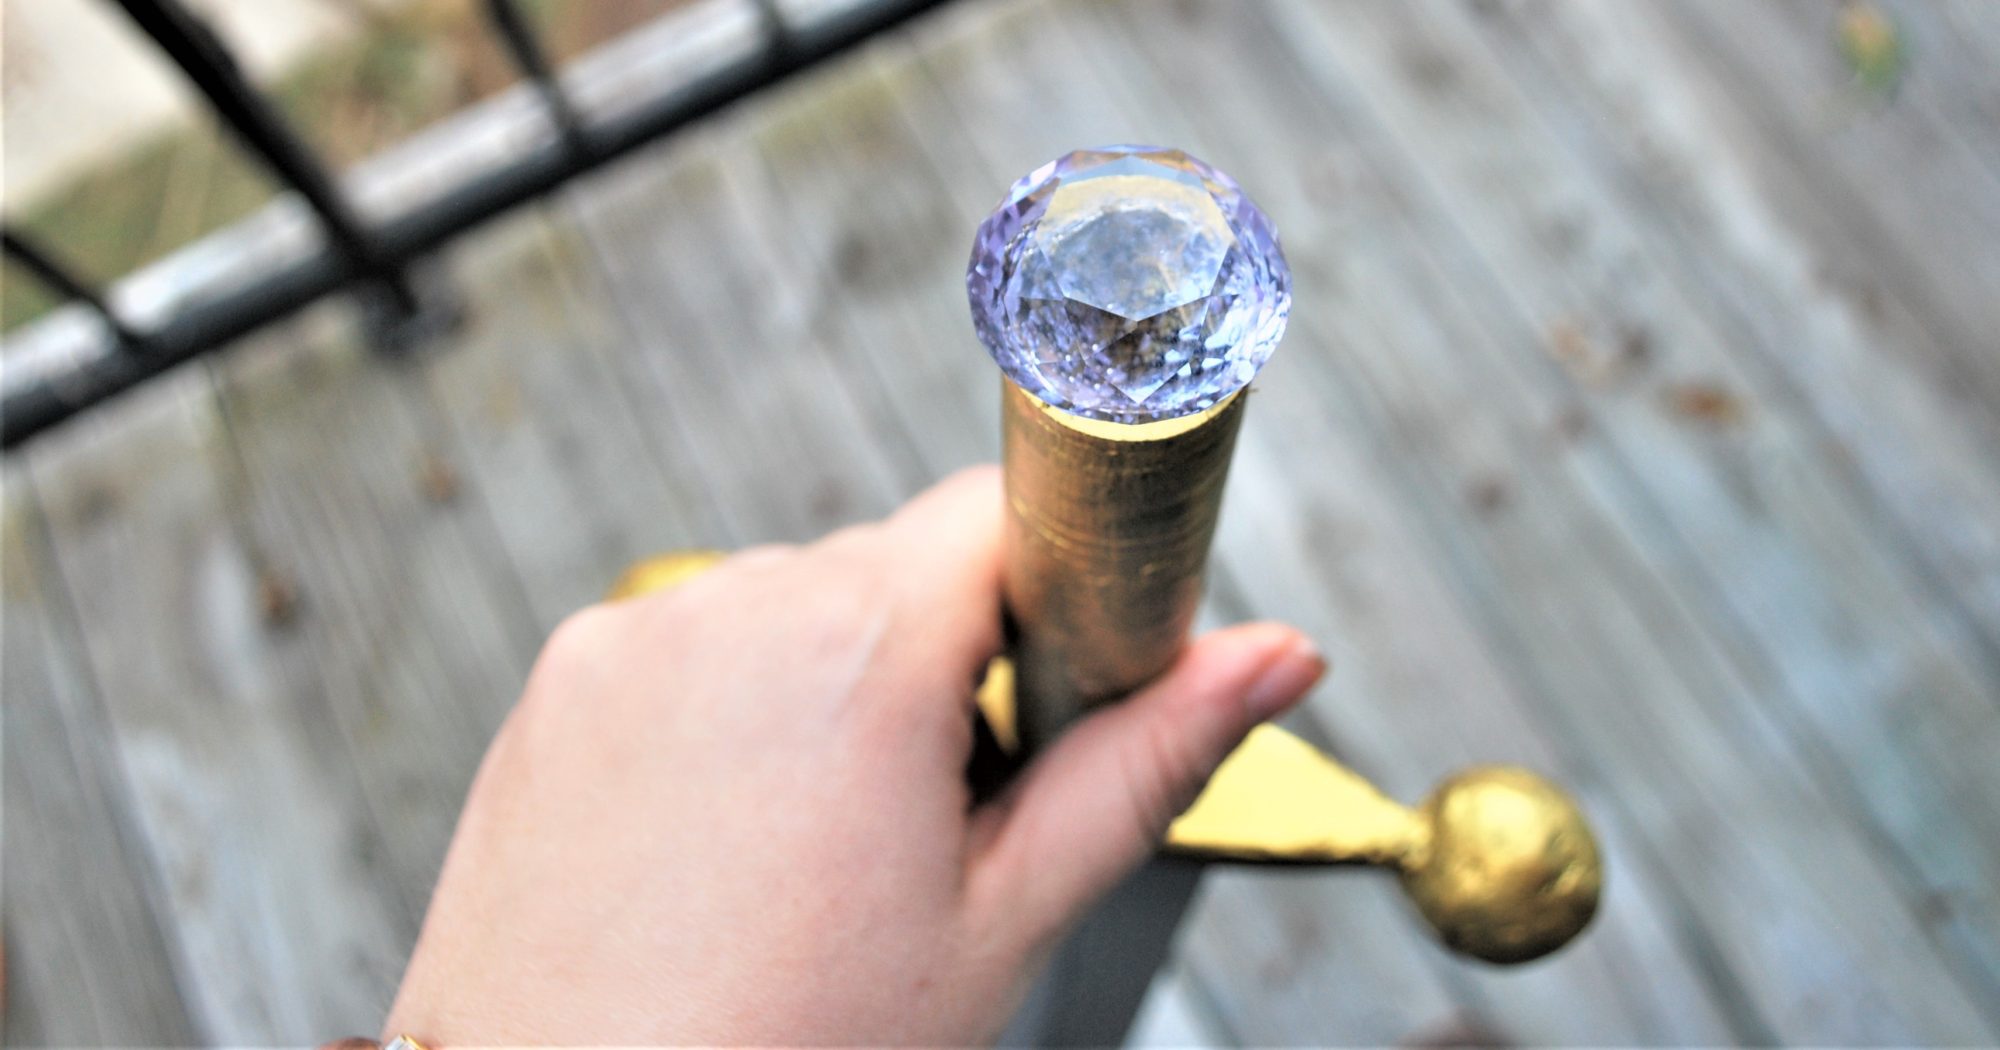
My first project, which is really my latest one, is a shirt for a small Hatter costume (who runs a “teashop,” by the way).

AliceHatter-handslink

I fell in love with Syfy’s version of Alice in wonderland, which was a mini series that aired in 2009. It’s a perfect way of turning an old fashioned story around, and a story of family and love… now it just sounds like a romance. It’s more of a drama with a slight comedic undertone. The Mad Hatter is played by Andrew Lee Potts, and is not terribly nice or mean, but understandably complicated. He wears this awesome hat, go figure, which is the main part of the costume that I’m lacking, but his shirt is the craziest part.

Definitely vintage inspired, and oddly colourful, but rather simple otherwise.

closer

I had always thought that Archer would be a great pattern for this, a good go to dress shirt pattern.

The only changes I made to it was the hem, where I chose to use the hem that was already sewn into my fabric, so I ignored any hemming instructions, and I shortened the sleeves to elbow length, without a cuff. Oh, and I only cut out one yoke piece, so I french seamed the entire thing. So I guess that’s more than a minimum of changes.

back

Other than that, a simple make. I thought I had lost my buttonhole foot though, and after searching my room, I found it where it most definitely should have been… in my makeup container. But then I got clicking away, sewed it up, and here it is! It’s fairly comfy for a swishy polyester shirt. Maybe soon I’ll have a full cosplay!
front2

July in January

I caught the Archer bug.

sleevelesscombo

Partially because I had some fabrics that I really wanted to make shirts from, but mostly because I was impressed with the fit of my first.

Neither of the fabrics were long enough to include sleeves, though. So I set about using the alterations suggested by Grainline forĀ  sleeveless versions, and I made two up! My main alterations at this point were to shorten the body, mostly because I don’t need the length, but also because I had a limited amount of fabric.

Remember how I said I was going to use a crisper iron-able fabric for my next version?

back

That didn’t happen. I started by using this green fabric, with a neat flower design. The flower has a raised velveteen pattern, as well, which occasionally proved tricky in that I couldn’t iron seams open. I also had to use a pink and brown fabric with a similar weight for the inside yolk and collarstand, since I barely had enough of the green to make the pattern work.

I used yellow bias binding on the sleeves, and white on the hem.

front

My hem is also very very tilted. I kinda like it though! If I was to wear it in a situation that doesn’t involve casual attire, I’d likely tuck it in to hide this fact.

All in all, it turned out better than I expected, since I was more using this for practice than for actual wearing. I don’t have lots of practice with such lightweight fabrics, but I love wearing them, so if I want to work with them in the future I might as well work on it with free to me fabrics now!

And then to my second sleeveless version.

hung

This one was made out of real shirt-weight fabric. I should have started with this one, but I honestly wasn’t thinking about it when I got to work that day. It’s a nice cream and brown floral print that feels absolutely wonderful. The construction was easier, and there were no changes from the green one.

I think I finished the construction, from cutting to sewing, in two hours. Another forty five minutes for the red bias binding (though I’ve still got a minor fix on that), and then another hour plus for the buttons. I added more buttons to this one, for no real reason other than to torture my hands in sewing them in.

I’m glad I used the red binding and red buttons. It gives it a bit of flair. And adds some color. I like surreptitiously adding color to my wardrobe. It’s like I’m tricking myself into actually wearing color!

January Projects 3 and 4

Stashbusting – 4 fabrics used

Waterfall Archer

So I finished my first version of Grainline’s Archer Button Up.

front

And I love it!

It’s comfy and cozy, and fits me.

I don’t love long sleeve shirts in the first place, since I almost always just roll up the sleeves to my elbows, but I wanted a thick one, like the plaid flannel shirts. But for one, I don’t actually like wearing plaid, and two flannel is often a bit too warm for me.

So when I was gifted this neat geometric blue fabric, I thought I’d give it a try. In retrospect, it’s a bit too thick for a first time through on this pattern. It certainly is a thick as a nice flannel, but without the fuzz and some of the warmth. But it worked out nicely.

back

I love that the only exposed seams are the side seams and the armscye. I definitely have no qualms about putting this in the wash, which is more than I can say about most of my projects.

It’s a little baggy, which is what I was going through for this one, but I may cut some of the bagginess on my next one.

Because I will be making another.

arm

I also had to cut the sleeve down a bit. Because the shoulder seams drop off the shoulder a bit, the sleeves were incredibly long, but I did notice that when I moved up the seam, the sleeve length was a bit better. For proof on the enormous length on petite little me, see the picture above. The length was past my palm!

But all in all, I loved the pattern. After using a Simplicity pattern right before, I appreciated that all notches matched up easily. I will admit, though, that I used the sew along online, instead of the booklet instructions. I admire pictures, and it’s easier for me to understand better with full color pics.

January Project #1

Stashbusting – 1 fabric used