Hand Embroidery on My Daily Garments

I was going to use this post to just tell you about my two black rayon Onyx tops, but realistically they’re only slightly altered from the pattern and boring on their own… What’s more cool is all the embroidery I did on them, a skill that I’ve been working on for the past few years.skirt.jpg

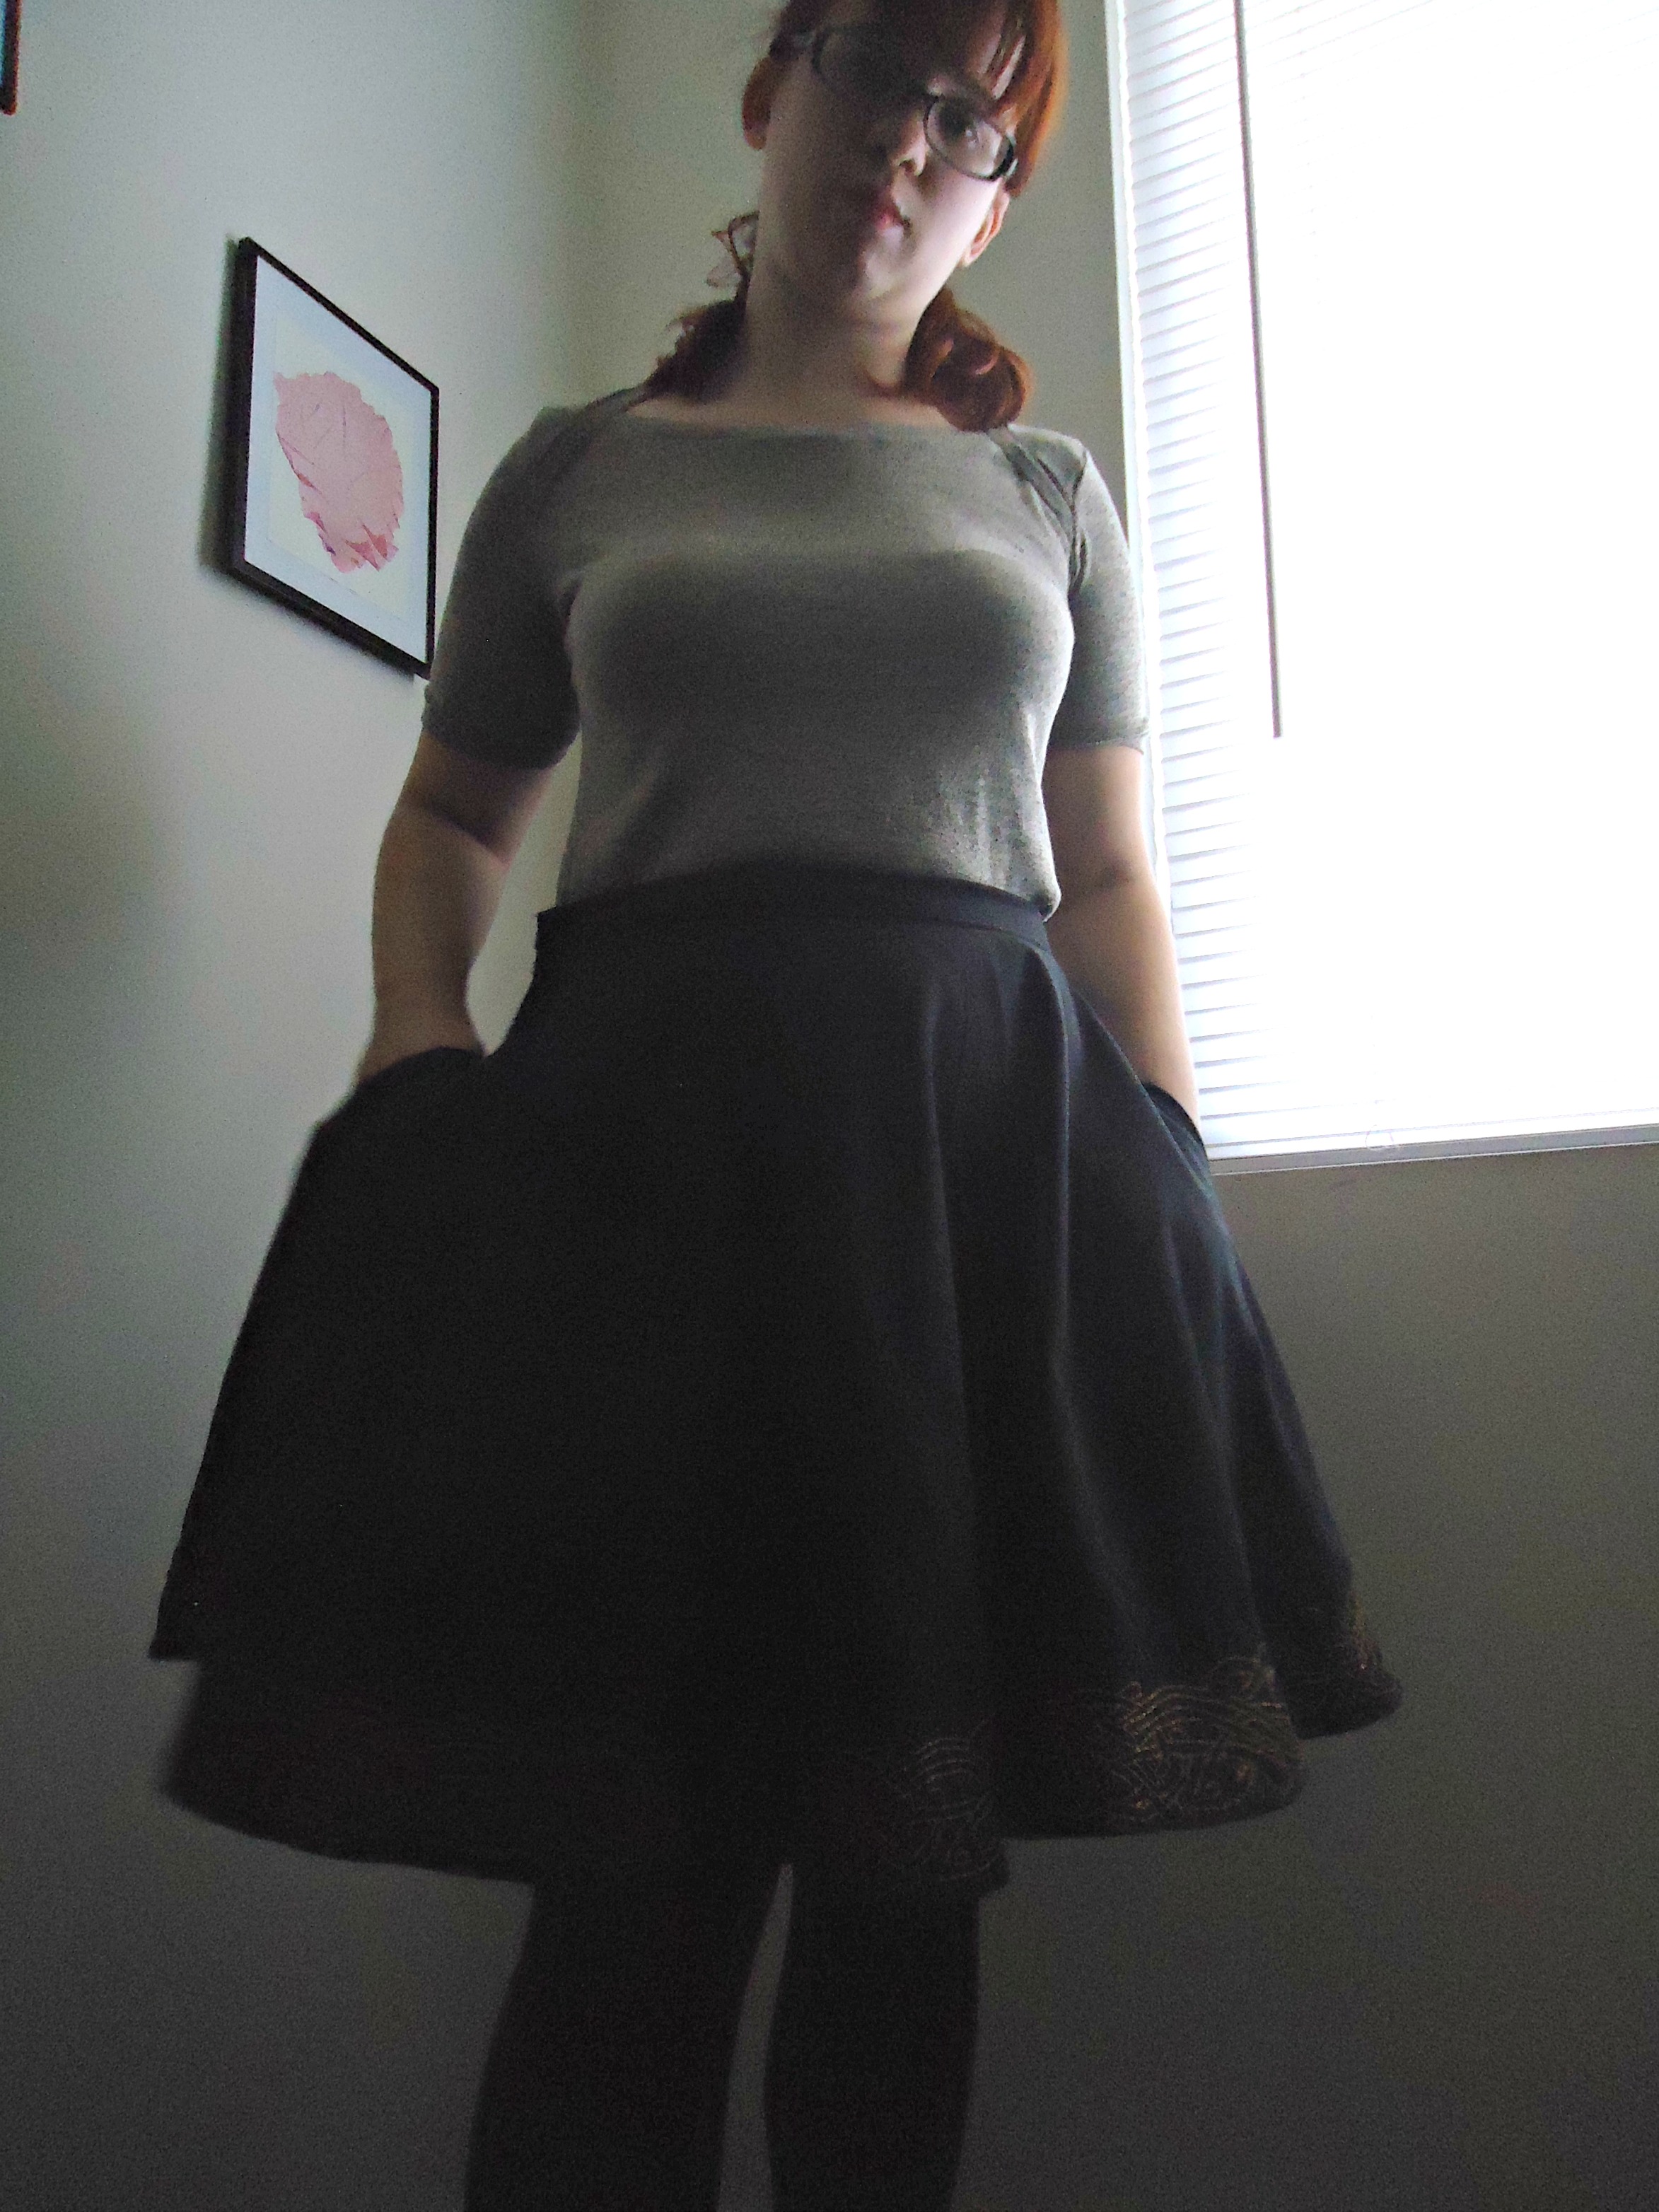
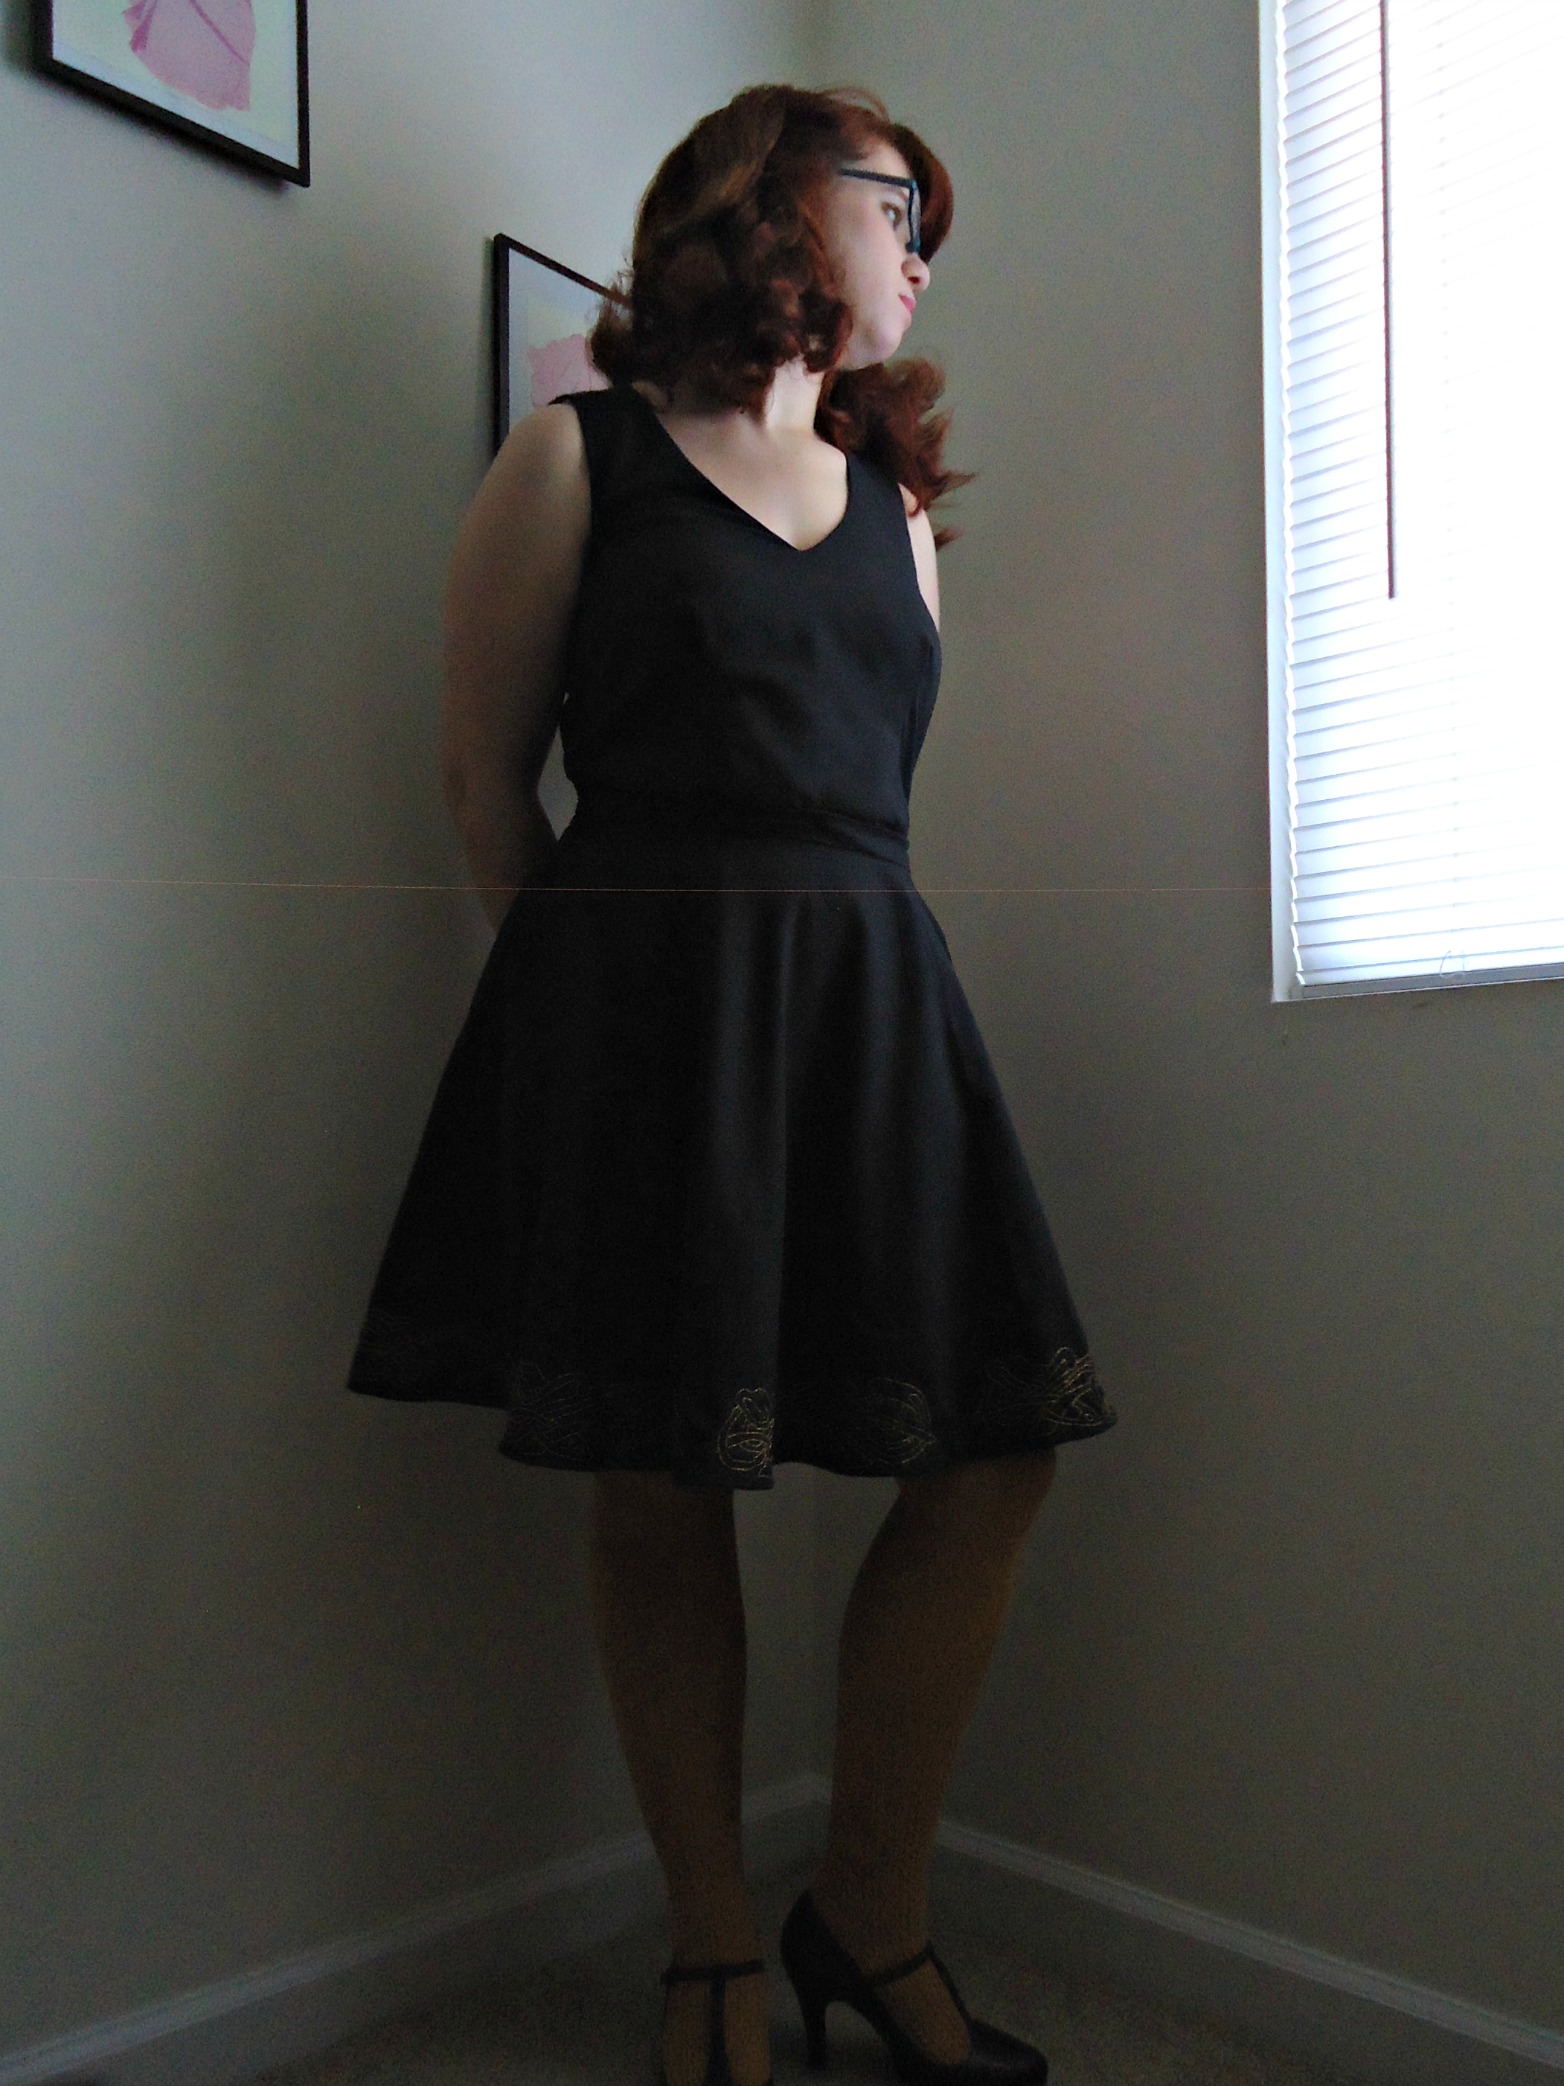
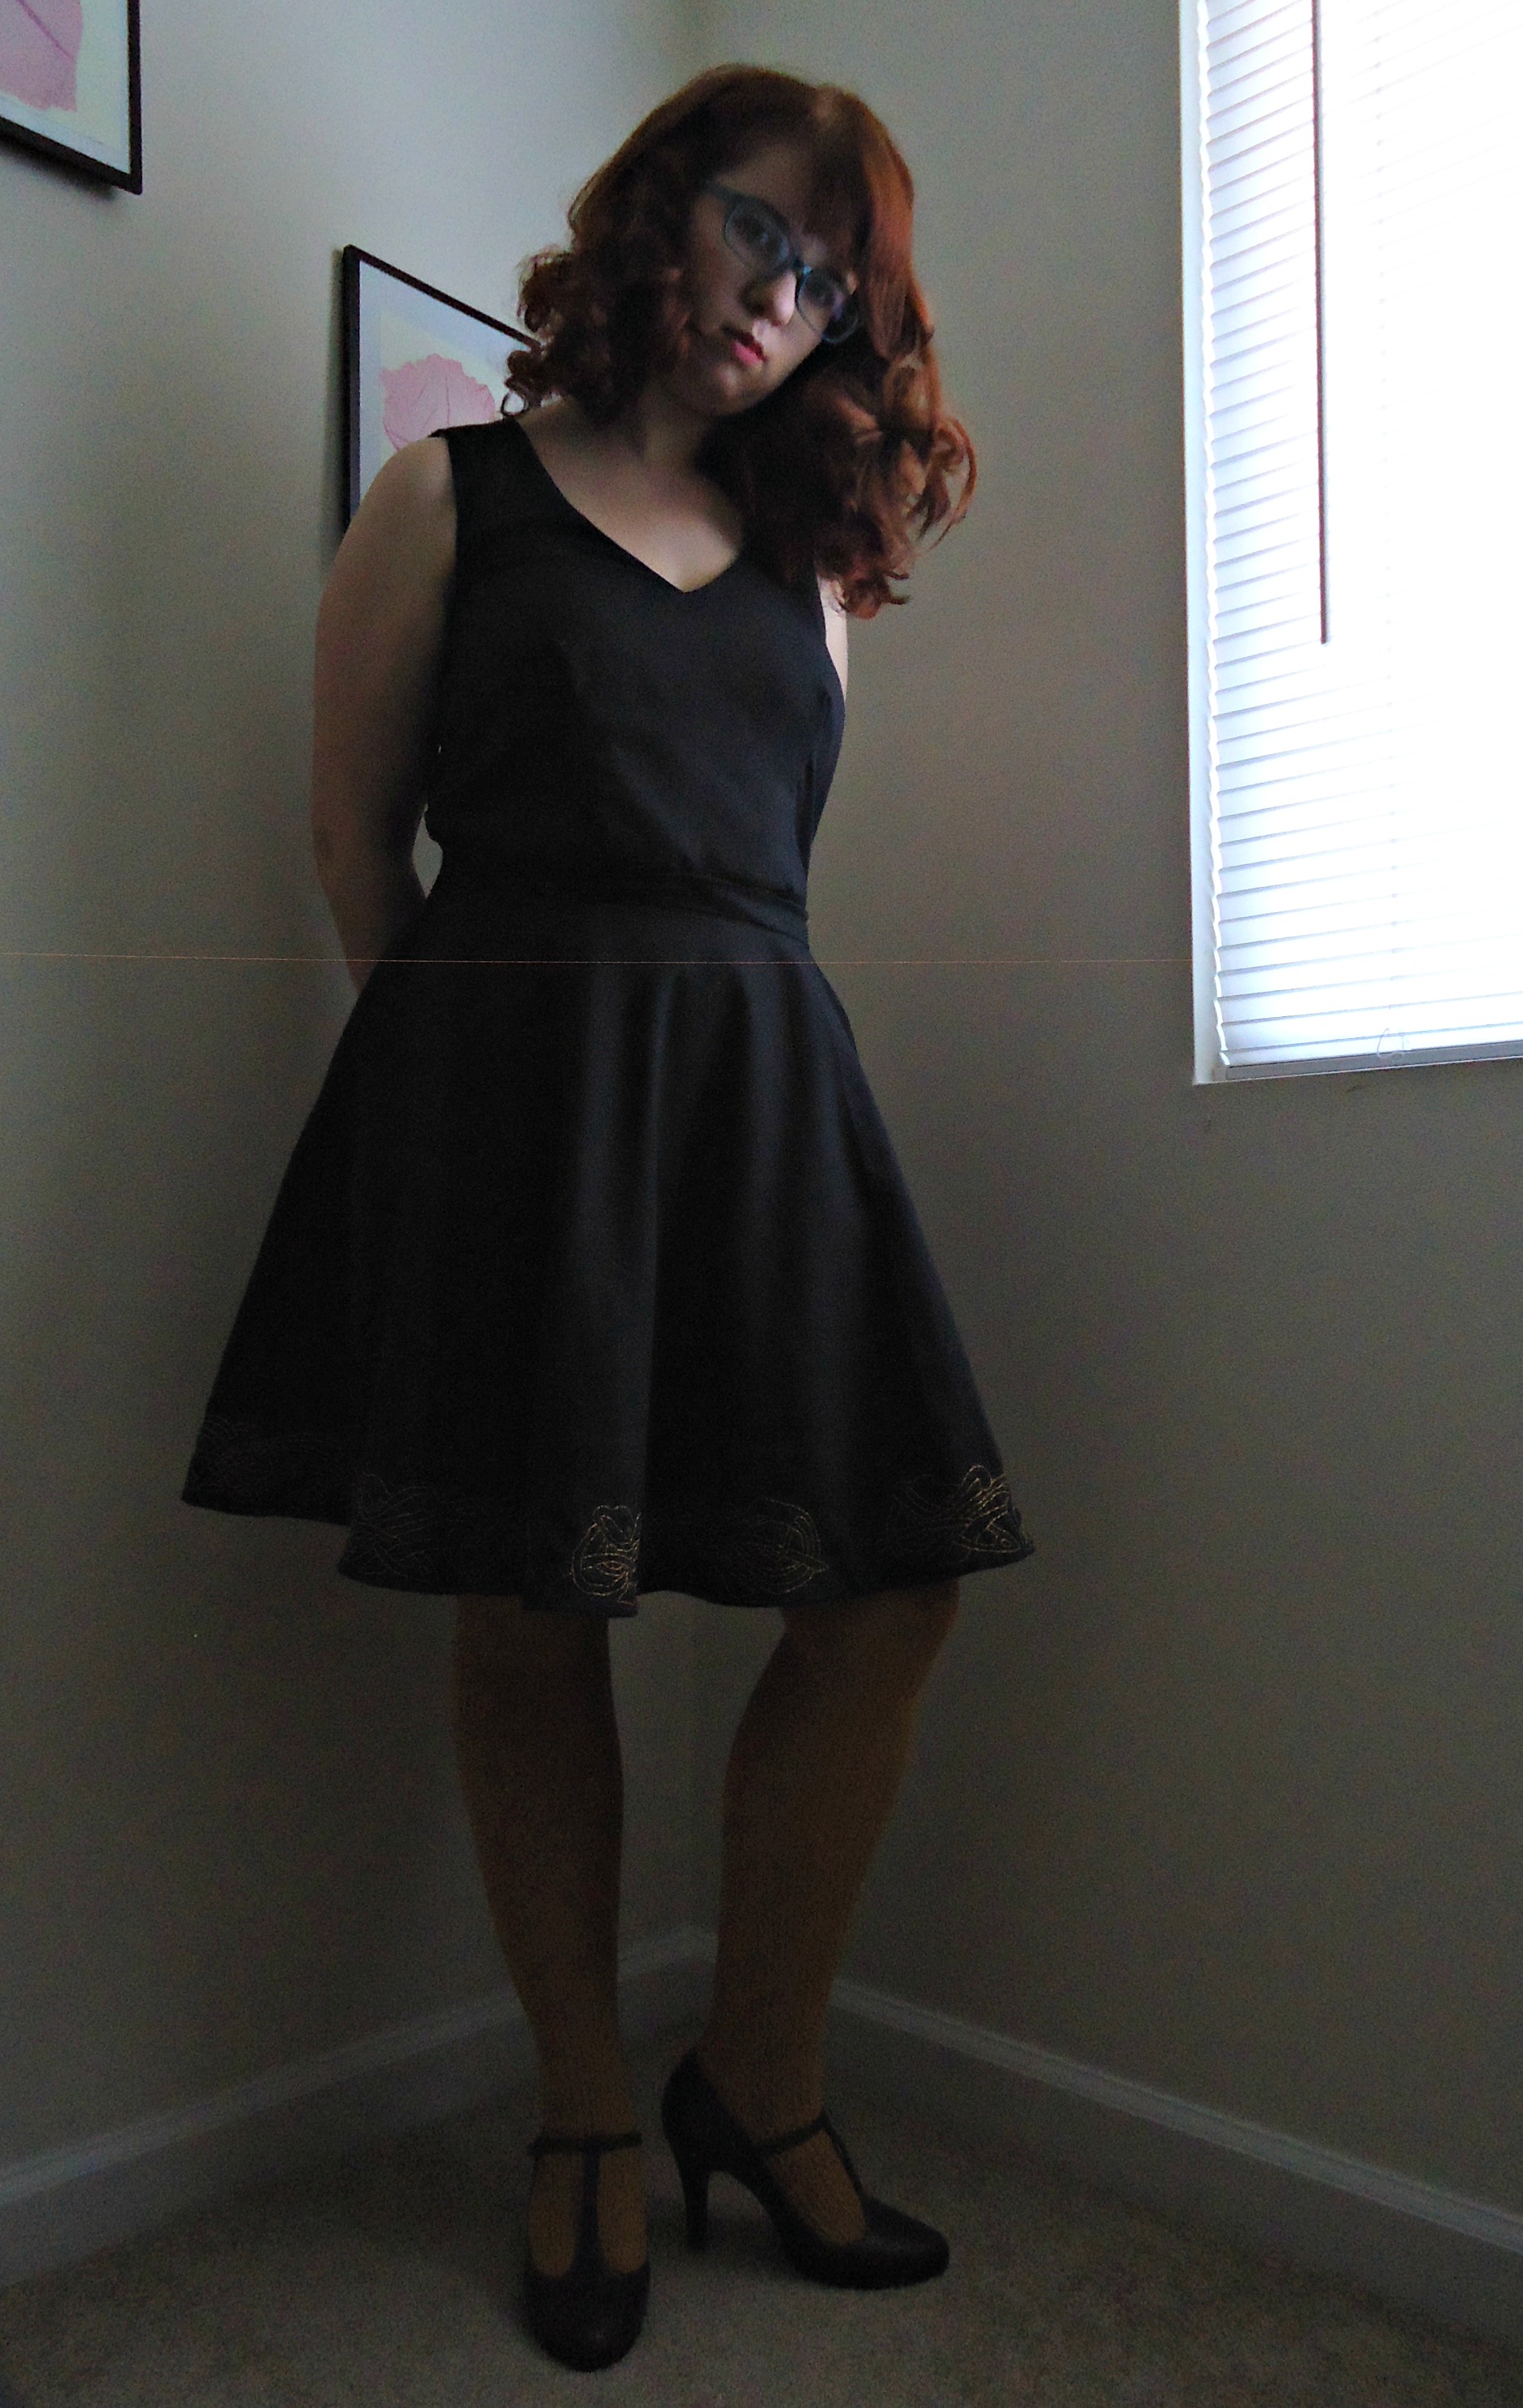
Maybe we should start waaaaaay back, with this shot of embroidery from my Merida inspired skirt. This was a linen skirt that I embroidered a motif from Brave’s concept art on. Each motif took between 4 to 6 hours, depending on my mood, brainpower, and willingness to have rather big stitches.

floral

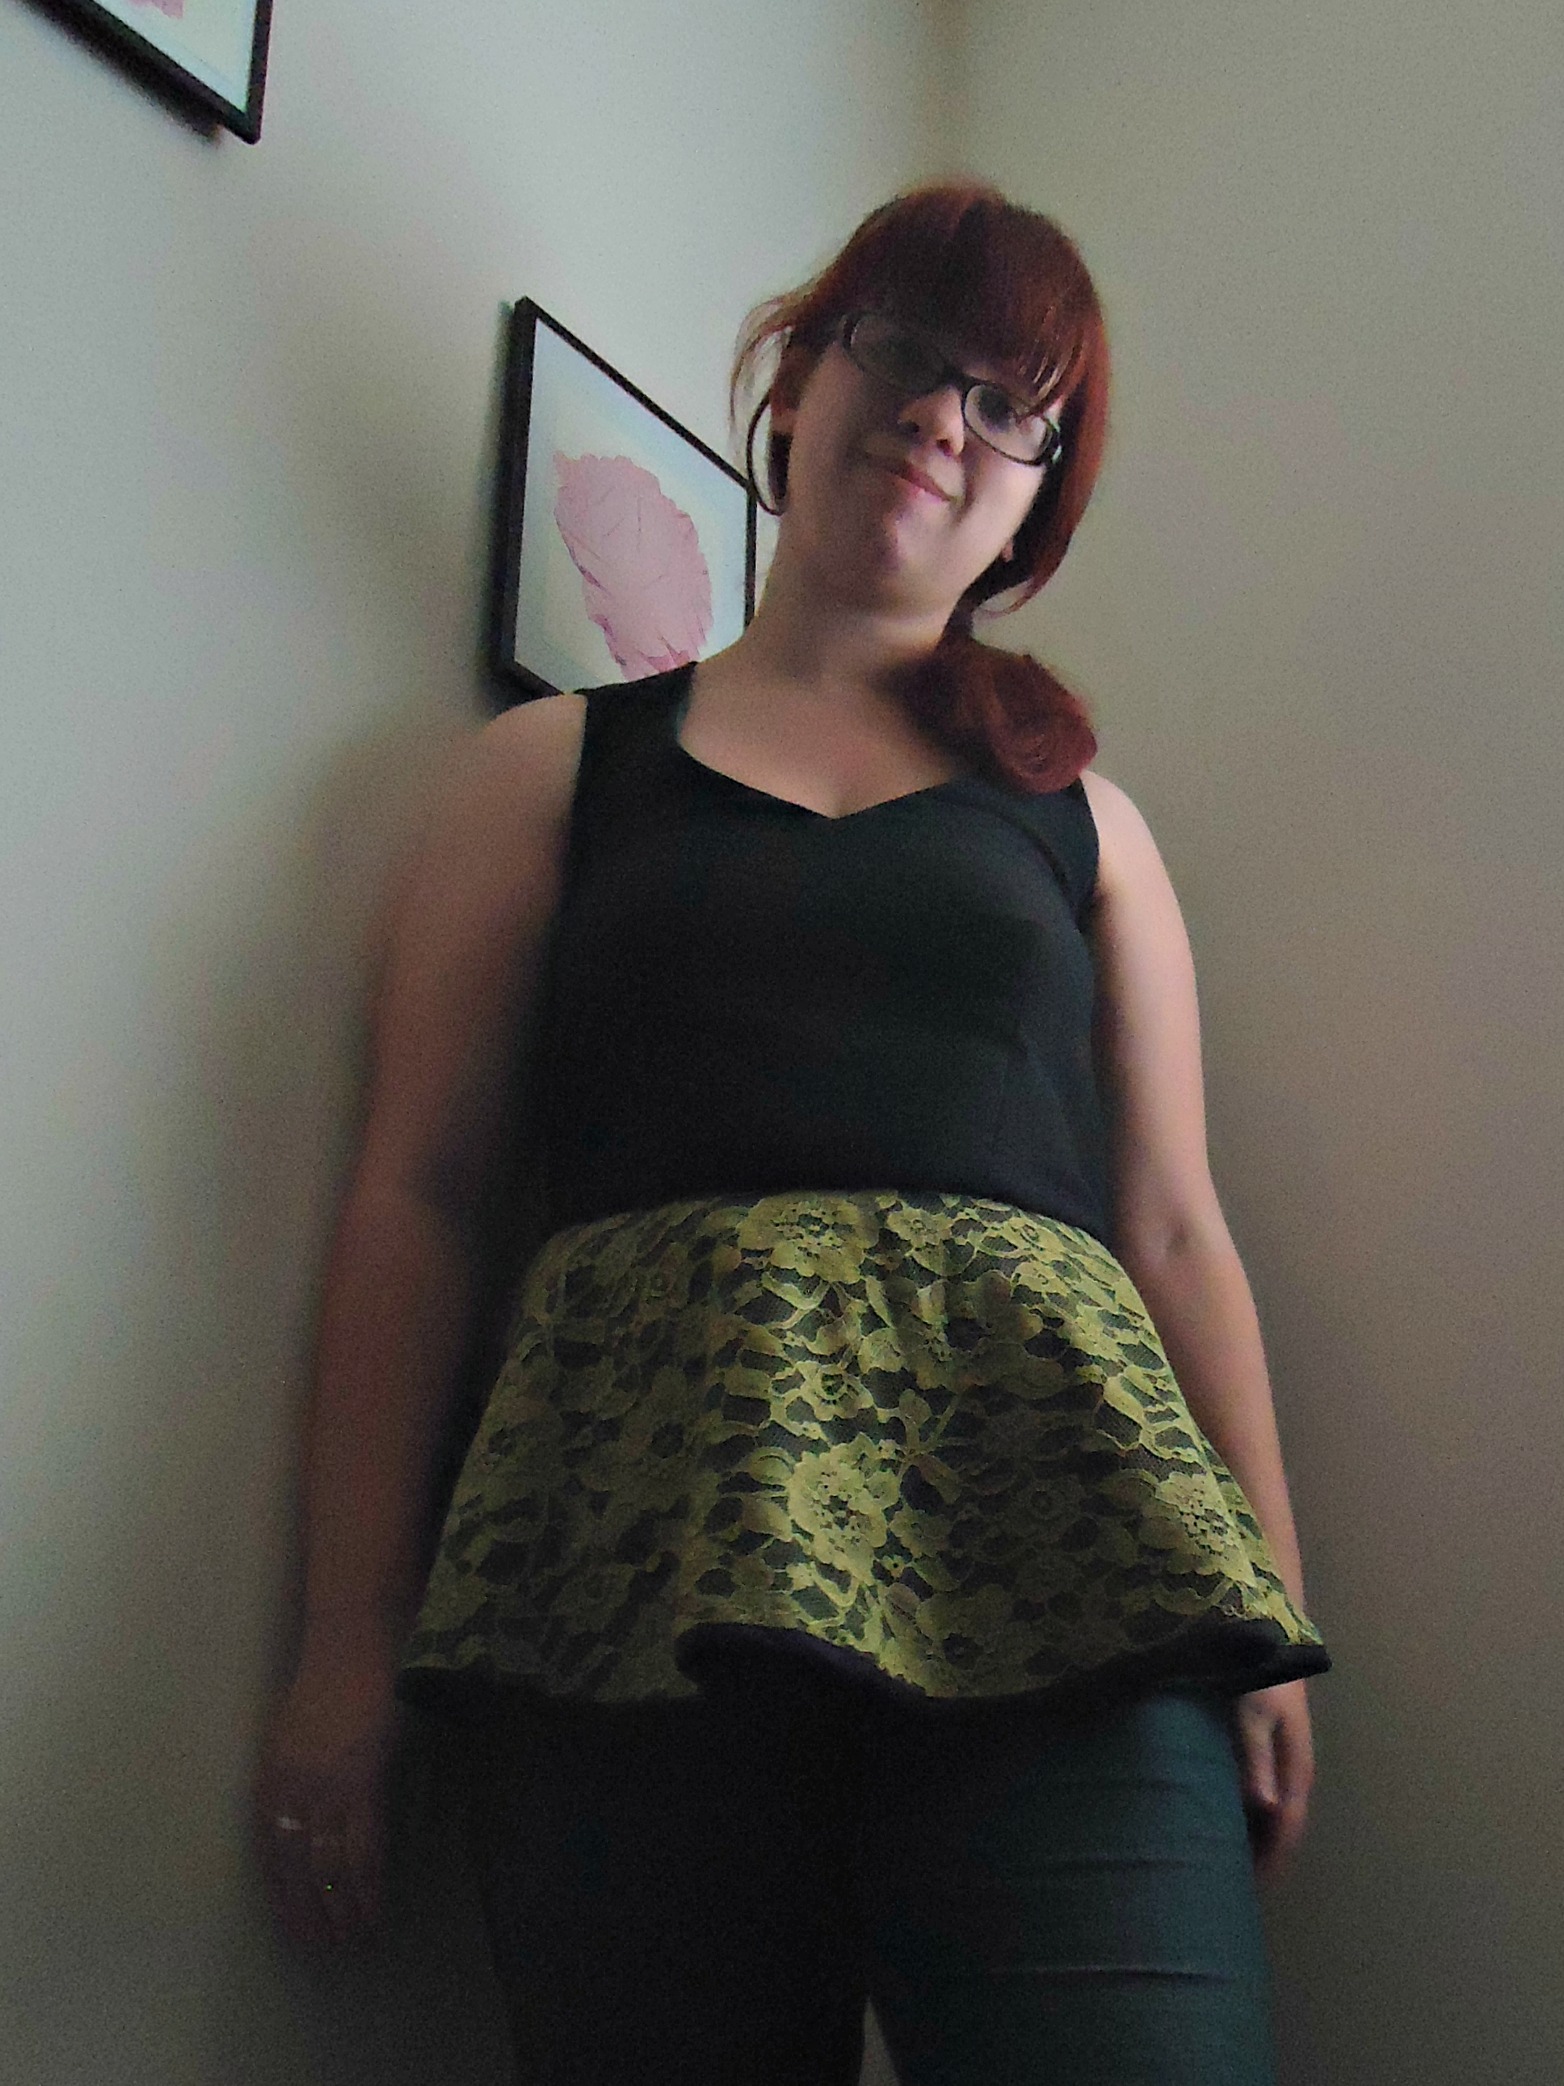
Then we get to the first of my Onyx tees, the one with stems, leaves, and flowers. I embroidered this while on a road trip between Asheville NC, Nashville TN, and New Orleans LA.

ariel

Next after that came some new to the blog embroidery: my Ariel blouse! I embroidered small waves around the neckline and did some chain stitch around the sleeve hem. I was really trying to drive home the Little Mermaid vibe.

DSC_6285

A couple months later (for instance, after I finished my defense and my paper for my Master’s thesis) I found myself embroidering another Onyx tee, with coppers and aqua. Don’t tell the other ones but this one is my favorite! I affectionately call it the Orange Peel. I guess because it looks like an orange with seeds in it if you squint and then close your eyes and imagine.

DSC_8605

Then around last Christmas I made my first Ogden cami, and after I made the small adjustments I needed to make it wearable, I embroidered the armscye to keep the facing down. Not a lot of embroidery, but it make it special.

dress

In July I made an Ogden dress (that was featured in my upcoming post about my Ogdens) and embroidered an abstract selection of french knots on the front, and a large running stitch V on the back.

DSC_8610

My favorite pair of jeans had an unfortunate turn of events… The left pocket bag started rotting out (and the other one has started too…), so I did a subtle little bit of visible mending to put in new pocket bag fabric, instead of taking the entire pair of jeans apart to do the same thing.

As for making these pieces of embroidery, I have been mostly just using the fabric plus interfacing required by the patterns to keep it steady. No extra interfacing, at least. I do use a hoop when I can though.

Laundering it is not much extra. When I used household machines I barely even worried, but now that I have to use industrial laundry room machines, I make sure that all of the hooks and closures on my clothing are closed before I put them into the wash, so there’s less chance of catching.

And that winds down my embroidery post!

I do have some embroidery I’d like to do before the month is out (sew frosting anyone?) so I’m hoping to get some shots explaining how I go about it… So look out for that in the next couple weeks.

I know that I’ll continue to embroider on the things I make, because it makes me happy, but it’s been trickling in a bit slower this year. As with my sewing, my embroidering has slowed down now that I kind of make for a living, but I am trying to make it more intentional. So we’ll see what’s next, right?

Cool.

Also, I might be making embroidery patterns for sale soon… Any requests?

Touch the Sky

no glasses

So here’s what my Merida pieces look like together!

EpilogueDress6

To recap, I made a set of outfit pieces to subtly reference this outfit Merida wears at the end of Brave.

So I made the skirt first, and spent ages to embroider it.

Then I made the top, which I probably won’t wear much alone, but they do look nice together!

sideThey’re connected using a bunch of hook and eyes, so that the skirt doesn’t ride down and reveal the green lace peplum.

I got all gussied up and pincurled my hair, which ended up a little wilder than I expected. Perfect for a dressed up Merida!

front

Have a happy Thursday!

Chase the Wind

I posted two weeks ago about my Merida skirt, which I’m super proud of… all that embroidery…

front full

Today I’m going to tell you about the top that I made to match it. I was never really into two piece sets, because most of the ones I found consisted of shorts and a top. But when I had the idea to make the Merida themed outfit, I knew that I didn’t have a need for a black dress. I wanted to have a more versatile outfit, so a two piece set of a skirt an a top it was!

The peplum craze is still going, and excepting my Belle Mark 2 (where it was “accidental” because it as a dress was too short, so I cut it shorter) I don’t have any in my wardrobe, so I wanted to try one out…

Verdict: I don’t really like it, but I’ll talk about that more later.

side

The top is made of the same heavy black linen (from Joann’s) as the skirt, but its got a green lace layer over the peplum, and is lined with a forest green “posh” lining from Joann’s. The lace is this gorgeous stuff from my stash, and is the same as I used in the Dandelion suiting dress and the Dandelion linen sleeveless top. I actually think that this linen might be the same weight as that sleeveless top

front

I self drafted this top from the same general “block” that I started with for Peggy. The block itself is quite… wrong, but it was a good starting point for the moment. Since it was wrong, I had a few adjustments to make. I had to raise the armscye since it was drastically too low. I also made it sleeveless, so I raised the edge of the shoulder and made the shoulders a little more snug. I had to adjust the front and back darts in order to get it to hang properly. Using a side seam zipper seemed like a good idea at this point, especially since I only had a deep green, not a black one, but I’m not sure that it was the right call.

The muslin I made out of the same linen was pretty terrible, so I had to make changes. Namely change some of the darts, and fix the side seams, which were leaning to the front. The back of this version is now both tight and loose, with a bubble above the darts… I’m not sure if its that the fabric is super finicky, or if its a problem with drafting that I’ll need to fix for next time I make one of these, but I guess time will tell.

front smile

The peplum itself is a 3/4 circle skirt, and is hemmed with black bias binding. It’s got a lot of body, because the linen is so heavyweight. That’s probably why I don’t really care for this peplum. I do like the idea of it, and I like the Belle version, made out of a fairly thin knit so it hangs flat, but I think the body of this version is too much. Especially with looser bottoms like these jeans. I don’t own any pencil skirts, because I feel like I can’t walk in them, but I bet such a skirt would be a great match for this. I’ve mostly worn it with skinny jeans, and I think it balances well.

back side

Looking at the pictures, I can’t tell if the horizontal waist seam is bubbling or whether its an unfortunate trick of the light. Now that I have a full sized ironing board this will probably be easier. My tabletop ironing board was too small for its own good, though I’ll keep it around for small scale things like quilt top seams and the like. I’ve been thinking about adding some embroidery up by the neckline, but I think I’m just going to leave it alone. More versatility. The neckline doesn’t always lie flat, which is something that I will need to improve for future drafting projects, but when its tugged at, it will, so once rigged up to the skirt, or any skirt for that matter, it should help.

Realistically, this top will mostly be used with skirts, since its a plain but structured top above the peplum, but if I ever go on a trip and bring it along, I can see wearing it alone. Only time will tell!

I’ll be back soon with pictures of the two parts together, but before that, I need to actually rig up a way to fasten the two together… Procrastination is my specialty, after all.

Shooting for my own Hand

cute

This skirt is my pride and joy of this quarter of the year (aka post September).

I made the skirt first, in late September, knowing that I would use the other part of the bundle of linen that I bought to make a matching (complimentary?) top. That part I finished, technically in November, but I’ll talk about it in another post.

zback

On the subject of fabric, this is a heavyweight linen from Joann Fabrics, in black. It is heavy enough that I really don’t need a slip or slip-shorts under to keep it from sticking from tights and stuff, and it helps give the skirt some body.

zbody

It’s a 3/4 circle skirt, my favorite kind, and I used a facing for the knee length hem. I didn’t get any pictures of it, though. The other end of the facing was closed using bias tape (pink and pastel green, since that’s what I had on hand), and then carefully sewn to the main skirt.

The waistband is plain, embellished lightly with black thread and lines, also to help the interfacing stay better. And I used a zipper to close it.

pockets

There are two full sized in seam pockets that I adore. They get in the way of the zipper a bit, so I can’t pull the skirt over my hips easily, but it fits fine over my head.

It sat mostly unfinished until mid October when I got this crazy idea to embroider it.

By hand.

You don’t have to tell me how crazy I am. I know how crazy I am.

EpilogueDress6link


I found this gorgeous art that is supposedly concept art. And I loved the knot at the bottom, so I copied it, and stuck it on my skirt!

merida

Six hours minimum to finish each motif. There are eight. So that’s a minimum of 48 hours. Plus the extra time the first four took (about 4 hours), means this embroidery alone took 52 hours…

emb

There is so much extra body to the hem. It’s not pretty on the underside, but eh. I can deal with that.

I may do extra embroidery… But not right now!

Halloween Week – 2015

If Halloween was an Olympic sport, I think I’d qualify to compete for the national team. I wouldn’t win, but I would probably be invited back for the next year!

That’s probably not how the Olympics works… Moving on!

I upped my Halloween game this year. For almost each day the week before, I subtle-cosplayed. I was so close to making it each of the 5 days, but that Tuesday was unseasonably cold, and the chosen outfit wasn’t finished and wasn’t warm enough. And I got out of bed too late. So there’s room for improvement, right?

Also, coincidentally, all of my outfits this were Disney princess themed. So next year I should try to diversify…

One of my fellow grad students figured out what I was doing on Wednesday, so for Thursday and Friday she made guesses, though my Belle outfit does have a dead giveaway component. I’m not sure if she knows about me making clothing, and if she knows about the blog I’d be very surprised (but hi, if so!), but its nice when something like this gets noticed.

Monday – Briar Rose

cuteShirt: RTW thrifted / Cardigan: Primark upcycled / Skirt: Me-Made

Tuesday – supposed to be Merida, with a second choice of Kaylee, and neither happened…

Wednesday – Ariel Day Dress

arielTop: Me-Made / Skirt: Me-Made

Thursday – Merida (Epilogue outfit) – More on this one soon

cuteTop: Me Made / Skirt: Me Made (and not yet blogged)

Friday – Belle

=back sideDress: Me-made / Cape: Me-made

And then Peggy Carter for real Halloween! But I’ll save that for another post… After the holidays. Stay tuned!

Forest Dandelion

full

I made this for Indie Pattern Month back in June, but it’s taken me this long to fall in love, I guess.

dress2

Partly because of the way it hang as a dress, and partly because as much as I try to stay healthy, summer tends to bring out the junk food and bad habits for me, and this dress is not very forgiving in the stomach area. To be honest, my stomach area is my personal self esteem weak point, and I try my best to help myself in that area by making clothes that I feel good in.

So I cut off the bottom of the dress and made it a tank!

I’ve worn it a bunch now, and I love it this way!

side

Details then…

This was really the third iteration. The first was a straight mockup of the smallest size made of  stretchy fabric, specifically the leftovers from my Peanut Butter Cup bodysuit. It wasn’t terrible, but I needed to make some alterations. I added room to the bum region at the center back seam, and I added a bit in the bust area, plus I “reattached” the yoke pieces to the main pieces, so I wouldn’t need a seam there.

The second version was using a fairly stable, with more give than stretch, ponte I think. Definitely feels like polyester, and I love this version. Except the print is definitely not my thing, it being so floral and dark. It makes some awesome pajamas, though. The neckline was too high for my vision of the final dress, so I lowered the neckline, and I cut in a Merida-type notch.

back

Then the final version. This is where it kinda went downhill, sadly. The fabric was a stretchy t-shirt jersey. Pretty soft, but it wasn’t stable or uber stretchy, and it has very little drape. I used the exact same shapes as the red floraly one, but I was getting butt wrinkles, and it wasn’t flattering. I took in the center back a lot, and all the way around the inner panels a few times. Eventually, this caused the bust to start wrinkling, so I added in a dart, which mostly affects the top layer. Finally, I ended up with something that mostly fit, and felt fairly comfortable.

I got pictures for IPM, but then I stopped wearing it. I couldn’t figure out what was bothering me about it, then two weeks ago I realized. I could see my stomach poking out, and that was my issue. So I tried it on, cut a notch in the center, added in an uneven hem, and voila!

front

All better!

Internally, I’ve labeled this my Merida tank, in keeping with my plan for most makes to have closet cosplay potential, and I think it fits nicely. Sometime soon I’ll accessorize appropriately and show you!