Chase the Wind

I posted two weeks ago about my Merida skirt, which I’m super proud of… all that embroidery…

front full

Today I’m going to tell you about the top that I made to match it. I was never really into two piece sets, because most of the ones I found consisted of shorts and a top. But when I had the idea to make the Merida themed outfit, I knew that I didn’t have a need for a black dress. I wanted to have a more versatile outfit, so a two piece set of a skirt an a top it was!

The peplum craze is still going, and excepting my Belle Mark 2 (where it was “accidental” because it as a dress was too short, so I cut it shorter) I don’t have any in my wardrobe, so I wanted to try one out…

Verdict: I don’t really like it, but I’ll talk about that more later.

side

The top is made of the same heavy black linen (from Joann’s) as the skirt, but its got a green lace layer over the peplum, and is lined with a forest green “posh” lining from Joann’s. The lace is this gorgeous stuff from my stash, and is the same as I used in the Dandelion suiting dress and the Dandelion linen sleeveless top. I actually think that this linen might be the same weight as that sleeveless top

front

I self drafted this top from the same general “block” that I started with for Peggy. The block itself is quite… wrong, but it was a good starting point for the moment. Since it was wrong, I had a few adjustments to make. I had to raise the armscye since it was drastically too low. I also made it sleeveless, so I raised the edge of the shoulder and made the shoulders a little more snug. I had to adjust the front and back darts in order to get it to hang properly. Using a side seam zipper seemed like a good idea at this point, especially since I only had a deep green, not a black one, but I’m not sure that it was the right call.

The muslin I made out of the same linen was pretty terrible, so I had to make changes. Namely change some of the darts, and fix the side seams, which were leaning to the front. The back of this version is now both tight and loose, with a bubble above the darts… I’m not sure if its that the fabric is super finicky, or if its a problem with drafting that I’ll need to fix for next time I make one of these, but I guess time will tell.

front smile

The peplum itself is a 3/4 circle skirt, and is hemmed with black bias binding. It’s got a lot of body, because the linen is so heavyweight. That’s probably why I don’t really care for this peplum. I do like the idea of it, and I like the Belle version, made out of a fairly thin knit so it hangs flat, but I think the body of this version is too much. Especially with looser bottoms like these jeans. I don’t own any pencil skirts, because I feel like I can’t walk in them, but I bet such a skirt would be a great match for this. I’ve mostly worn it with skinny jeans, and I think it balances well.

back side

Looking at the pictures, I can’t tell if the horizontal waist seam is bubbling or whether its an unfortunate trick of the light. Now that I have a full sized ironing board this will probably be easier. My tabletop ironing board was too small for its own good, though I’ll keep it around for small scale things like quilt top seams and the like. I’ve been thinking about adding some embroidery up by the neckline, but I think I’m just going to leave it alone. More versatility. The neckline doesn’t always lie flat, which is something that I will need to improve for future drafting projects, but when its tugged at, it will, so once rigged up to the skirt, or any skirt for that matter, it should help.

Realistically, this top will mostly be used with skirts, since its a plain but structured top above the peplum, but if I ever go on a trip and bring it along, I can see wearing it alone. Only time will tell!

I’ll be back soon with pictures of the two parts together, but before that, I need to actually rig up a way to fasten the two together… Procrastination is my specialty, after all.
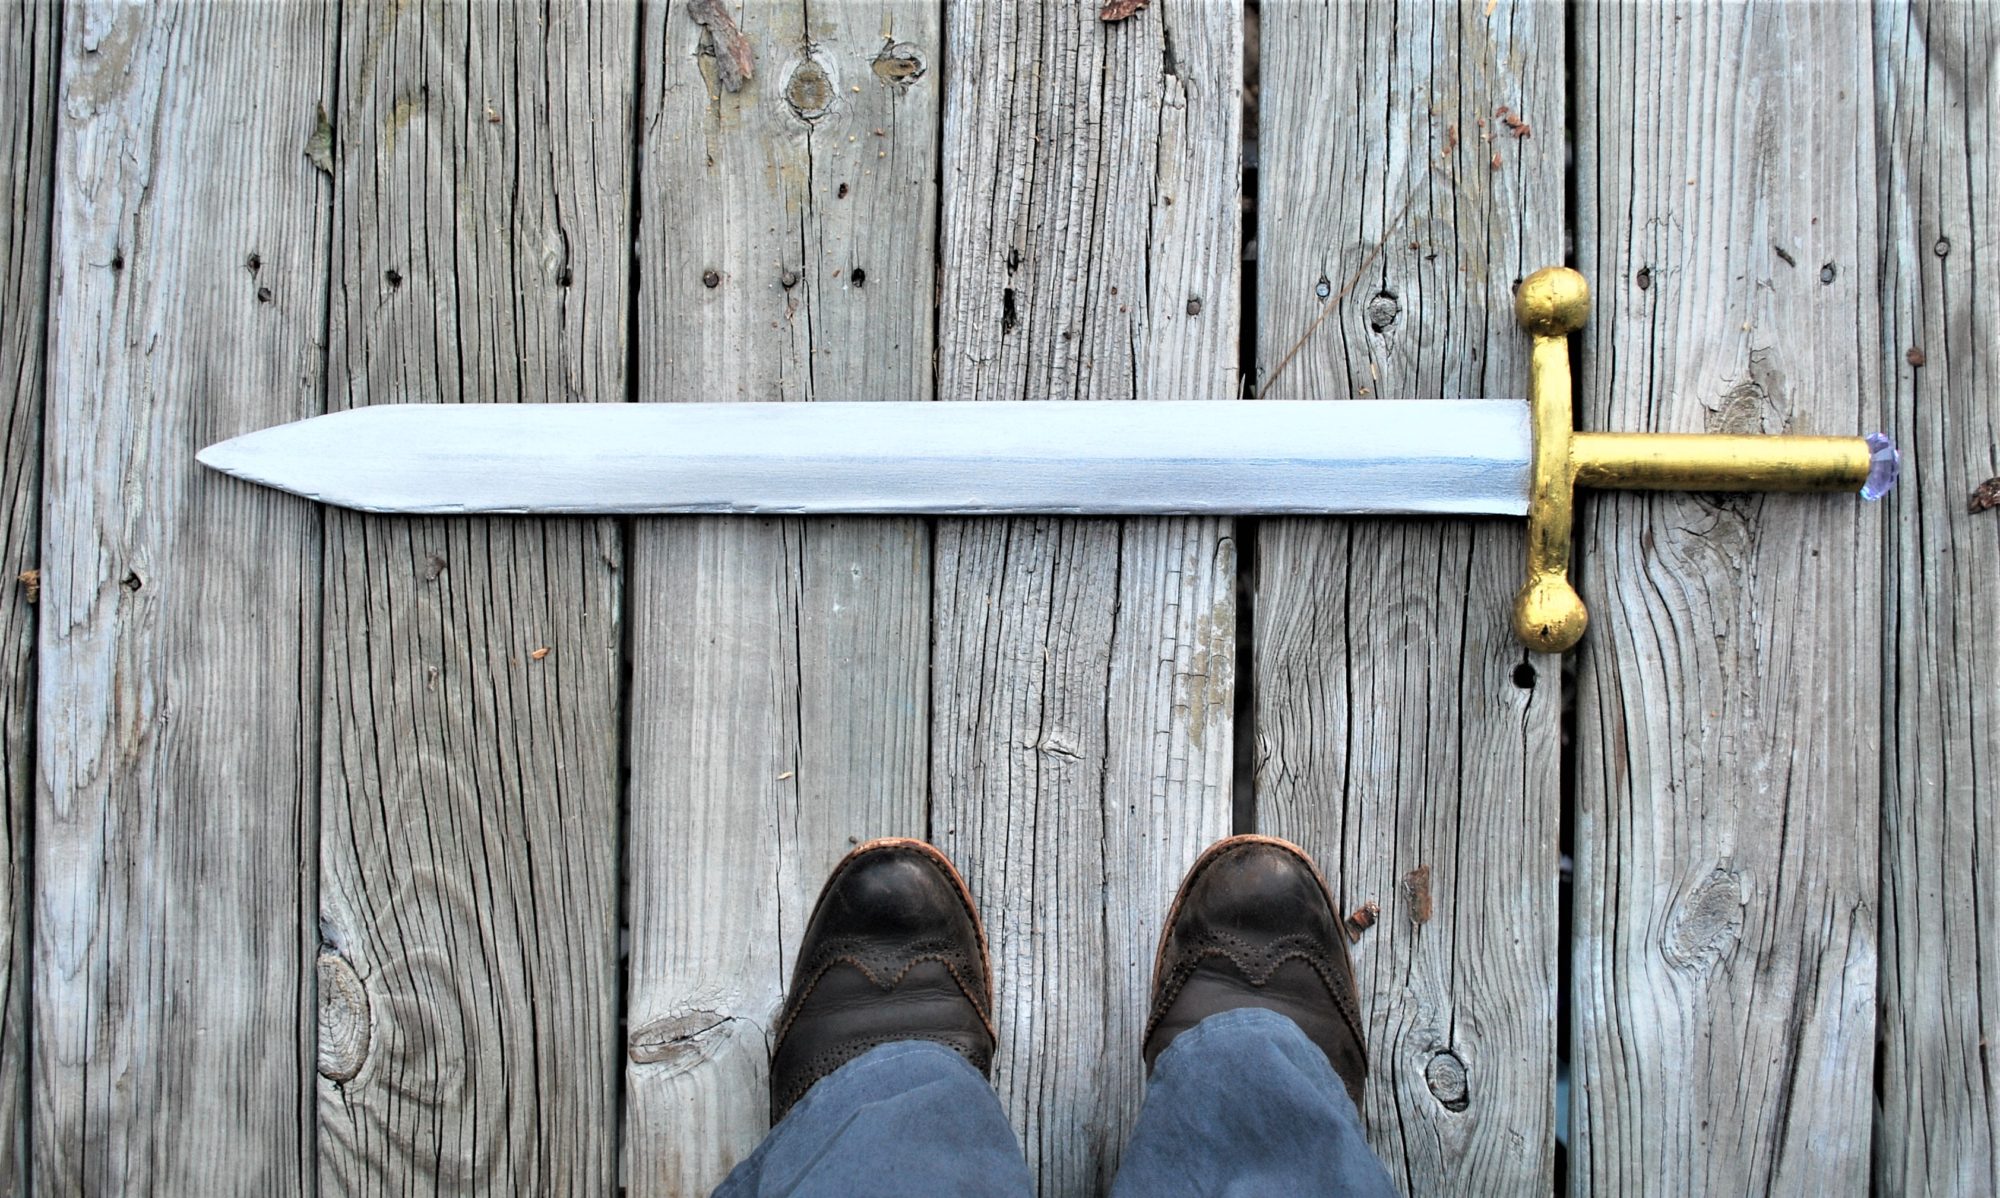
Shooting for my own Hand

cute

This skirt is my pride and joy of this quarter of the year (aka post September).

I made the skirt first, in late September, knowing that I would use the other part of the bundle of linen that I bought to make a matching (complimentary?) top. That part I finished, technically in November, but I’ll talk about it in another post.

zback

On the subject of fabric, this is a heavyweight linen from Joann Fabrics, in black. It is heavy enough that I really don’t need a slip or slip-shorts under to keep it from sticking from tights and stuff, and it helps give the skirt some body.

zbody

It’s a 3/4 circle skirt, my favorite kind, and I used a facing for the knee length hem. I didn’t get any pictures of it, though. The other end of the facing was closed using bias tape (pink and pastel green, since that’s what I had on hand), and then carefully sewn to the main skirt.

The waistband is plain, embellished lightly with black thread and lines, also to help the interfacing stay better. And I used a zipper to close it.

pockets

There are two full sized in seam pockets that I adore. They get in the way of the zipper a bit, so I can’t pull the skirt over my hips easily, but it fits fine over my head.

It sat mostly unfinished until mid October when I got this crazy idea to embroider it.

By hand.

You don’t have to tell me how crazy I am. I know how crazy I am.

EpilogueDress6link


I found this gorgeous art that is supposedly concept art. And I loved the knot at the bottom, so I copied it, and stuck it on my skirt!

merida

Six hours minimum to finish each motif. There are eight. So that’s a minimum of 48 hours. Plus the extra time the first four took (about 4 hours), means this embroidery alone took 52 hours…

emb

There is so much extra body to the hem. It’s not pretty on the underside, but eh. I can deal with that.

I may do extra embroidery… But not right now!

Halloween Week – 2015

If Halloween was an Olympic sport, I think I’d qualify to compete for the national team. I wouldn’t win, but I would probably be invited back for the next year!

That’s probably not how the Olympics works… Moving on!

I upped my Halloween game this year. For almost each day the week before, I subtle-cosplayed. I was so close to making it each of the 5 days, but that Tuesday was unseasonably cold, and the chosen outfit wasn’t finished and wasn’t warm enough. And I got out of bed too late. So there’s room for improvement, right?

Also, coincidentally, all of my outfits this were Disney princess themed. So next year I should try to diversify…

One of my fellow grad students figured out what I was doing on Wednesday, so for Thursday and Friday she made guesses, though my Belle outfit does have a dead giveaway component. I’m not sure if she knows about me making clothing, and if she knows about the blog I’d be very surprised (but hi, if so!), but its nice when something like this gets noticed.

Monday – Briar Rose

cuteShirt: RTW thrifted / Cardigan: Primark upcycled / Skirt: Me-Made

Tuesday – supposed to be Merida, with a second choice of Kaylee, and neither happened…

Wednesday – Ariel Day Dress

arielTop: Me-Made / Skirt: Me-Made

Thursday – Merida (Epilogue outfit) – More on this one soon

cuteTop: Me Made / Skirt: Me Made (and not yet blogged)

Friday – Belle

=back sideDress: Me-made / Cape: Me-made

And then Peggy Carter for real Halloween! But I’ll save that for another post… After the holidays. Stay tuned!

Princess-Style Fake Corset Knit Top

side front

This may be my favorite shirt. I may say that a lot, but this time it is more likely to be true…

It’s also a Nettie hack. Or really, I guess its a hack of a hack. It’s a hack that I’m making t-shirts from the bodysuit pattern, and then taking that pattern to make the new hack with the fake corset appearance. Really its just a colorblocking option that is vaguely shaped like a corset

Starring in this shirt is a black drapey knit that I used in a shirt Nettie, and some kind of cream colored tissue knit. To be honest, I forget where I found both of them.

So I took my altered tnt version of my Nettie shirt, shortened it slightly (and perhaps a smidge too much), and then drew in the hack.

pattern

I pulled on a Nettie version, and traced out where the seamline should be. I took this and transferred it to a traced copy of the pattern. I then added seam allowance to the top and the bottom of the new pieces, shown here.

Then I managed to squeeze the lower portion out of the remains of the black drapey knit. It’s amazing what you can do with 1 yard of fabric if you’re super (painfully) thrifty. In this case, I’d like to say I made 2 shirts out of that yard.

And the rest of the fabric was minimal, but luckily I had plenty of that fabric!

I sewed together the top and bottom of the front and back, and then sewed it up like normal!

front

To be honest, I sewed this up the week before Halloween in about 3 hours, and wore it that night to a costumed swing dance.

I like to think of it as a Disneybound level Ariel. Definitely got lots of compliments on it that night. It would also work nicely for an Aurora one as well.

ariel

Subtle cosplay is my jam!

Also, I am definitely out of tune with slang these days (which is ridiculous because I’m still kinda the age to get the slang, I think, maybe…). Do people still say that? Or is it just me?

Regardless, I love this version, and it will probably not be my last!

Subtle Cosplay Thursday – Briar Rose

Introducing a new Thursday installation!

I’m planning that every other Thursday I will be posting a subtle cosplay outfit. Of closet cosplay. Or whatever you would like to call it.

I realized recently that I have more or less neglected my subtle cosplay page, though I’ve definitely worn some inspired outfits. And, being completely honest, my momentum of the moment in posting is mostly due to a large backlog… That will run out at some point.

Since I started grad school, my project-ing has mostly been relegated to work avoidance… like the math homework I’ve got due tomorrow…

But one thing I can do regularly is subtle cosplay.

So I’ve decided to alternate between Design Donnerstag and Subtle Cosplay Thursday.

Presenting the first cosplay:

briar

Aurora, or to be more specific Briar Rose, from The Sleeping Beauty

necklace

I handily used my new grey circle skirt, topped it with a  cream knit shirt. I added a black cardigan, to simulate her black corset.

ring

In my hair there is a thin black headband, but honestly it somehow blends with my hair. I also used my Claudia owl ring, and wore an ivory necklace which has a rose carved in it. My grandmother gave it to me, and it is the most delicate and lovely vintage necklace I own. Or rather, second to the first necklace she gave me.

shrugWill this continue? I don’t know, but I certainly like the idea of Subtle Cosplay Thursday!

First Time in Forever

So I volunteered at the movie theater on campus, and a few weeks ago we showed Frozen.

outfit

May I start by saying that I love the movie? There are many flaws, I know, but the songs are so catchy!

And when I saw it I really was looking at the outfits. I think I finally hit the point where I not only admire the costumes of movies and shows and stuff, but that I want to make and have all of it. I’m not 100% sure that’s a bad thing, but I know its not necessarily good either…

side drape

For our showing of Frozen, though, I definitely thought it would be fun to subtly cosplay Anna.

I knew I wanted a circle skirt that wasn’t already attached to a dress, specifically one that wasn’t black. I’ve got a flowy RTW black skirt, that honestly I don’t wear often (perhaps due to the fact that I stick out enough on campus that it isn’t worth the weird looks), so my plans for the upcoming black skirt will lead to a shorter and less flowy skirt, more A-line.

skirtfront

But I really like the freedom and comfort of a circle skirt. And now that its been warm, I appreciate the flow and  minimum fabric involved.

The fabric for the skirt is a blue crepe. It’s kinda heavy but surprisingly cool, and though I don’t know the fabric content at this point I don’t entirely care. It’s comfy, especially for around the house when I don’t have to care if people see the bike shorts I’m wearing underneath. I do think I need to angle the waistband a bit, but that will happen later, and I need to finish my skinny hem, but I’m thinking embroidery and it’s a long hem. And I needed something to wear yesterday.

skirtback

On another topic I started on my drapey cardigan objective! Knowing I wanted to do this subtle cosplay gave me a great direction, and a reason to get started. This is a super lightweight rayon fabric that squishes into the size of about a child’s shoe, when given opportunity. Its really so soft and squishy, and comfy.

back

I’m not done with it though. It will gain sleeves at some point, but I didn’t feel like drafting them at the time, so that will be for after I’m done moving for the summer. Give me a month or so… and then maybe some.

cardigan

But for now I’ll be frolicking through the summer heat in my Anna subtle cosplay!

Magic is Power

I let you know earlier that I finished my Belle dress. I’m quite proud of it. I’m pretty sure I beamed through the entire first day of wearing it. But I didn’t get to take pictures of it before winter break, so I held off on this post.

front

Luckily it only took two wearable muslins before I was able to create the real thing!

So the fabric is a performance knit that I got here from eBay in Mustard Gold.

lace shirt

A few months ago, I had shown you this shirt, which I used as the upper part of the dress.

I used the same pattern from my brown dress, with very few alterations. I did accidentally cut the fabric wrong, which is why I have a center front seam, but I don’t mind it!

The skirt currently is knee length, for the winter, but I’m planning to shorten it an inch or two before the con.

I love the short sleeves, and I’m pretty proud of the arm bands. First time making arm bands and everything!

pocket

And it’s got a nice big pocket!

back

There are some fitting issues in the back. Of course, I didn’t see these until I actually took pictures, so now I’m debating with myself over how to fix it.

I had tacked down the excess shirt fabric by hand, after using a decorative stitch to formally attach the shirt. On second thought, it was a good idea to do this, for fitting, but now that I’m looking at it, I’ll be cutting more of it off. The shirt probably won’t unravel, being a kind of knit. But this also gives me some leeway in re-fitting the back. I think the back will fit correctly if I attach the shirt back up a bit higher.

top

I worked over the break on the embellishments, though now I’m thinking of other ways to do the necklace.

I’m still considering removing the collar from the shirt. It’s looking a bit too Sleeping Beauty for me. Then I can make a real necklace, since it won’t be covered by the collar.

If I decide to not do that, then the designs will be sewn onto the dress.

Decisions, decisions.