Quiver – Part 2

My unfinished quiver sat around for over a month between the first part and todays, but it was mostly because I was trying to determine the best way to sew it up.

I thought I could maybe butt up the two sides so they would form a solid point… My leather was just a bit too floppy for this.

I thought maybe I could fold under and sew it up like a seam. My leather had just too much structure.

And then it became the lace versus waxed thread debate. And where would I even attach the belt?

So I waffled.

initial

But I knew that my TARDIS belt was going to be made of leather, and I have a policy for leather goods and myself, that I am not allowed to cut into leather if I’m still working on a different piece. So I had to finish the quiver.

stitching

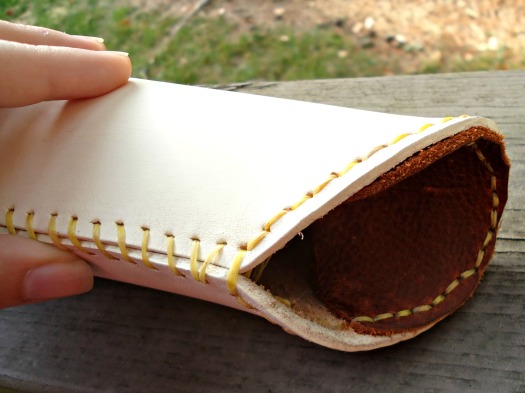
Using my trusty awl, I punched holes every 1/4 inch both up the seam line and around the bottom, since I knew I’d be attaching a cap to the bottom.

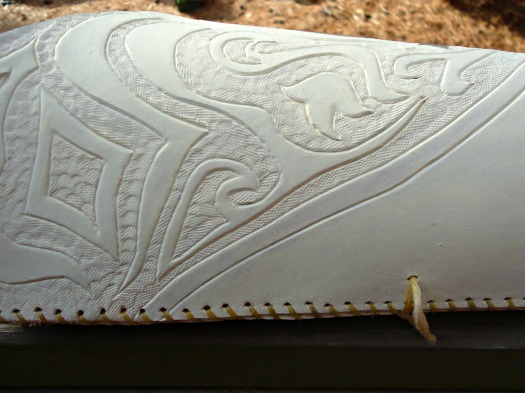
Waxed thread was my “weapon of choice” in the end. I used a whip stitch, I guess, to sew up the seam, which seemed to hold it very stably.

inside

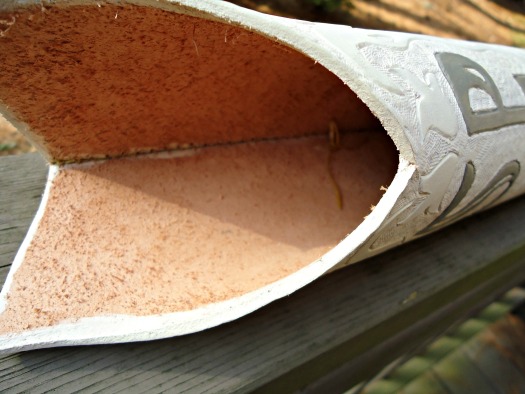
I had intentions of attaching the belt by running it through the quiver itself, but that didn’t pan out. For one, I only had as long as a partially used cow belly, which was not as long as I was expecting. Threading it through like that also made it really blocky and uncomfortable. Comfort is key in the costume game, especially since I’d already be wearing a corset, which is enough comfort-restraint.

top

So I ended up running a few loops of waxed threads to serve as attachments for the belt. It works well for now, but I’ll probably need to adjust it in the future.

Then I actually needed to make the belt.

belt

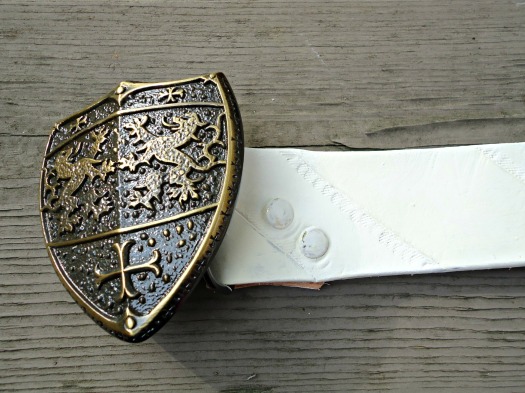
I wanted it to be something I could potentially wear, since I love the buckle so much. Isn’t it just the cutest shield ever? But I also knew the belt had to be long in order to cross my body like a messenger bag. So I made it as long as I could, and punched holes in various places, so I could wear it at my natural waist, or through jeans, or through the quiver. I cut a simple design using my swivel knife, just diagonal lines, and I tooled a few sections for some visual interest. It doesn’t show through the paint though, so I ended up painting a very subtle alteration between cream and ivory, based on my ability to mix paints well, which ended up with a more ivory batch right at the end of the painting cycle.

So that’s it for my quiver! Isn’t it purdy?
Quiver – Part 1

Even though Susan doesn’t actually wear her quiver with her final gown, it was still a must have prop for me.

Though it is very likely that the cosplay I see is not a full indication of people’s geeky interests, I’ve always thought that Narnia fans, of the movies more specifically, are more subdued (aka they don’t cosplay). There have been a few wonderful ones, but altogether the cosplay quantity is rather low.

tease

So the likelihood that I would be easily recognized from the costume alone (and with my hair, not a wig) is slim. I’m already risking the Lucy vs. Susan issue, with the red hair, but anything to make the costume more recognizable is good.

Plus I’ve always wanted a quiver for all the imaginary arrows I have.

The problem with Susan’s quiver is that it is likely meant to be ivory, or rather it was carved in one piece. There have been some good reproductions made with PVC pipe, but I didn’t have the requisite skill set. So I decided to use leather, something I do know a bit about.

I took pictures like this was a real tutorial, at least for this first half…  and then I let it sit for two months before I finished it. But that’s another story.

pattern

I started with posterboard, knowing that I had a limited amount of leather big enough to create this quiver. I drew a pattern, dragged a belt from the closet to “try it on” and fiddled with the pattern until it felt right. It slimmed down a bunch, and shortened as well, so that it would feel proportionally right on me.

Then came time to cut into the leather. I managed to find a big enough piece, and I used my rotary cutter to cut clean lines through… Leather is like fabric, right?

begintool

I had previously drawn designs for the top of the quiver, but they  didn’t precisely fit, so after some tweaking I got a useable pattern and traced it on. I cut into it with my swivel knife, and began tooling.

finishtool

And here it is with the design finalized!

The real quiver has a picture of Aslan carved in the bottom, but I didn’t want to take this that far.

So I began painting. I had both white and cream acrylic paint, neither of which was perfect, so I mixed the two and diluted with some water.

first

The first coat turned out streaky, and it ended up taking 4 coats before I was satisfied. In the tool-work, there’s still some areas of low paint, but I’m learning to give it up.

DSC03285

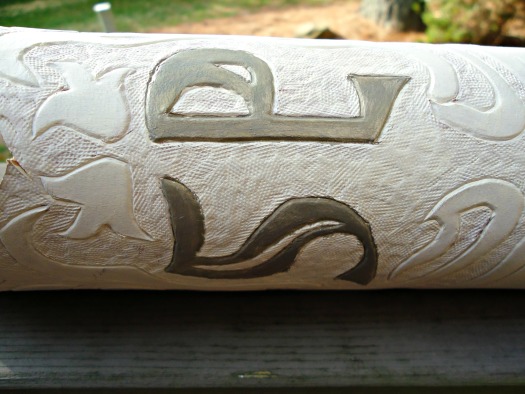
I then painted the initials with a grey and gold mix of paint (though technically it was a mix of cream, white, black, and gold), with the gold added in for a bit of sparkle… Not that its really visible, but it can be seen in real life.

Look out (hopefully) next week for part 2 of my quiver fun!