This tote used to sit next to my grandmother’s armchair and it was always filled with embroidery supplies.
She had been working on this candlewick project for years and years, almost as far back as I can remember, and right before I went to college she realized that she had enough squares to make up the desired quilt.
But since she and my grandfather moved into that house, when I was around 6th grade age, she let me help with that embroidery project. In the early days I wasn’t much help, but I did improve over time, and it was always a nice outlet when family talk got too weird, or emotional, or silent.
Now, she is living happily in an assisted living facility, and that tote was something she left behind. Don’t worry, she’s happily sewing, but she won’t remember it if you ask her!
The cover that was on the piece not only smelled old and musty, but was in various states of disrepair. I bet it had ripped a few times over, and it was patched in quite a few places.
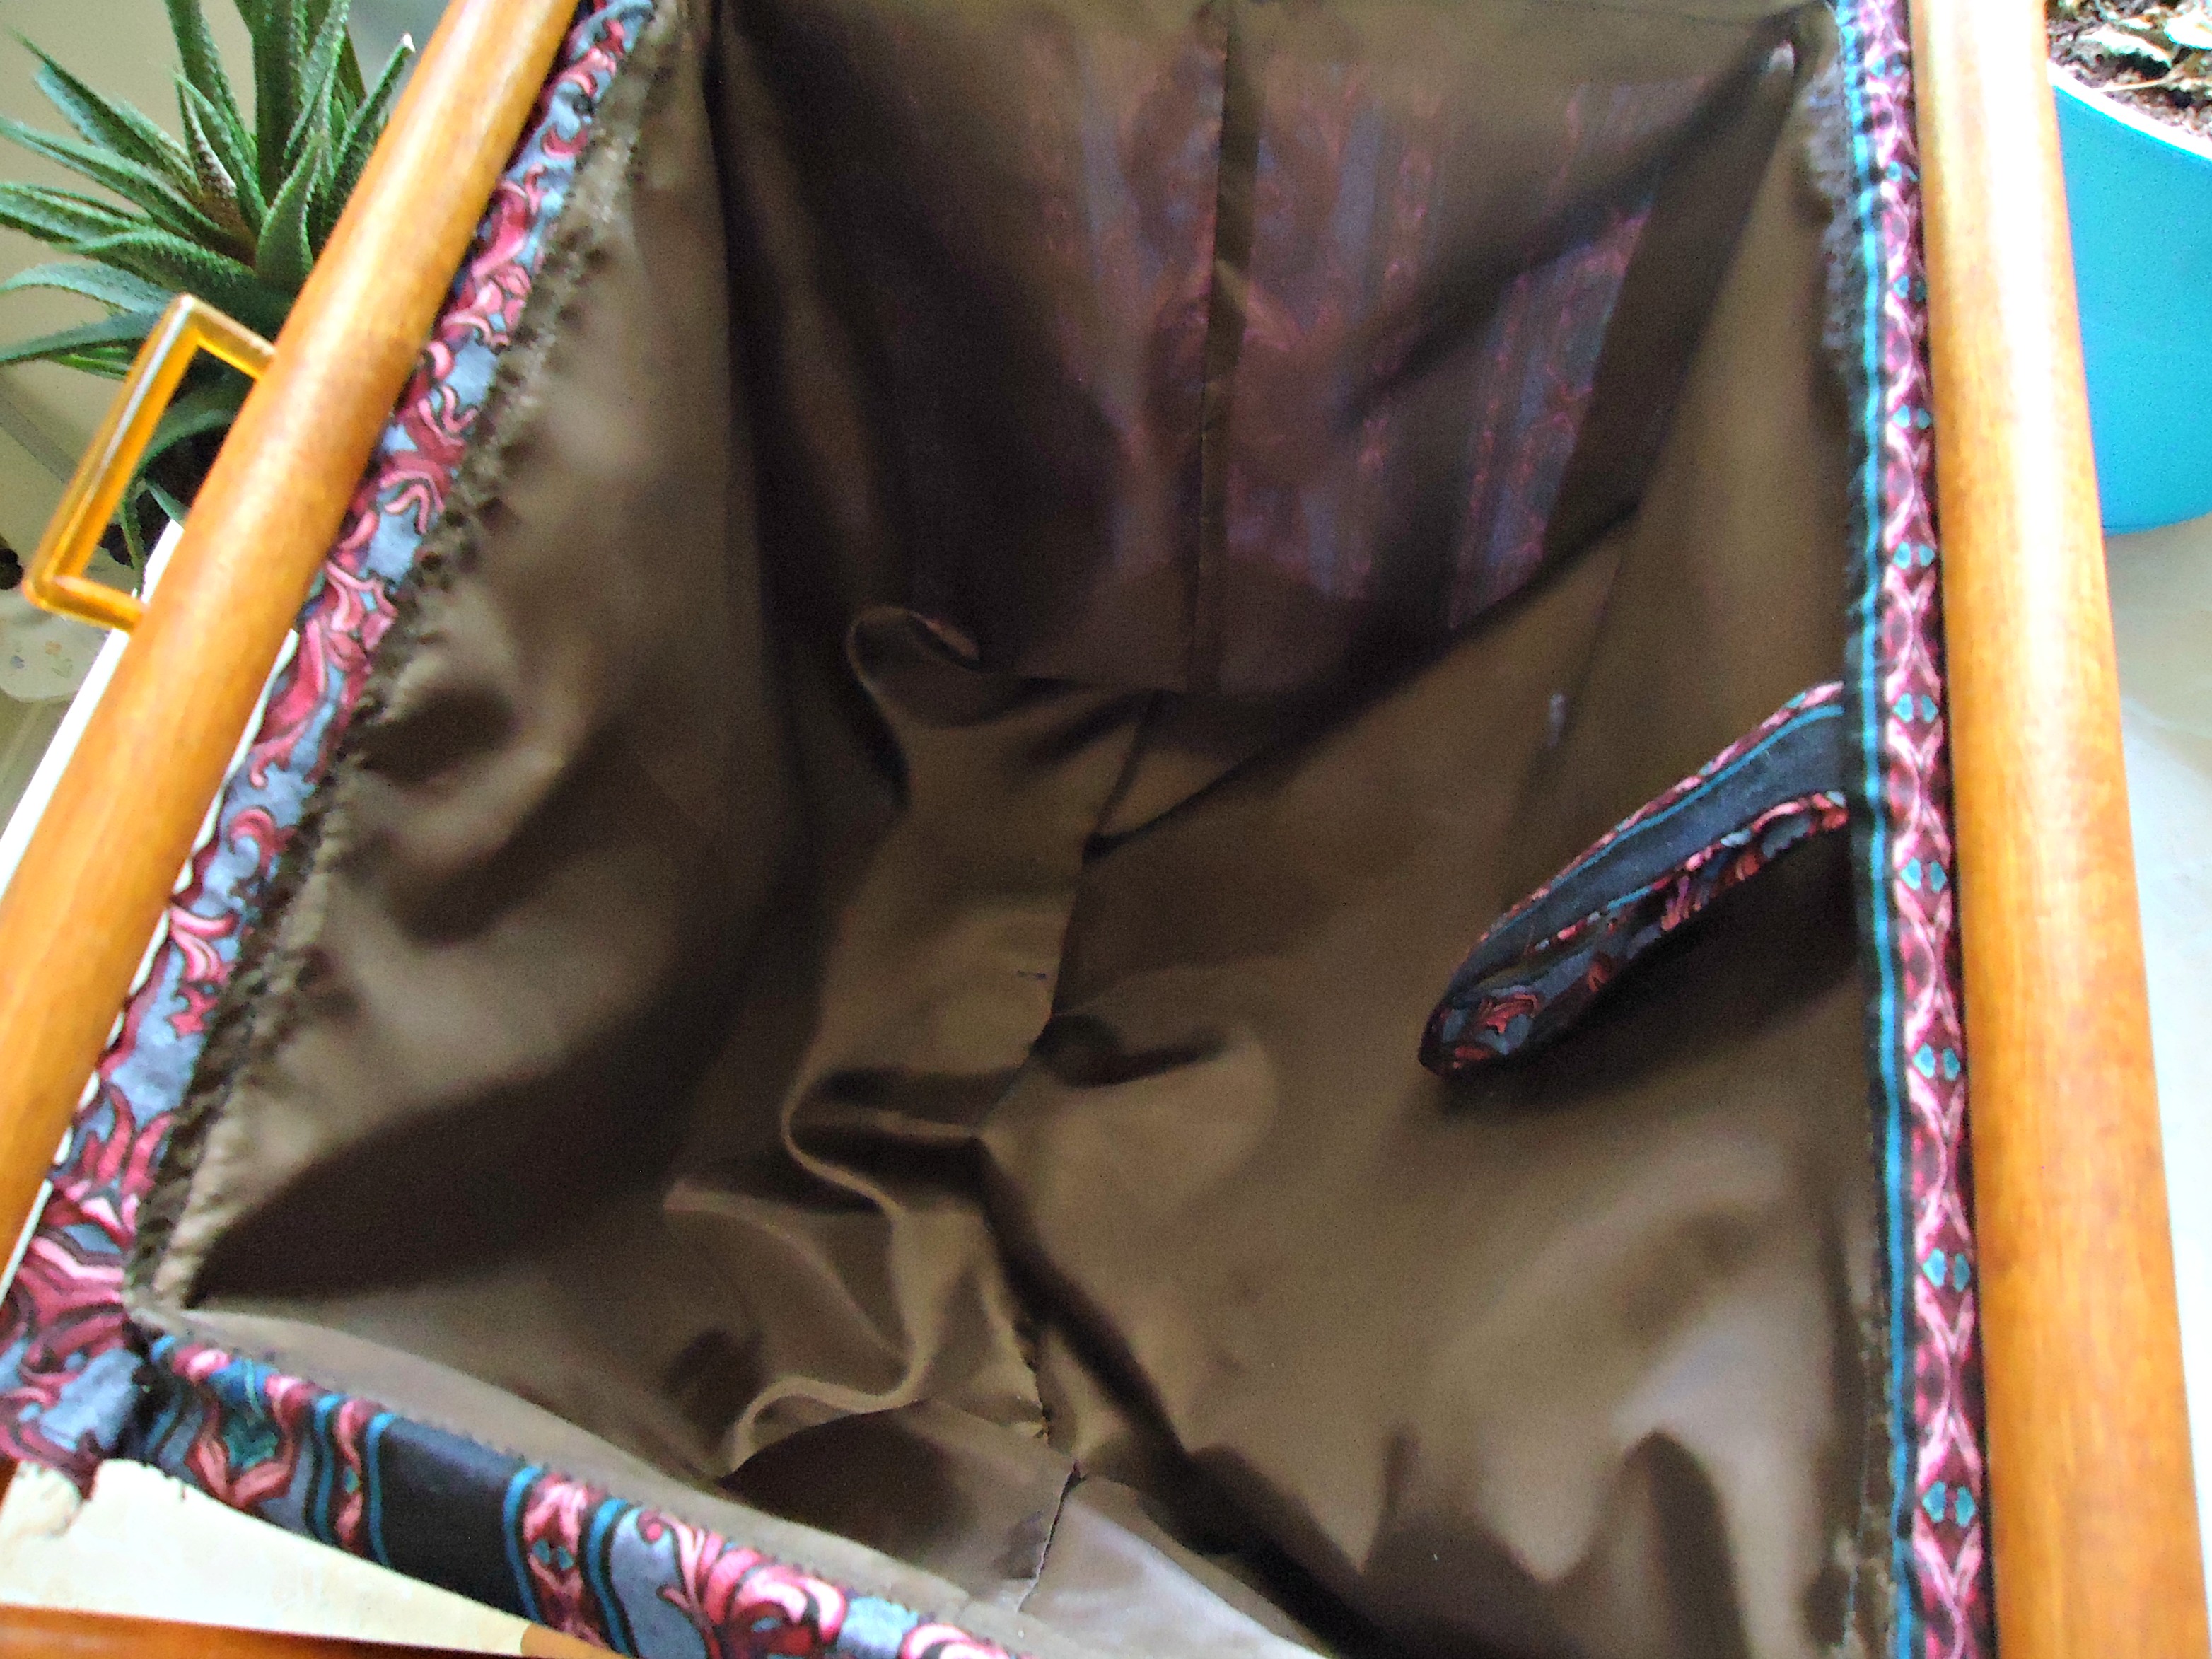
With no further ado, I give you my magical new craft tote!
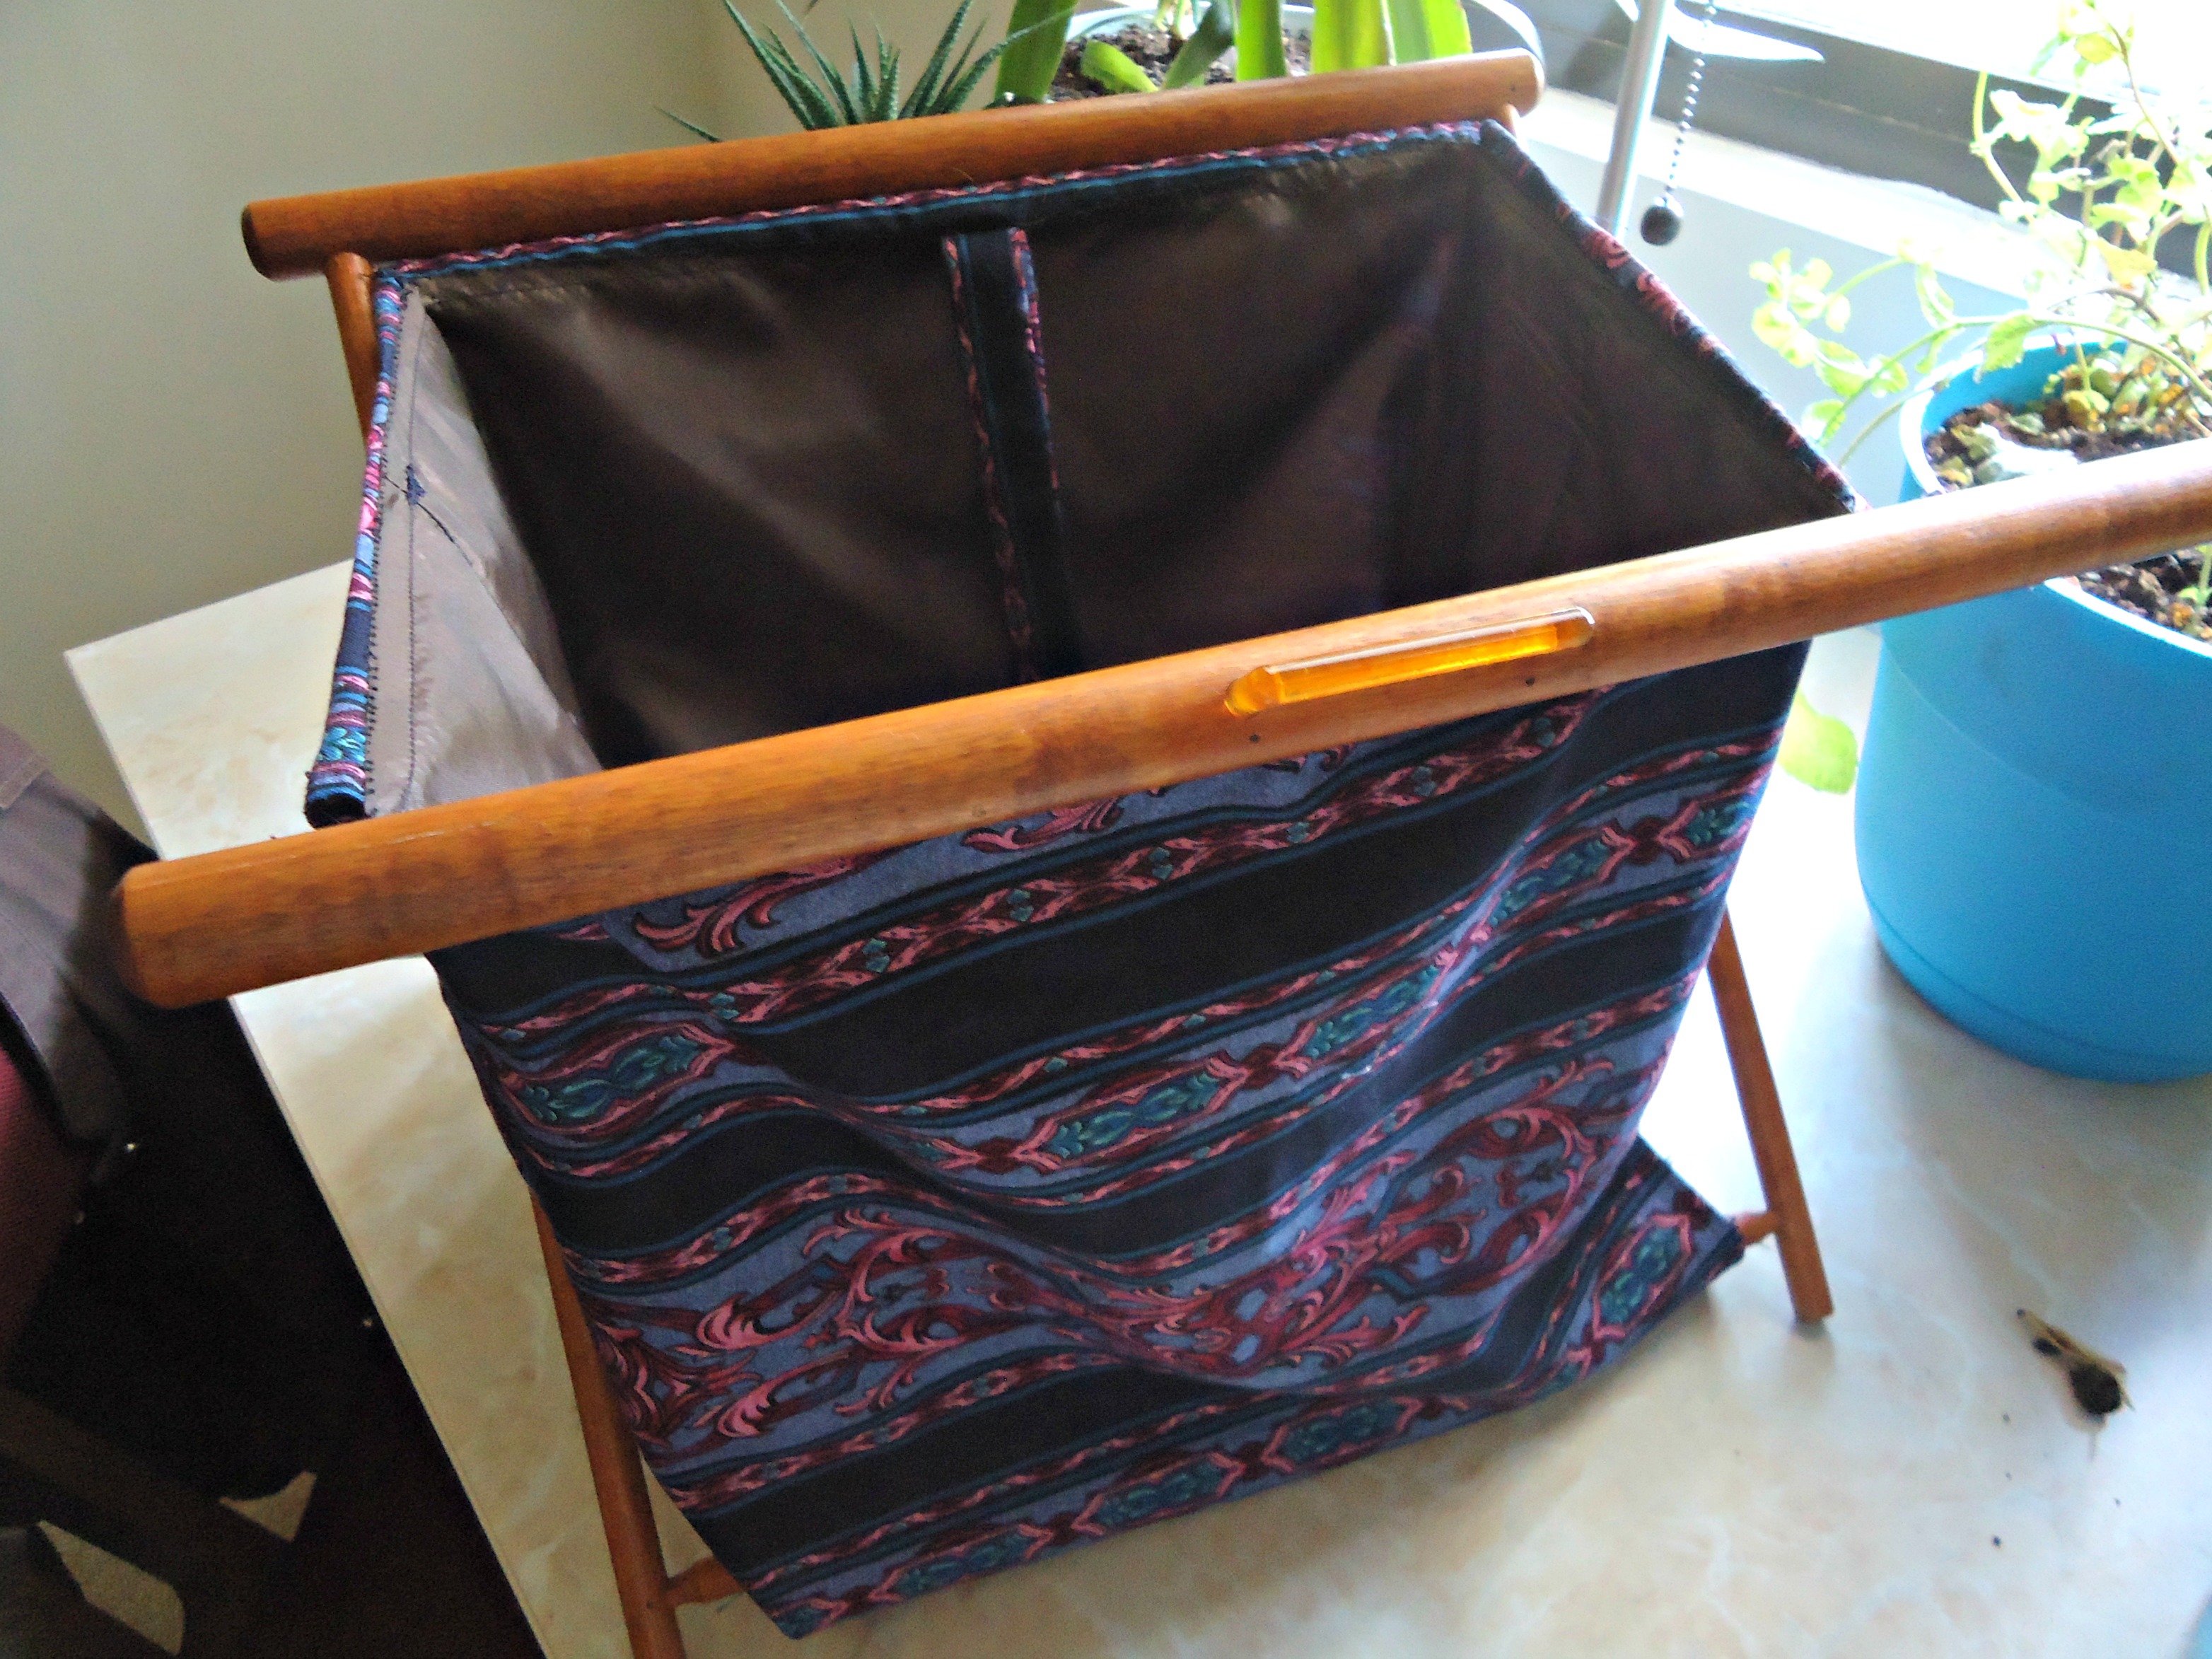
Isn’t it purdy? And surprisingly difficult to photograph, but perhaps that’s because I only have half a window available of sunlight right now.
And the quilting cotton I used should match one of my lap quilts, which is quite pink, as well as my general aqua/turquoise decor.
If you have one you’d like to recover, it’s not a difficult job! I spent a couple of hours taking apart mine, which most of that was spent trying to unpick the fixes and getting distracted by CSI. And sewing it took less than 4 hours, and that’s with unpicking a major part of the bag.
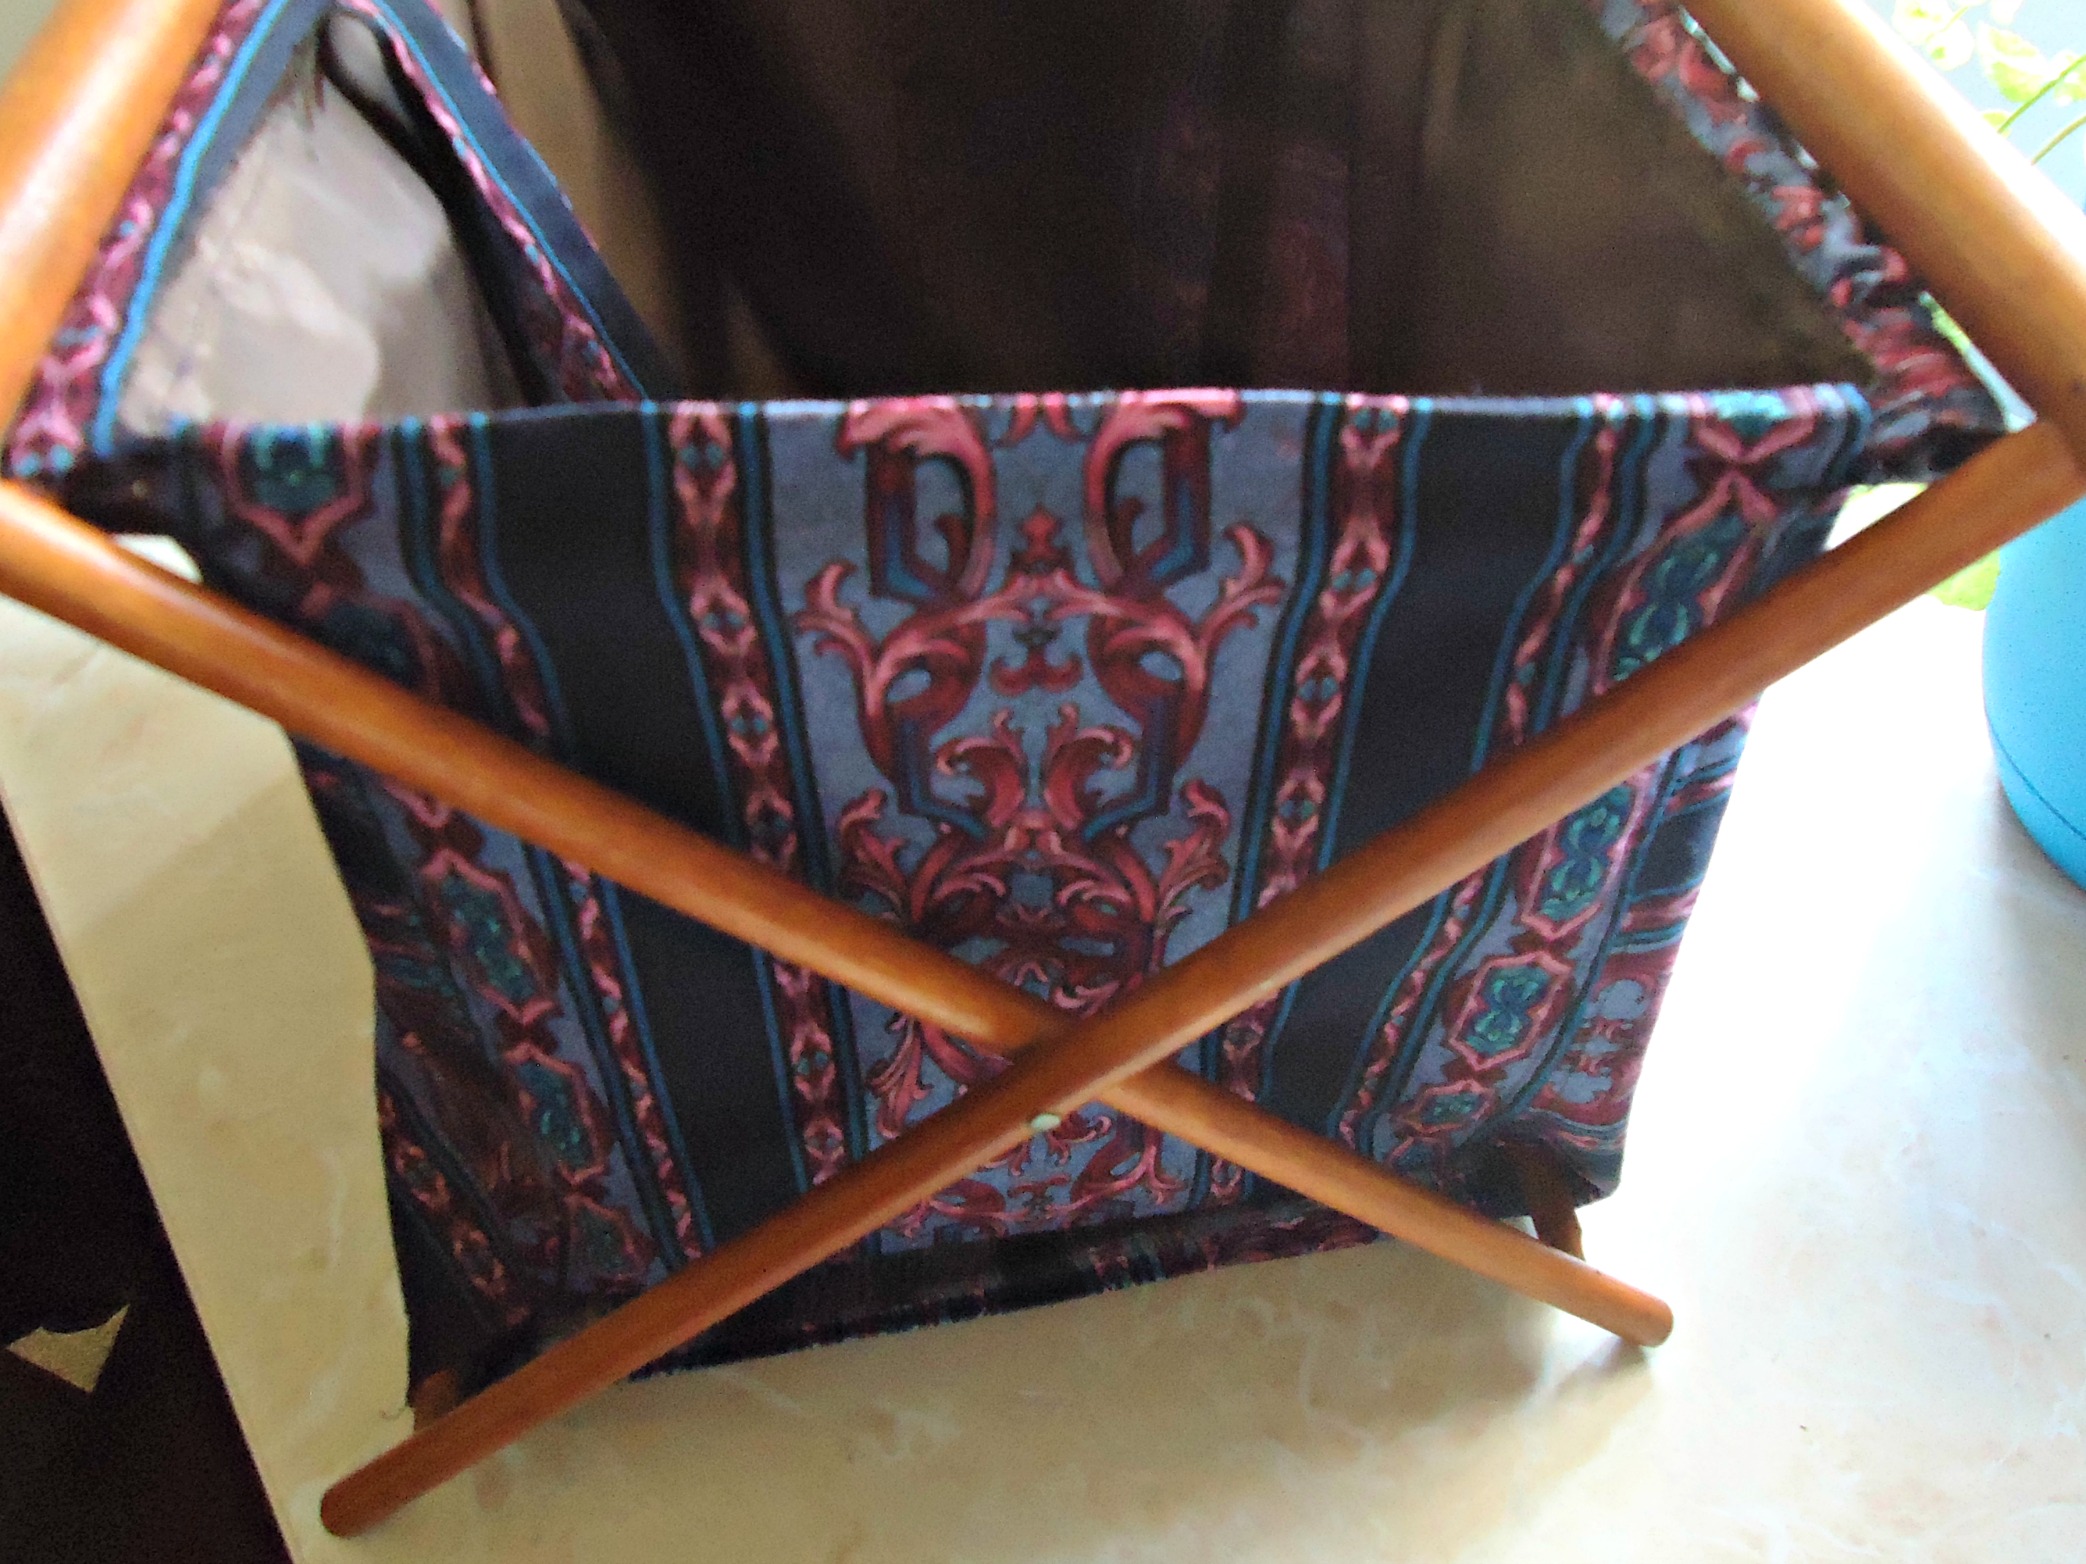
If you want to build one, the frame to mine looks a lot like this hamper from ikat bag. And you might want to follow instructions for her bag too! They look fantastic, and its washable. You can also get them for about $25 from etsy, and probably ebay if you search wooden frame folding tote,
Mine has a lining, though, and its essentially sewn into the frame. So if you want to follow along with my badly illustrated tutorial, read on!
You’ll need maybe a half yard of outer fabric, and a bit less than that for the lining.
Also, be forewarned that I’m using algebraic phrases. Forgive me, I’m a math person.
So these are the pieces you’ll need, based on your frame dimensions. First the outside pieces:
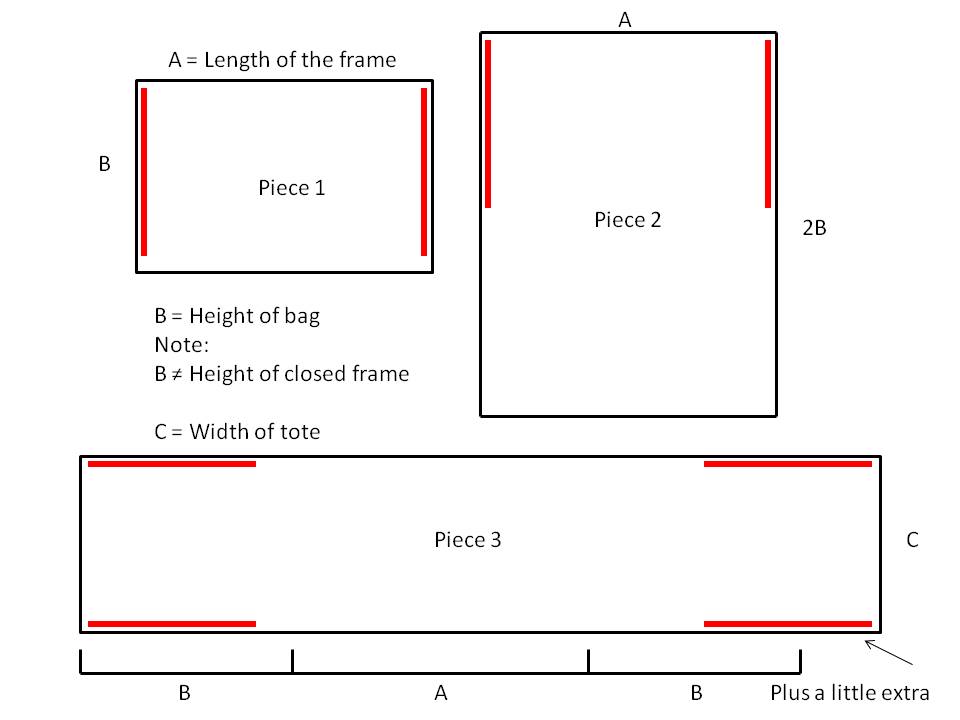 And then the lining piece:
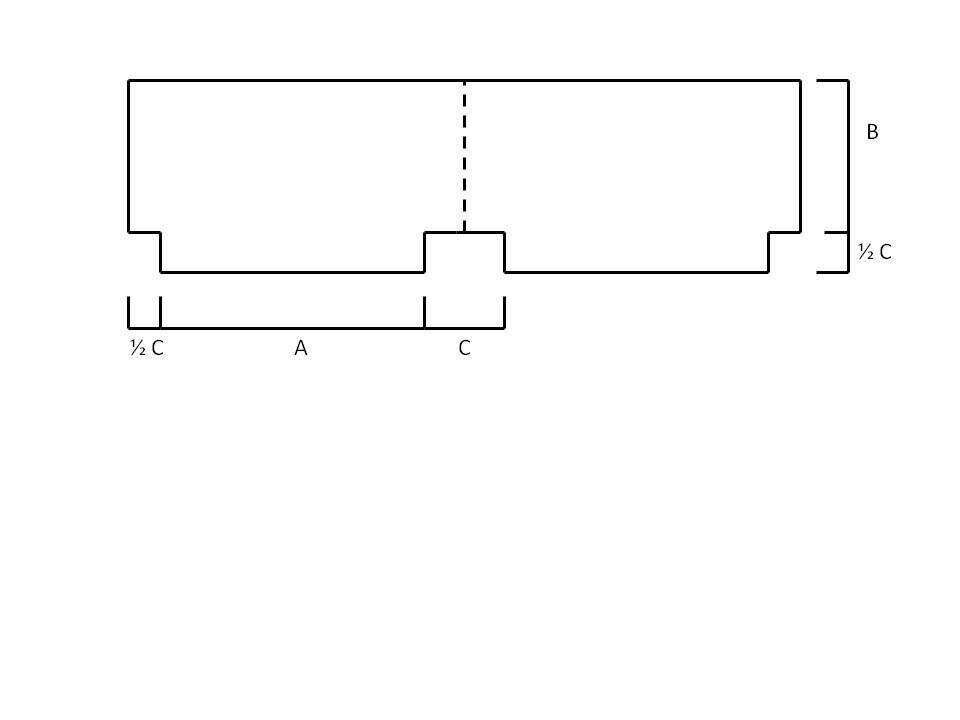 I cut the lining piece on the fold indicated by the dotted line. So the lining piece gets sewn up along the B side, and I also sewed the fold, for continuity. Also sew up the bottom, along the A side. Press everything, cause the lining fabric is probably being difficult. Then fold out the corners of that cut out square area, so the bottom lies flat and sew across.
Now the outside. Sew piece 1 to piece 3 along the red lines, where piece 3 is the sides and bottom of the “bag.” Stop at least an inch to an inch and a half before each edge. Don’t forget to backstitch! Then sew piece 2 to piece 3 the same way.
So this is the tricky part. You now need to put the bag into the frame. Do you notice that piece 2 now has that extra section hanging off the edge? That will be folded over. Before we continue, you should take the time to finish all raw edges except the top, and where piece 1 and 2 will meet. So mostly that’s the long area of piece 2, and the sides of piece 3 beyond its attachment.
Now, with the frame closed, note where 1 and 2 will meet. You’re going to need to sew this from the inside, which may mean you have to stop in the middle and wiggle the fabric around. It’s okay! So carefully pin the insides together and sew that seam up!. You’ve got a bag trapped on the frame.
Just fold the top flaps leftover from your side stitching over the top of your frame, and sew in the lining. And voila! You’re done!
That may not have been clear, but now its on the interwebs, so that’s okay!