Hand Embroidery on My Daily Garments

I was going to use this post to just tell you about my two black rayon Onyx tops, but realistically they’re only slightly altered from the pattern and boring on their own… What’s more cool is all the embroidery I did on them, a skill that I’ve been working on for the past few years.skirt.jpg

Maybe we should start waaaaaay back, with this shot of embroidery from my Merida inspired skirt. This was a linen skirt that I embroidered a motif from Brave’s concept art on. Each motif took between 4 to 6 hours, depending on my mood, brainpower, and willingness to have rather big stitches.

floral

Then we get to the first of my Onyx tees, the one with stems, leaves, and flowers. I embroidered this while on a road trip between Asheville NC, Nashville TN, and New Orleans LA.

ariel

Next after that came some new to the blog embroidery: my Ariel blouse! I embroidered small waves around the neckline and did some chain stitch around the sleeve hem. I was really trying to drive home the Little Mermaid vibe.

DSC_6285

A couple months later (for instance, after I finished my defense and my paper for my Master’s thesis) I found myself embroidering another Onyx tee, with coppers and aqua. Don’t tell the other ones but this one is my favorite! I affectionately call it the Orange Peel. I guess because it looks like an orange with seeds in it if you squint and then close your eyes and imagine.

DSC_8605

Then around last Christmas I made my first Ogden cami, and after I made the small adjustments I needed to make it wearable, I embroidered the armscye to keep the facing down. Not a lot of embroidery, but it make it special.

dress

In July I made an Ogden dress (that was featured in my upcoming post about my Ogdens) and embroidered an abstract selection of french knots on the front, and a large running stitch V on the back.

DSC_8610

My favorite pair of jeans had an unfortunate turn of events… The left pocket bag started rotting out (and the other one has started too…), so I did a subtle little bit of visible mending to put in new pocket bag fabric, instead of taking the entire pair of jeans apart to do the same thing.

As for making these pieces of embroidery, I have been mostly just using the fabric plus interfacing required by the patterns to keep it steady. No extra interfacing, at least. I do use a hoop when I can though.

Laundering it is not much extra. When I used household machines I barely even worried, but now that I have to use industrial laundry room machines, I make sure that all of the hooks and closures on my clothing are closed before I put them into the wash, so there’s less chance of catching.

And that winds down my embroidery post!

I do have some embroidery I’d like to do before the month is out (sew frosting anyone?) so I’m hoping to get some shots explaining how I go about it… So look out for that in the next couple weeks.

I know that I’ll continue to embroider on the things I make, because it makes me happy, but it’s been trickling in a bit slower this year. As with my sewing, my embroidering has slowed down now that I kind of make for a living, but I am trying to make it more intentional. So we’ll see what’s next, right?

Cool.

Also, I might be making embroidery patterns for sale soon… Any requests?
Army of Ogden Camis

black rayon ogden

Okay… Bandwagon jumper here. The Ogden Cami by True Bias is fantastic.

black crepe ogden

And it uses almost no fabric. Okay. It uses more than I’ve tried to throw at it, but still, very little.

kaylee ogden.jpg

So far in my army I’ve made 9 (but only have 8):

  1. Black rayon with embroidery around the armscye
  2. Black crepe (probably polyester)
  3. Paisley cotton, previously Kaylee Dress
  4. Blue rayon lawn, previously Ariel Culottes
  5. Suiting fabric, possibly a wool blend
  6. Heavy cotton with no drape, previously Uganda Dress
  7. Red Iron Man inspired, did not make it long enough for pictures
  8. Blue cotton, also seen in my first Archer shirt
  9. Black rayon dress!!! Bodice lined with embroidery on the front and back

The pictures in this post are in order, in case you’re curious.

blue rayon ogden

I’ve determined that there’s nothing I can do with that blue rayon. Even v2 didn’t work out well.

suiting ogden

I did notice that the first was very, very low cut on me. When I take up the straps about an inch, then it has a much more comfortable neckline. I think I probably need to do a FBA, but at this point, its cute, comfortable, and probably a big part of my summer and fall and spring (and maybe winter?) uniform. And I’ve been feeling lazy…

uganda ogden

Though, I will definitely emphasize that marking which side is back and which side is front is important… For the first three I did that by using a lining fabric as the back facing, but I forgot for the blue rayon, and I don’t ever know whether I’m wearing the front or the back of the thing…

archer leftover ogden.jpg

In the future (because I’ve already got 2 more planned) I want to steer clear of fabric with little drape. This definitely looks better with fabric that falls well. That’s why the Iron Man one didn’t last… It might have been medium weight twill, or at least it didn’t drape like a medium weight twill will.

And the dress. So this has a fully lined bodice, and a skirt that I really should’ve serged before I wore it. Basically I took the pattern, lopped off a couple of inches, pretended I was extending it on a new piece of paper, drafted a really simple skirt, drafted some (mediocre) pockets, and cut it out. It ended up being slightly dropped waist, and an excellent summery dress that is just soooooooo comfy. Oh, and I used some trim for the straps. To give it some flair. And I embroidered it. More on that to come.

styled ogden

And this is what it looks like (typically) when I’m wearing it at work: sweater or shawl or both!

Such a great stash/scrap buster, and flattering and comfy too!

Mustard Knit Wrap Sweater

front

I’ve been wanting a “ballet sweater” for awhile… I’m not a ballet dancer, nor do babydoll styles seem to flatter me (meaning they don’t tend to make me feel great about my appearance), but I love the idea of a wrap sweater.

The idea was on my back burner for a long while.

2017 January saw me in Seattle for a conference, and I picked up two skeins of this lovely Royal Alpaca from Aslan Trends in a mustard gold color on sale. It’s supposed to be worsted, but it felt like a bit more than that as I knitted it up.

sleeve

I scoured Ravelry and discovered that none of the patterns fit my specifications (I guess I’m super picky?). So I knitted up a small swatch to get an approximate gauge, and then calculated out some general plans, then kind of threw them out the window and did it as I wanted. I know that I made the edging on purpose, and I made the i-cord edging first or concurrently to the making, and I went with kimono sleeves since they’re easy, and basically knit pretty much until I ran out of yarn.

back

The yarn did shed on me so much (and everyone was so nice to not point out that it was shedding all over my black shirts…), and it still does to a (marginally) lesser degree, which I’ve seen from my google searches happens a lot.

front2

What I do know is that this sweater is warm! For a very open weave it is very cozy, so it’s going to make an excellent sweater in cool weather, which **fingers crossed** its going to stay now. I was getting cross with the 85*F October days.

open
This is my “why are my downstairs neighbors so loud” face…

Not a Background Lannister – Prop Shield Tutorial

first

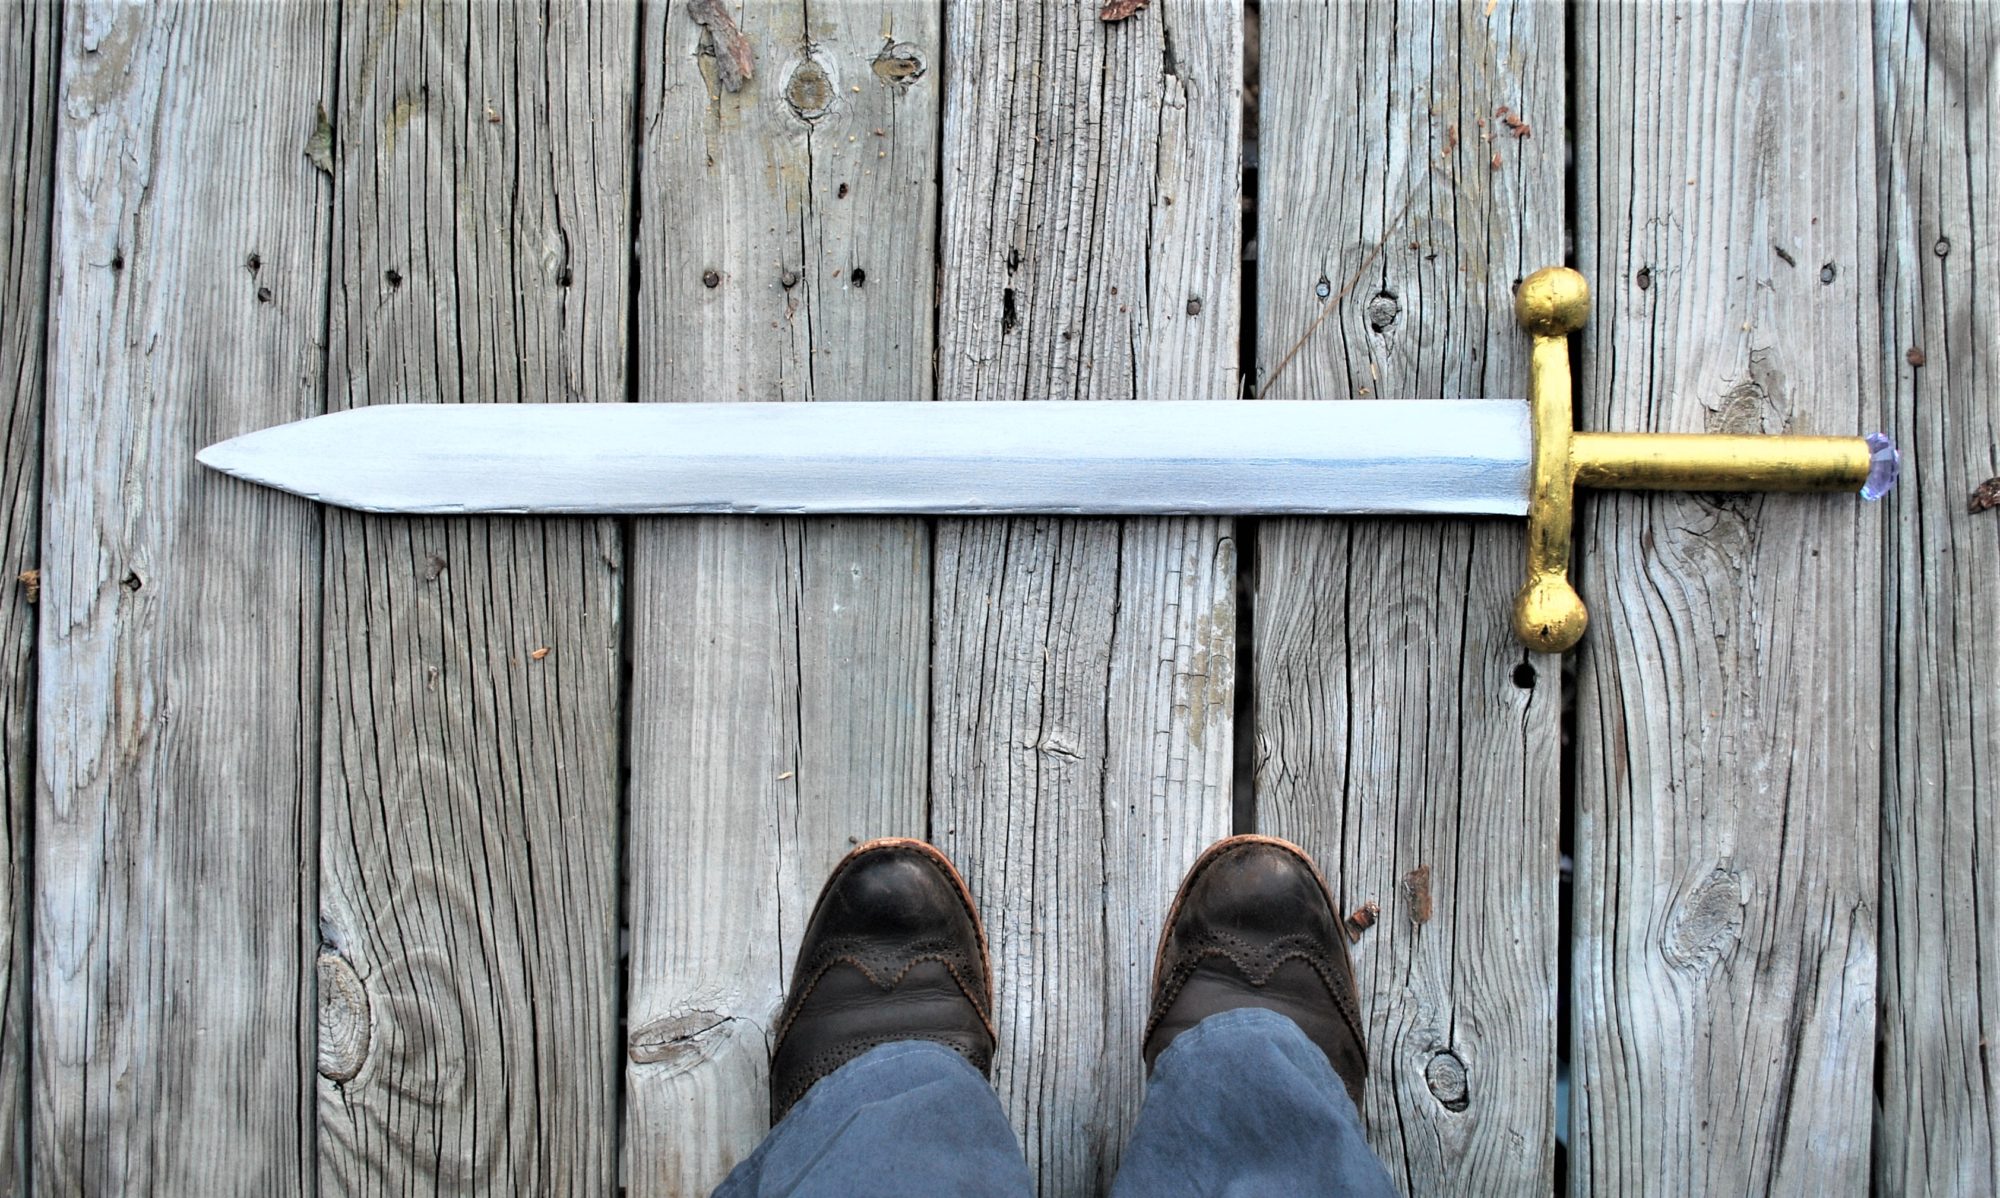
So I started with the trousers last Wednesday… The shield on Friday… Next up in the lead up to the costume reveal is the shield.

And boy am I proud of it!

I have access to a laser cutter, at my job, so I put together a “quick” file (it’s never quick) for a shield that would fit on one piece of plywood. I could’ve made a bigger one, but I was trying to be material conscious, and I’m glad I kept it at that size. The laser in question is technically two feet “wide” in material dimensions, and 4 feet long, but it’s a little bit smaller in both directions due to crookedness and use  over time.

I worked with 1/8″ plywood, and made this as solid looking, but light as possible. There are two fully solid pieces, with multiple border pieces, one set in between the solid pieces, and two sets on the front, and then the decorative pieces there too… This would be better explained in pictures…

alanna_pullapart

Yeah… Like that.

So I layered and glued everything together. It took awhile. What I should have done then, is sand those edges. I didn’t. Moving on.

edge

On the top of the shield I used wood filler and a putty knife to shove material into the seams so it was a fake beveled/routed edge. That’s honestly what took the longest. I’d put on wood filler, wait for it to dry, sand it, apply more when it inevitably chipped and repeat.

bevel
Yeah… not meant to see it up close.

I’m kicking myself that I didn’t get progress pictures as I went. So then I painted the shield. Chestnut brown on the back and sides, then red and gold on the front. The gold is Bright Gold Lumiere Jacquard fabric/universal paint, and the others are stash cheapo acrylic paints. Oh, I so love the Lumiere paints.

lioness
Gaah. I’m gonna stop it (mostly) with the close ups on this one.

On the back are two more sets of laser cut pieces, the main point of which was to provide some material for screws to connect to. Then I guesstimated sizes of leather to attach the shield to my arm, screwed it into the top and bottom bracers. I had to reattach the bottom ones to make them tighter so I could control the shield a bit better, but then I was completely done with the shield!

Lightweight, blocky and just what I needed.

It did mean that I hit a bunch of people accidentally, but… that’s being at a con, right?

I was not too surprised that this wasn’t the recognizable part of the costume (It looks too much like the Lannister crest, or Peter’s from Chronicles of Narnia), but I was surprised what was! You’ll have to tune in on Wednesday to figure out what I’m talking about!

corner

That probably sounded like a ending, but I’m popping back in again to say that though I made this with a laser cutter out of plywood, you could totally do something like this with a craft knife and some stiff foamboard or foam, and come out with similarly awesome results!

Diving Deep Shawl

This might be one of the quickest yarn-buying to final project finishes that I’ve had so far…

wings.jpg

I bought the yarn in January from Me & Ewe in Austin TX as part of my “buy yarn/fabric as souvenirs” initiative to help me stop buying stupid trinkets I don’t need and instead come out with things I’ll treasure. My backpack from last year’s fabric purchase is most definitely my most used item in my life.

It’s a fine single ply yarn that is a merino wool and silk blend from a spinner in Texas. The colors remind me of a tropical ocean under moonlight, or rather what I think that would look like.

spread

Then I got into a stage of my home life (at the time) where I realized that I couldn’t accommodate nearly every craft I’m fond of in my tiny hole of a room (only slightly bigger than a walk in closet) except for yarncrafts, which had easily accessible supplies and very little footprint.

back

So I got to searching Ravelry, bought this excellent pattern called Pearla Beaded Lace Shawl (though I chose not to bead it) from ByTheLilyPond.com, though I did purchase it on Ravelry.

I found it a pretty quick knit, and very intuitive to knit after a bit. I knit it all from looking at a computer, moving a rectangle around in Adobe Acrobat and scribbling a small key on the page so I wouldn’t have to continually scroll up and down, which made it easy to knit wherever I was. I’d most definitely make this shawl again, and I’ll consider it for the next time I go to a new place and buy yarn!

hemi

And I finished in early April. Between it and my NOLA Shawl I can wear a shawl with pretty much any item of clothing. Which is great! I love unusual accessories!

frontwrapped

Defense Dress

front cute

As I mentioned in my 2017 wrap up post, I defended my master’s and now I’m a free woman! Otherwise known as a member of the semi-normal work force.

But because I can’t help myself, even in the stress of preparing for my defense, I made a special dress to wear for the defense. It ended up being a small amount of stress relief and a chance to slow my brain down between turning in my manuscript and giving the oral defense.

To make my degree a bit full circle, I used the same pattern as when I had my very first grad school presentation… This is the Dandelion Dress pattern from Seamster Patterns, which is unfortunately no longer available. It’s essentially a very uniquely seamed shift dress/shirt, and I’ve made it a couple times now. I still wear my first version a lot, and I was hoping to recreate that magic.

side

Because I can’t stop myself, I had to make it more complicated… The fabric I bought from Fabric.com was not what I was expecting. I bought this printed boucle which I thought would be printed so that the boucle direction matched what looked like the print direction… That wasn’t true. The print was also much bigger than I expected and it was blaringly large in the original colors of navy and white. So I dyed it with some emerald procion green dye, and it turned out to be in my perfect color scheme! My accent fabric is a brushed navy twill that is sooooooo soft. A bit lighter weight than expected, but I’m not used to figuring out what 6oz feels like. I know for now though!

I used the twill on the front and back center and the sleeves, and the boucle for the large side pieces. The fit is okay. I don’t know whether it shrunk after the first wearing, or whether my first feels larger due to the slight stretch in the fabric. Neither of the fabrics for this version have any more than mechanical stretch, and I can feel it. About a year later now, and I’ve lost some of the “bad choices preceding defense” weight, it feels less tight, but now that I see how the back looks at least in pictures it’ll be relegated to job interviews and sweater days, since it doesn’t (easily) fit into my daily life until it gets cooler outside (it’s fall, but the weather isn’t complying).

front

For the pattern choices, I went with the rounded neckline, and I omitted the zipper again. This one is harder to wiggle into, but I still can… I do have to wear it over a slip or tights and slip shorts, because the boucle is just wiggly enough that you can tell whether there’s anything under it, and I really didn’t want to line it.

I love this dress, and it made me feel great wearing it on the day. I passed (with some flying colors if I do say so myself)! And I’ve worn it a few times since. The sleeves are a little tight when I bring my arms forward, but not cut off circulation, just uncomfortable and unflattering… So with sweater, yes! Without sweater, maybe. Also there aren’t pockets, so a sweater with pockets is ideal.

When editing the pictures I saw how crummy the back looks, but I can say that at least 25% of the wrinkles are from wearing it all day, and I’d guess that 50% is that the swayback doesn’t match my body curve (but without a zipper I can’t do better) and that the final 25% is that I tend to underestimate the amount of backfat/bulk that my back carries. I’m no football lineman, but I definitely have to make back adjustments on tight patterns,  and I never did on this one.

I’m no longer working in an office environment, so this will end up relegated to the job interview/special event part of my wardrobe, but the memories that I have with this dress are something I’ll never stop believing in…

Too cheesy?

disturbed.jpg

Also, I found this picture and now I’m super curious what caused this expression…

Ocean Waves Purse

front3.jpg

Purses have not often been my thing. I’ll carry them, find a perfect one for that month or year, and then drop them.

The closest to perfect I’ve come is a small leather purse that I bought for 17 euros from an Aldi near Duesseldorf about 10 years ago. I still have it. But this purse was made in the beginning of the smartphone, and does not have enough room for both a phone and a wallet. No matter what the size of the wallet. And forget about keys.

inside

So I set off to make one that would fit the things I might need on a day out when I don’t . I listed the things I needed to fit: keys, wallet, phone. Then things I’d like to bring: a notebook, pouch of markers, maybe my ballroom dance heels. That last one’s a stretch.

front2

I then did far too much research on making a leather purse, and ended up finding this Russian tutorial, which has a pretty clear procedure, and a reasonable looking pattern. I did end up altering the pattern, to make the purse a bit larger and make the front flap larger so it falls closed better, and I put a different pattern on the front, but overall I followed the general step by step.

flap

A game changer for me was to put tape on the suedey side of the leather, so it won’t stretch out when you shape it.

I made this out of nearly all of the leather bellies I’ve got left. Those were carried around with me for about two moves since I last used them, so it was time to get them cut up. I might have just enough to squeak out a strap, but I don’t have the hardware, so I haven’t checked into it.

skive

After the cuts were made, I skived all of the pieces thinner, by about 25%, and also the edges to make it easier to turn them. It did make the inside nice and somewhat even, and less shaggy, but only a little.

top

Then I brought the entire project into my workplace (on a weekend when we were closed) and dampened and stamped the leather for 9 hours… So many hours. Lots of tv while I was waiting for leather to dry just enough to stamp. Lots of punching holes. So many holes.

front

If you don’t know (though I’ve probably said it enough), I got my master’s in marine physics, so I did learn a lot about ocean waves… Most waves do not look like this, but I’m totally okay with it. I know better and I’m ignoring it.Cool?

Cool.

ring

Then I used some wax threads to sew it together, and then also fastened it with suede leather lacing. There’s D rings for the top of the purse to attach the straps, and it used to have a bar at the bottom of the front to hold the flap down, but it broke. Probably never going to fix it, if we’re being honest.

inside2

And then I took some yarn and the remaining leather lacing to braid together a temporary strap. That may turn out semi-permanent.

I coated it with some weatherproofing wax that I used on the belts I made waaaaaaaaay back in the blog.

lasercut

Ooh, and then there was the little bit of laser cutting I did on the back. I had designed the initials a few months ago, and I sometimes bring them out and use them. Inevitably I’ll have the discussion about who K is, but I know that it says JS, even if no one else does.

back

And that’s that!

Sewing Journal – Shop Update

I started using a bullet journal is 2016, I think. And some of the pages are simple, like my log of savings and investment account tallies, and some are more complicated, like anything related to DragonCons.

patterns.jpg

After getting the basic setup, I was thinking of what pages I could add, and there were a lot, but one of the first was a log of what sewing patterns I already owned, both clothing and other. Later I figured out that I don’t have any non-garment patterns, that I can find at least. It’ll be my overflow, when I get that many patterns.

sketches

Sometimes I’ll use my bujo for sketching as well, like in this Summer Sewing and Knitting Plan. Was I super ambitious with this? Yes. Was it created about two weeks before I realized I had to get my butt in gear for DragonCon? Yes. Am I happy that at least 2 of these are complete? Absolutely.

alterations

One of the earlier pages was just a simple list of alterations that I needed to make, since I’m firmly in camp “fix it and only get rid of it if you can’t love it” but also camp “put it in a corner until you feel like dealing with it.” Writing it down makes it more real for me.

I’m not good at keeping up with daily, monthly, or even irregular logs, though. I get about 5 month spurts of bujo usage and then it gets shelved for a few months. I’m about to give my bujo another go, but I decided to keep my sewing stuff separate this go around.

So I needed a sewing journal! I started with the pages I knew I needed, so I made ones to match those above (these are now called “Sewing Patterns I Own” and “Sketches” and “Alterations to Make”), as well as some for fabrics, and some for projects.

fullplanner

Here’s the official list of pages:

Customizable title page where you can write in your name
Title page that simply states “My Sewing Journal” (because you know who you are!)
Sewing Patterns I Own
Sewing Patterns I Want
Specific pattern notes
Specific pattern notes with lines
Index for fabric (20 lines)
Index for notions
Fabric description page with room for type, color, quantity and description for three fabrics per page
Fabric description page with room for the above and a 2” square swatch for three fabrics per page
Measurements. We need them, so here’s a page.
Planning page for organizing six projects with fabric and patterns
Specific project page for making plans and notes
Specific project page for making plans and notes with lines
Alterations page for cataloguing six alterations to make
Mood board page
Sketches page

titlepageprojectpages2projectpagespatternpagesmeasuringfabric indexfabricpages

The file is designed for letter sized paper, since I live in the US, but if I were going to paste these pages into a notebook, I’d probably shrink them in the printer menu to a smaller size and cut them with scissors. It’s crossed my mind to do that, but for now it makes sense to me to keep it in my filing cabinet, since I’ve got the space.

So if this is something you’re interested in printing and using yourself, check it out at this link, and you can find the rest of my Etsy shop here!

(I am thinking about making one for yarnstuffs, since I also have a bit of a yarn hoarding problem… Let me know if you’re interested!)

Do you like coloring?

I’ve embraced coloring recently…

day2.JPG

And by recently, I mean I’ve been doodling for my entire life, but mostly in black ink on white paper. To the point that I tried to bring myself to buy a white gel pen, or paint pen, or something to draw in this black paper notebook I’ve been carrying around for 4.5 years. And it didn’t work.

(I’m only a low grade hoarder, I promise.)

IMG_20170523_172310.jpg

But I’ve been drawing mandalas specifically for laser cutting, because there’s something so cool about lasers, and sometimes I found myself coloring them in, both digitally and . So when I was having a mid-20s crisis (I know, it’s ridiculous, and I won’t dwell on it) I started an Etsy shop for coloring pages of my mandala art.

All of the products as of right now are digital downloads as PDF files, so they will either be emailed to you or they’ll live in your Etsy account. You do need a PDF reader for them, but I think most readers of blogs probably already have that…For almost all the products, there are both letter and A4 sized pdf pages, though you can always use your pdf reader’s print page to resize things.

So there’s coloring pages, since that was the original idea, and with both letter size and A4 size there are downloads for black lines and for grey lines, because some people like the lines to fade into the background.

Also I’ve been digitally coloring some of the mandalas, so I’ve released some print-at-home art prints that have already been colored in. Wow, print-at-home art prints is a mouthful, even typing it.

I’ve expanded a bit into calendar and planner pages more reminiscent of bullet journals, like spending logs, since that’s something I’ve dabbled in. I’m not good at keeping any kind of log long term, but everything I put up for sale is something I do or did use.

fullplanner.jpg

For instance, my newest offering is a sewing journal, which is a printable version of pages that I was already using in my bullet journal. I’m going to do a separate post on that later this week, because I know that a lot of you guys, my followers, are sewists so it might be something you’re interested in.

Really really long time subscribers might remember me talking about my old Etsy shop, which was a handmade beadwoven jewelry shop, and at least for the moment I have no plans to reopen it. I still have all my stock, but I have yet to feel the pull of jewelry making that would prompt me to reopen it. Maybe in a few months I’ll try to sell off my stock in this new shop, but for the moment I’m keeping it simple.

I’d be honored if you gave the new shop a look! I opened it about a month and a week ago, so though it’s not super new it’s still a little shiny for me. I’m going to go give it another shine…

Flint shorts

So these grey ones are over a year old… Oops? (Don’t tell me otherwise…)

DSC_6919

There are many things in life that I forget about until it’s pretty much too late to fix it. Like buying toilet paper, laundry detergent, and apparently shorts?

I was surviving with only 2.5 pairs of shorts for last summer. (One pair is waaaaaay too small. Hence the 0.5). I live in a location much closer to the equator than I like, and you would think that shorts would be favorite, but I don’t gravitate to them. I did to gravitate my beloved cargo shorts, but I had to retire them last year…

It doesn’t help that I did my research in an off campus office building with what seems to be a Friday business casual dresscode, so shorts aren’t allowed unless you’re a boss. So I spend my weekday summer days in dresses and skirts to deal with that.

But on weekends I needed shorts. And now I’m in a job that I could wear shorts if I’d like (though I’ll still prefer jeans).

DSC_6927

Let us get down to business then.

I was on vacation when I got the email that Megan Nielsen was releasing the Flint trousers/shorts pattern. When I looked at the samples and the line drawings, I was sold! In fact I had spent the previous couple days explaining to a friend that I really should cut my craft spending, and then had to deal with a judgement stare as I sat there ordering the pattern.

Because I’m in need of shorts right now, I decided to try them first, and it was probably for the best, as I needed to alter the pattern a bit. My muslin was out of some stiff green denim, actually the same from this pair of almost jeans from awhile back. It really emphasizes how wide these are in relation to the thigh. So you don’t get a picture of those.

In terms of alterations, I had to lower the rise (I think… It brings the crotch up higher when I do that, right?) so that the crotch wasn’t 3 inches down my thighs, right in the thigh rub area. I also had to take in the waistband a good deal with some darts on the more recent make, so I should alter the waistband to be much more curved. Both of these are issues I had to address with the Tania culottes too, so I think the fit model for Megan Nielsen patterns is just so different than me, that these will be typical for me with her patterns. I’m thinking that perhaps going down a size might help, but I don’t think it would fix enough problems to be worth it to make my standard alterations again.DSC_6932

The fabric for this first pair is some old cotton chambray that I found in my stash. I had maybe a yard of it, and that was the perfect amount for this project. There were some sections of the fabric that were stained due to someone leaving some ancient tape on the fabric, which I tried to keep to the crotch area, where no one should see it anyway.

Can I just say the pockets are glorious? So the opening for the bottoms is the left pocket, and every review I read as I was waiting for a good time to make the pattern said that the left pocket would not be really useable. When I sewed it up, I did end up sewing more of the pocket closed than was directed on the pattern, so at the end of construction when I went to try them on, I seam ripped the pocket part until I could comfortably wriggle into them, which left me more than directed, but less than I wanted. I can definitely use the pocket, but more for big ticket items like cell phones and sunglasses, than for change and USB sticks and student id cards.

DSC_6928

From these pictures I can see that the back crotch area is a little off, but I so rarely wear this with tucked in shirts that it probably isn’t too noticeable in real life…

I’m working on a second pair, but now that summer is (hopefully) over I am going to put that one on the back burner.

All in all this is an excellent pattern that I look forward to making again. The shorts are not what I would normally consider my style, but they’re so comfy in the “extreme heat,” meaning I hate it but its still not often 95*F, since they’re so breezy.

DSC_6936

Next pair of shorts, I’d like to try out the flat front, since there’s a tutorial for that and that’s more my style, but we’ll see when I get the hankering for shorts again…